Verifying your GuardRails Installation
How to Verify your GuardRails Installation
This tutorial will show you how you can verify that your GuardRails installation is working properly by scanning your repositories for vulnerabilities in the three following ways:
- Scan an existing repository after a pull request
- Add a new repository and trigger a scan
- Use the CLI to trigger a scan
There will be 3 different versions based on the VCS that you are using of the repository (GiHub, GitLab, Bitbucket).
Scan an existing repository after a pull request (GitHub)
Following the steps below will show you how you can check whether the GuardRails installation is automatically scanning an existing repository.
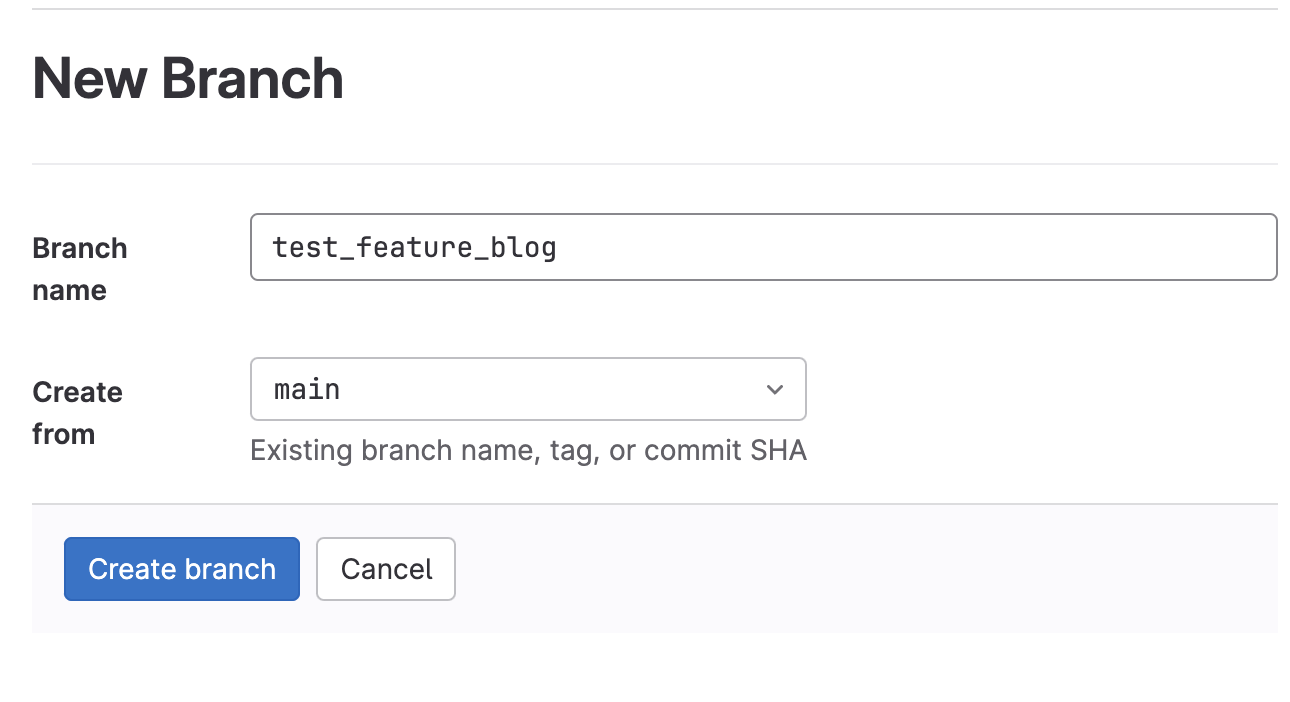
Create a new feature branch in that repository so that guardrails can scan the new changes.

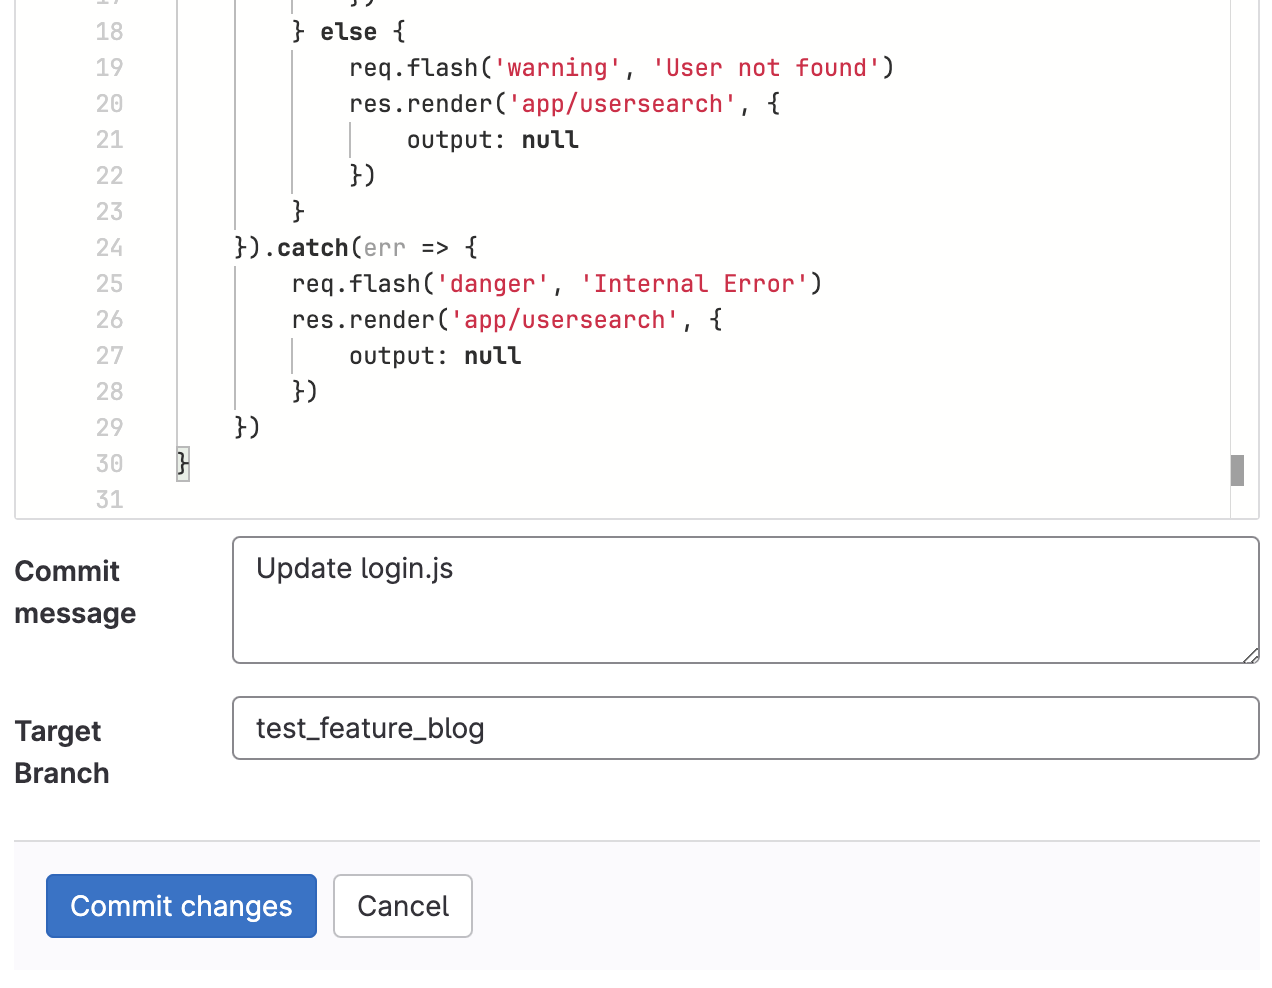
Once the branch is created, go ahead and commit the changes to the feature branch.
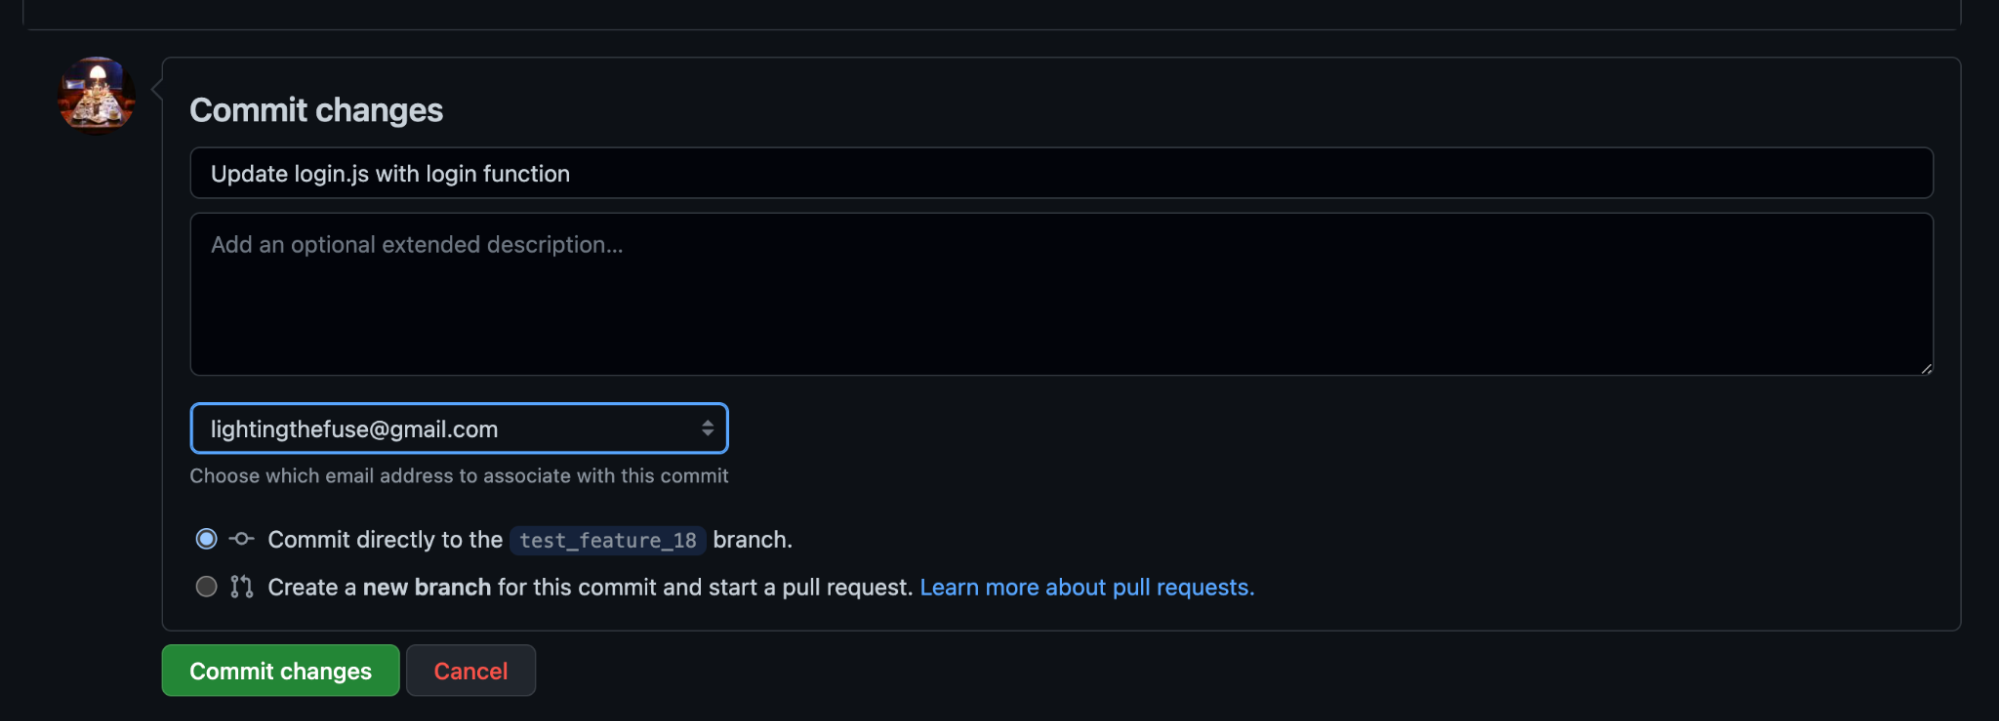
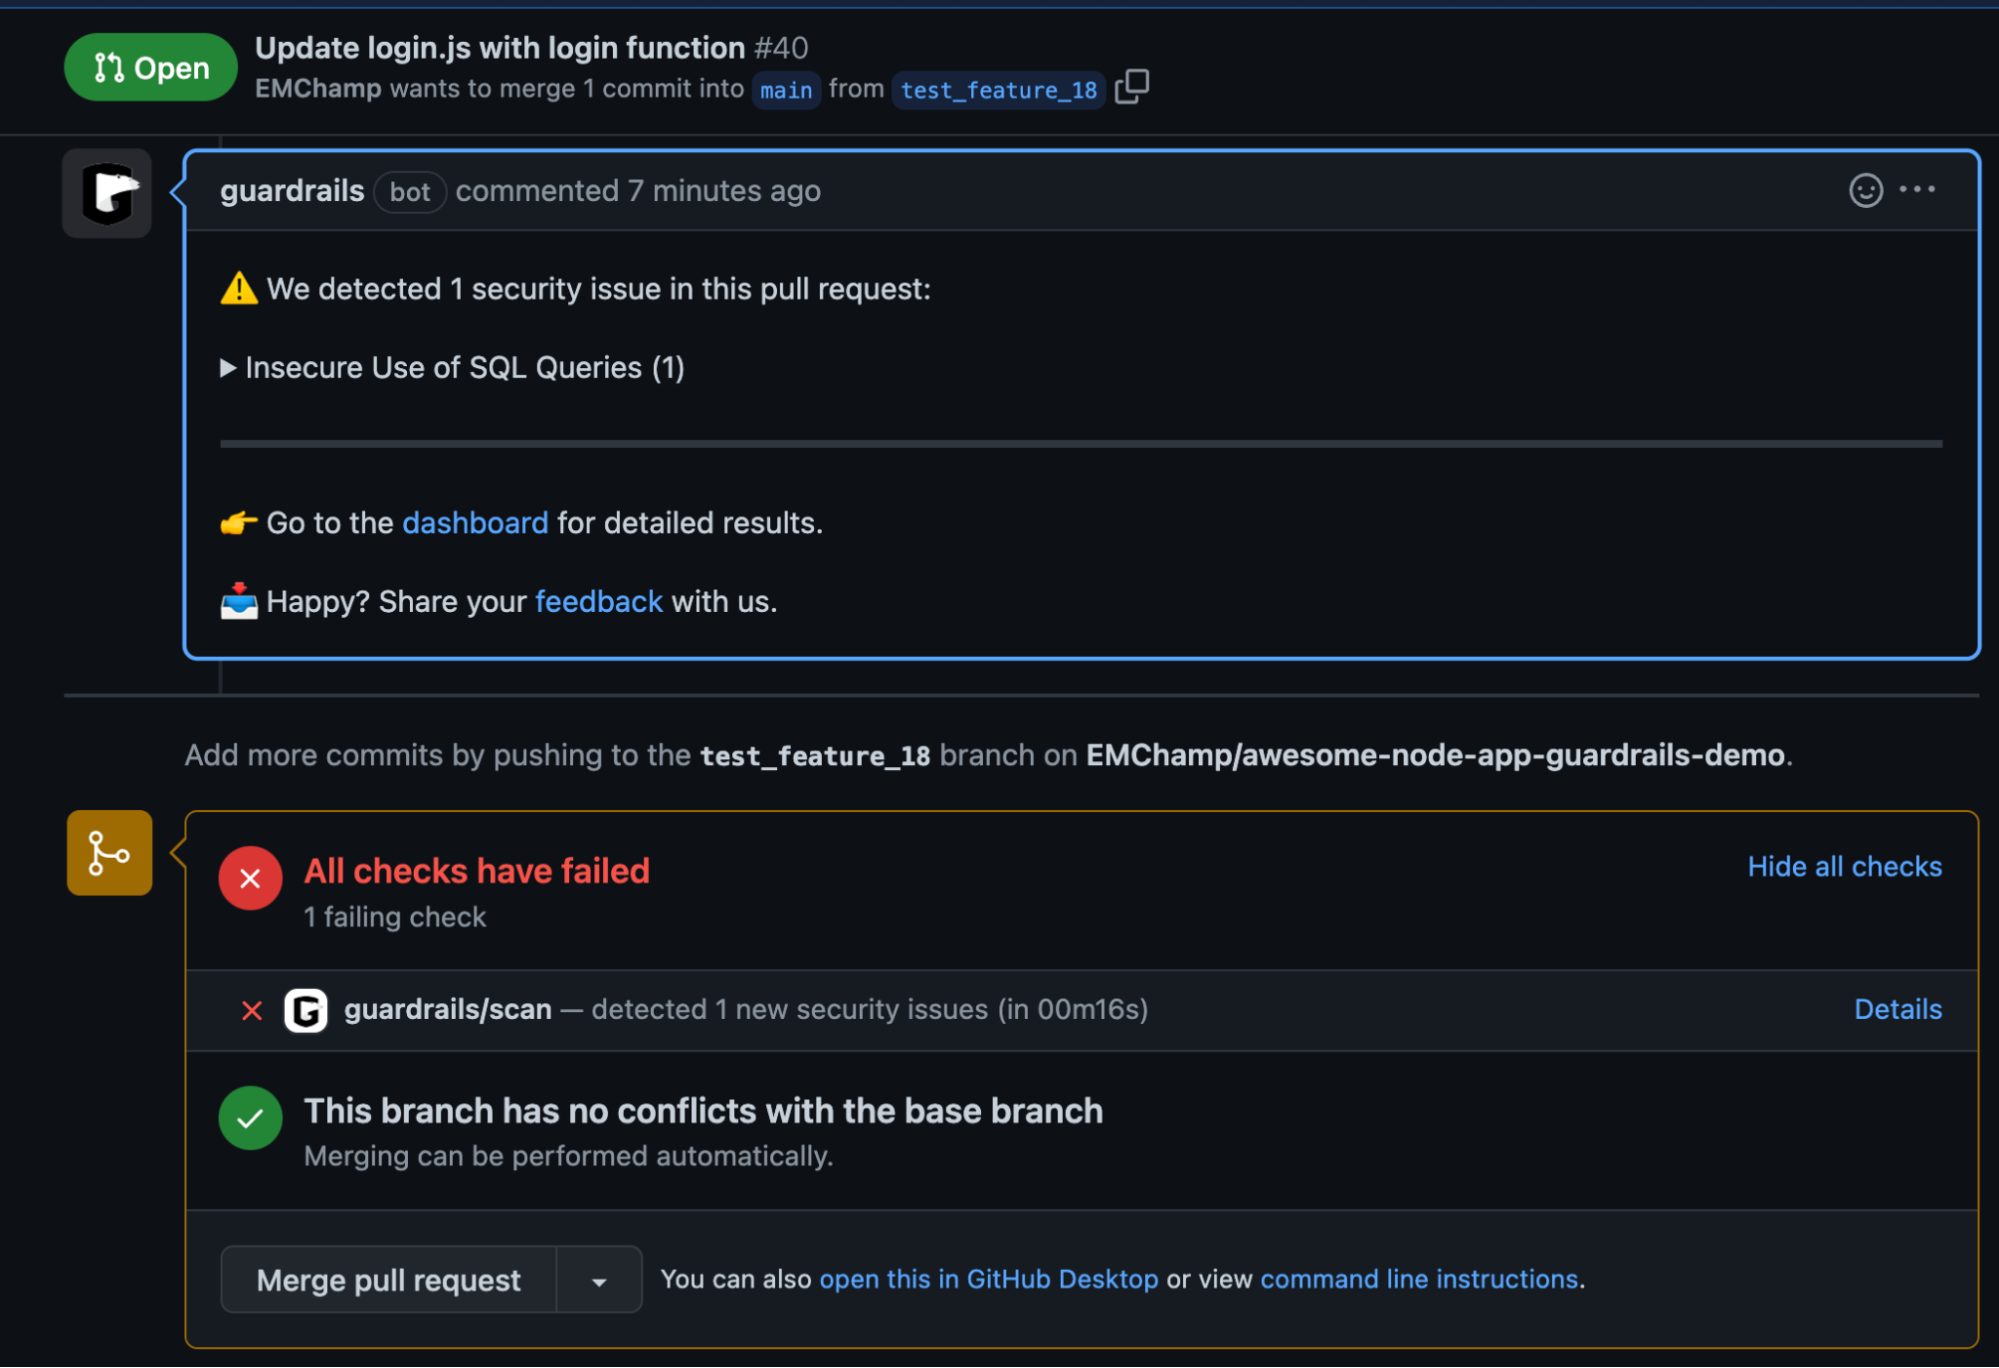
Open a pull request and this will automatically trigger a scan from GuardRails.

Add a new repository and trigger a scan (GitHub)
If you would like to add a new repository and trigger a scan you can follow the steps below.
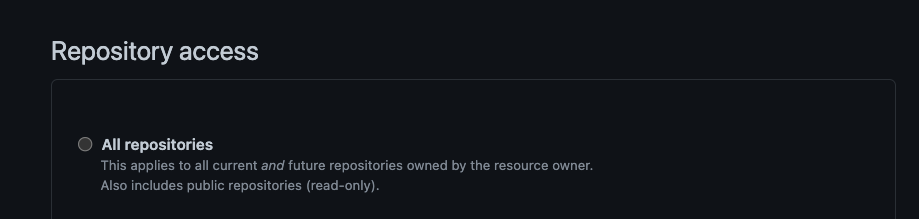
Note: This assumes that GuardRails has been granted the rights to scan repositories from your VCS control page. For example, for GitHub you should grant GuardRails access to “All Repositories” to automatically add new repositories. Otherwise new repositories would need to be manually added first. You can access this screen from Marketplace -> GuardRails App > Repository Access.
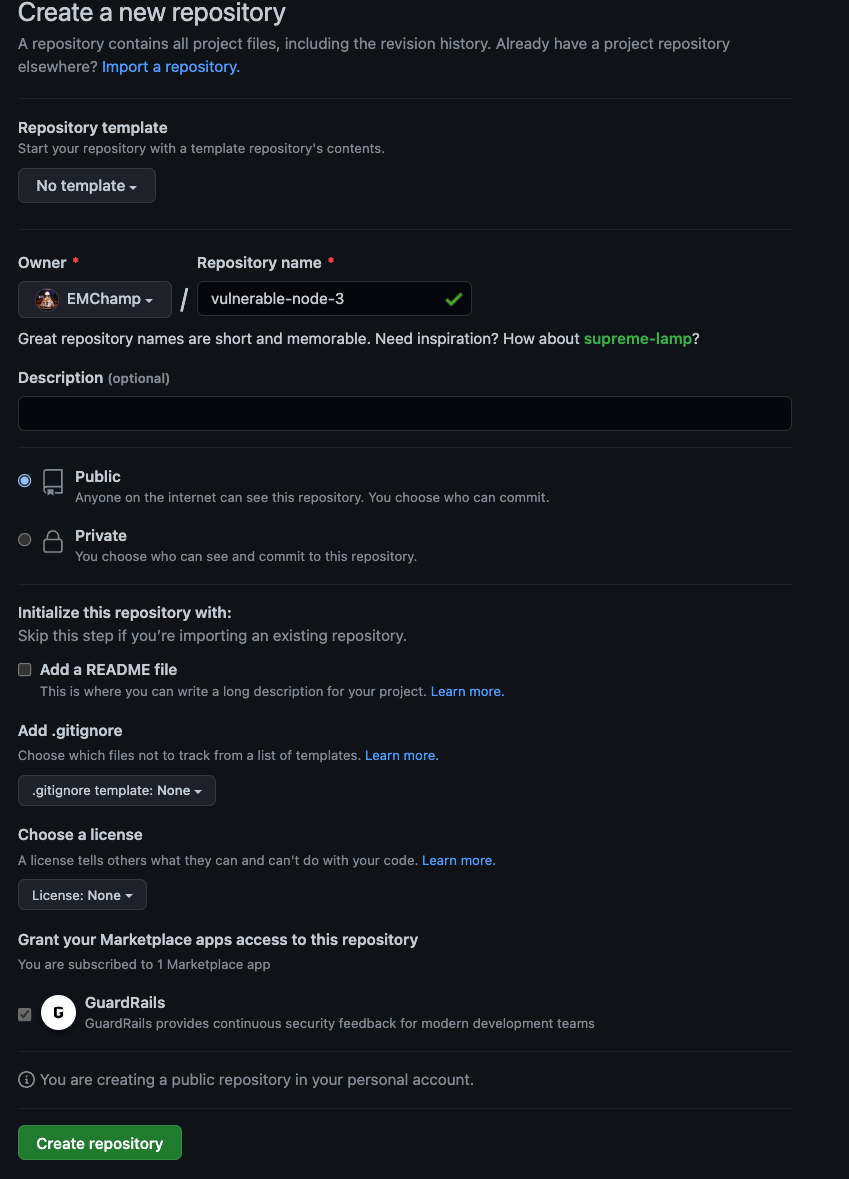
Once the appropriate access is granted, create a new repository in your VCS platform.
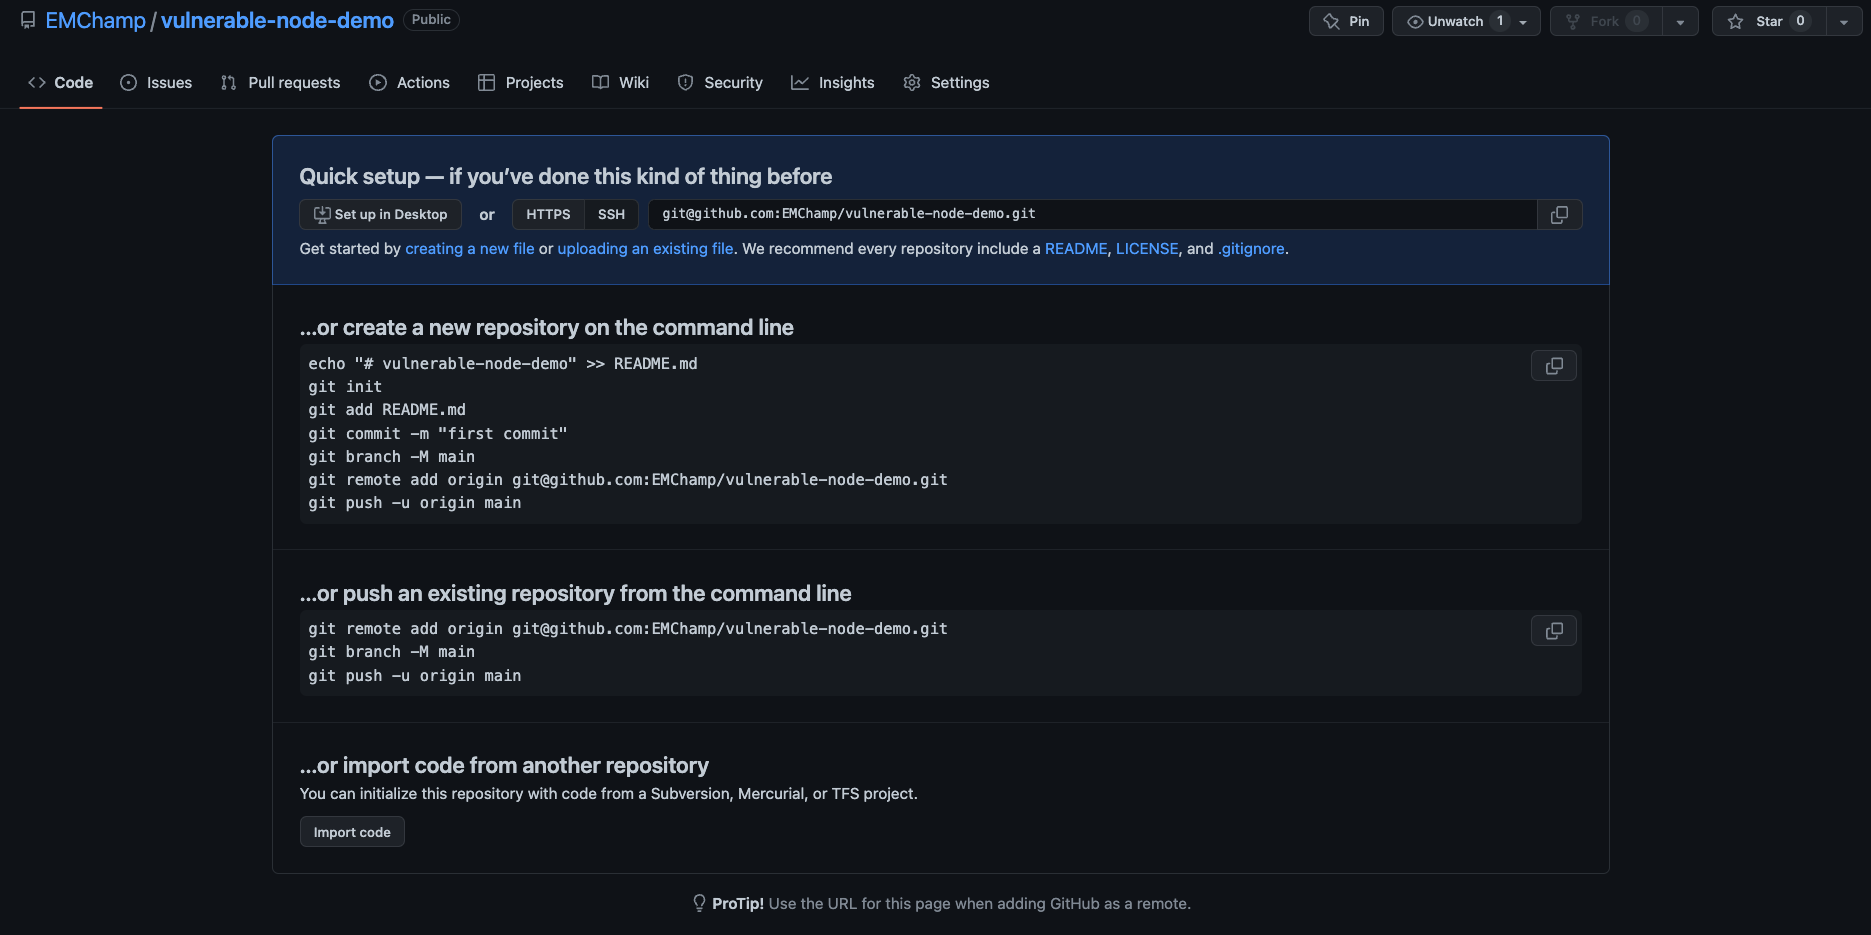
Then go to your existing code base that you wish to commit and enter the steps to create a new repository, add the code base to that repository and then push the repository to version control.
git add -A
git commit -m "first commit"
git branch -M main
git remote add origin [email protected]:<git repo address>
git push -u origin main
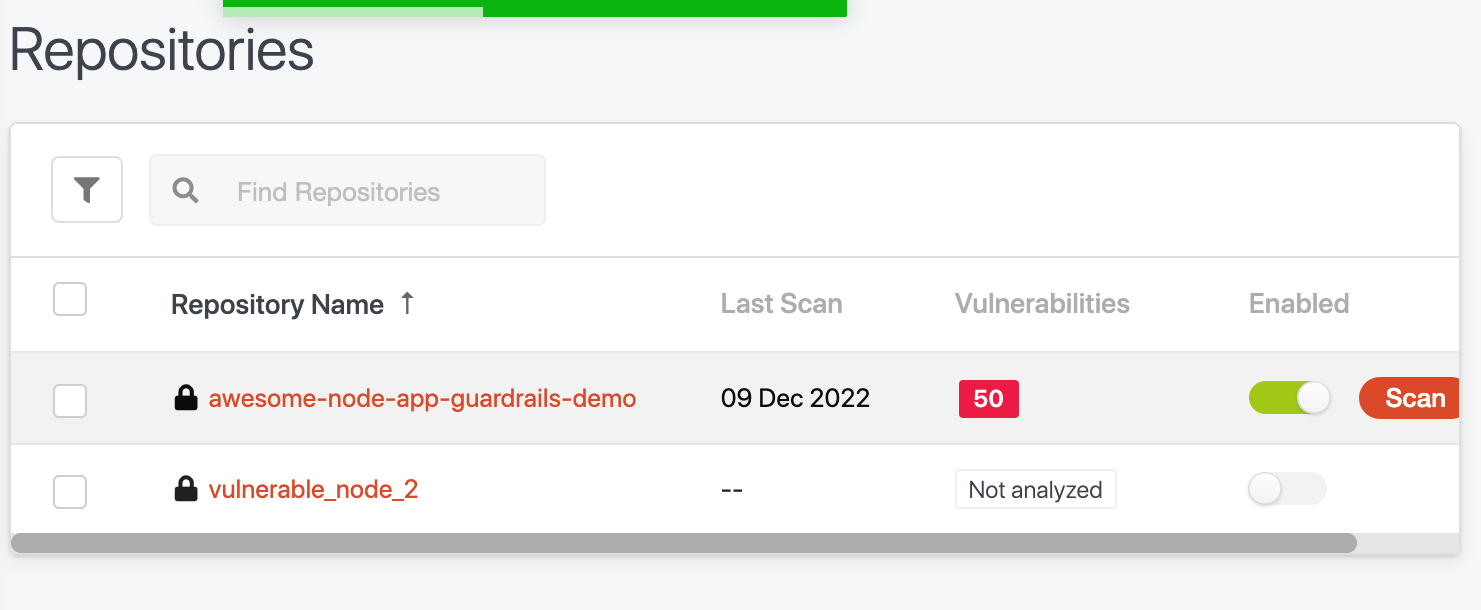
This should result in the repository automatically showing up in your GuardRails Dashboard under “Repositories”

You can then hit the “Scan” button on that page which should trigger a scan on the default branch of this repo.
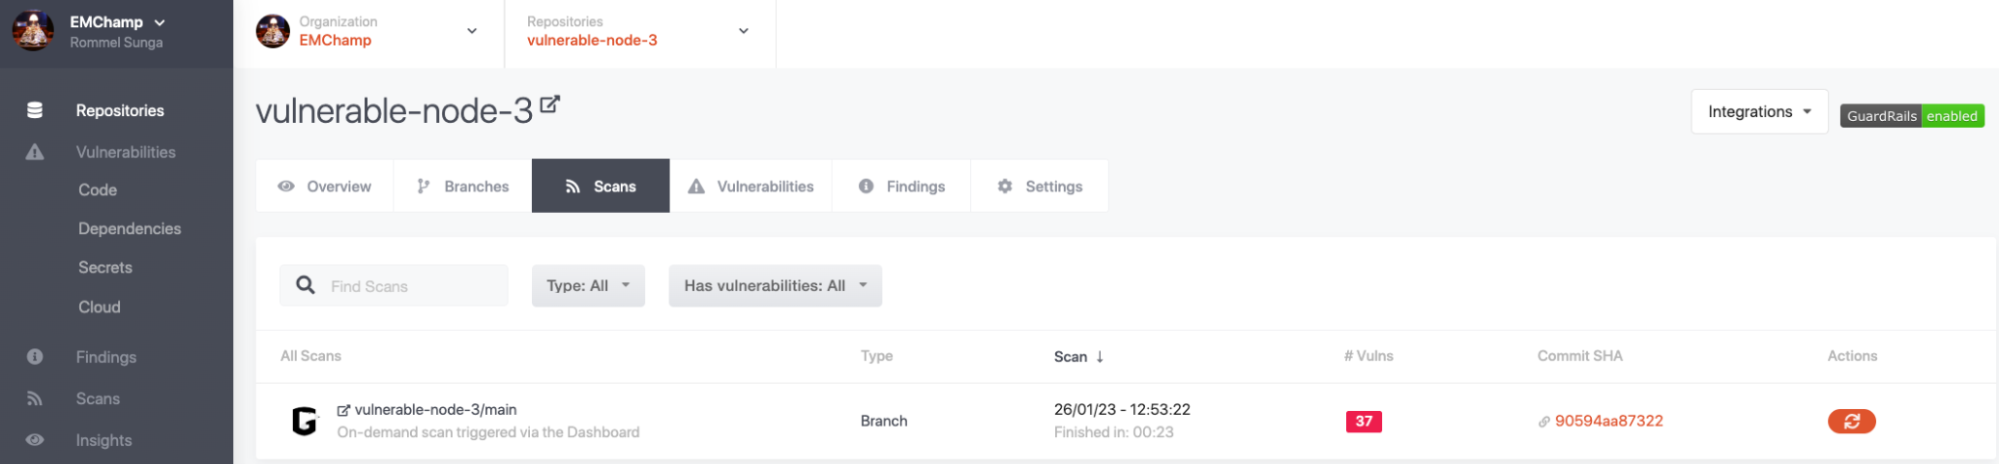
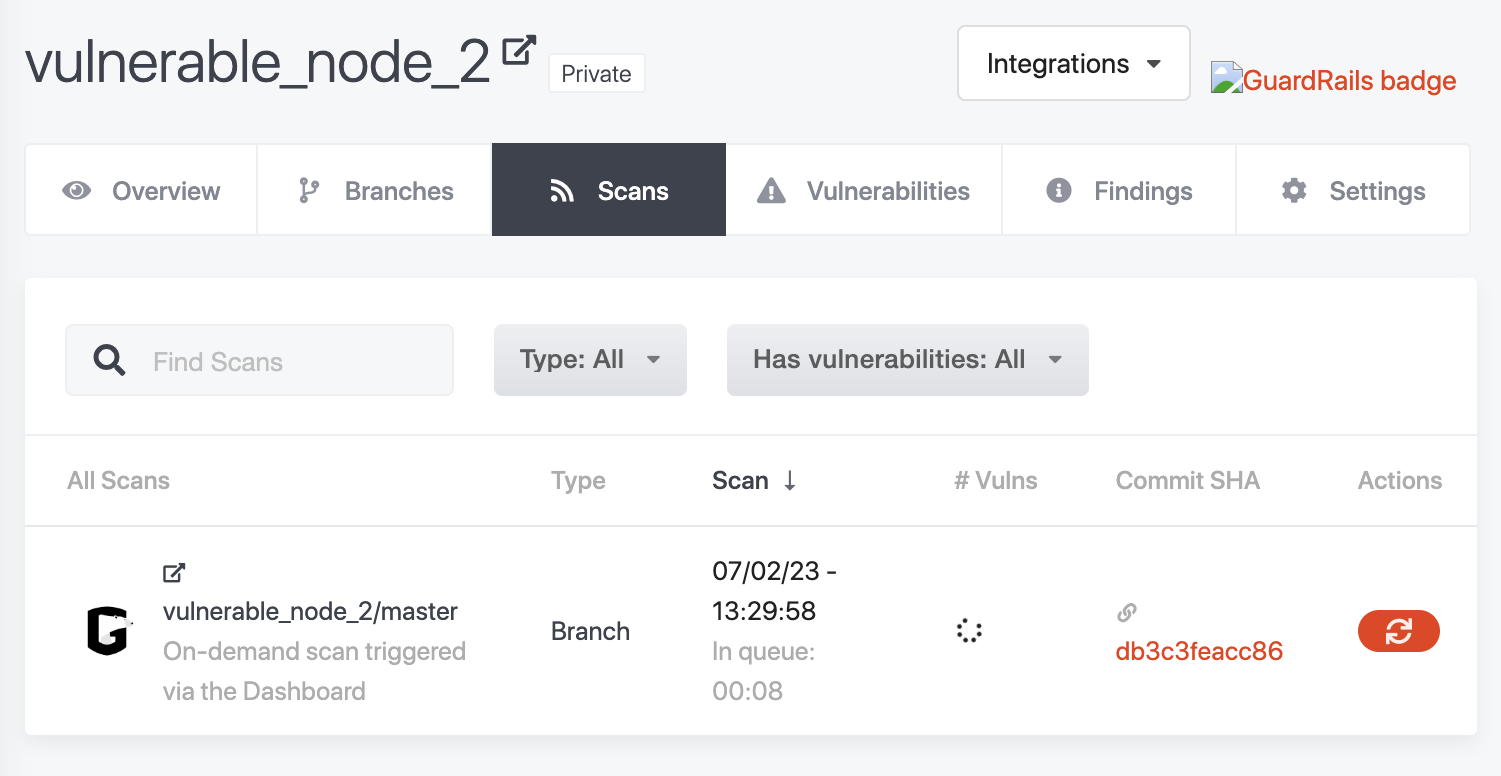
Once the scan completes, you will be able to see a result of the scan including the vulnerabilities detected.
Scan an existing repository after a pull request (GitLab)
First create a new feature branch in that repository so that guardrails can scan the new changes.
Once the branch is created, go ahead and commit the changes to the feature branch.
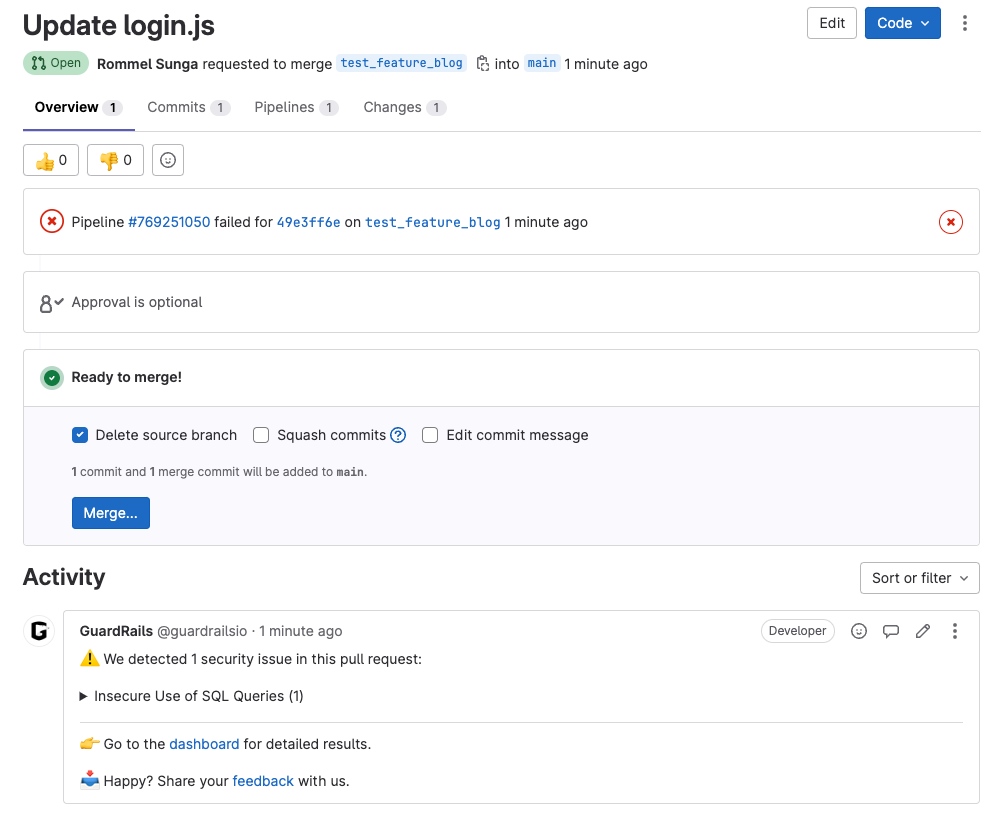
Open a merge request and this will automatically trigger a scan from GuardRails.
Add a new repository and trigger a scan (GitLab)
If you would like to add a new repository and trigger a scan you can follow the steps below.
Create a new repository in your VCS platform.
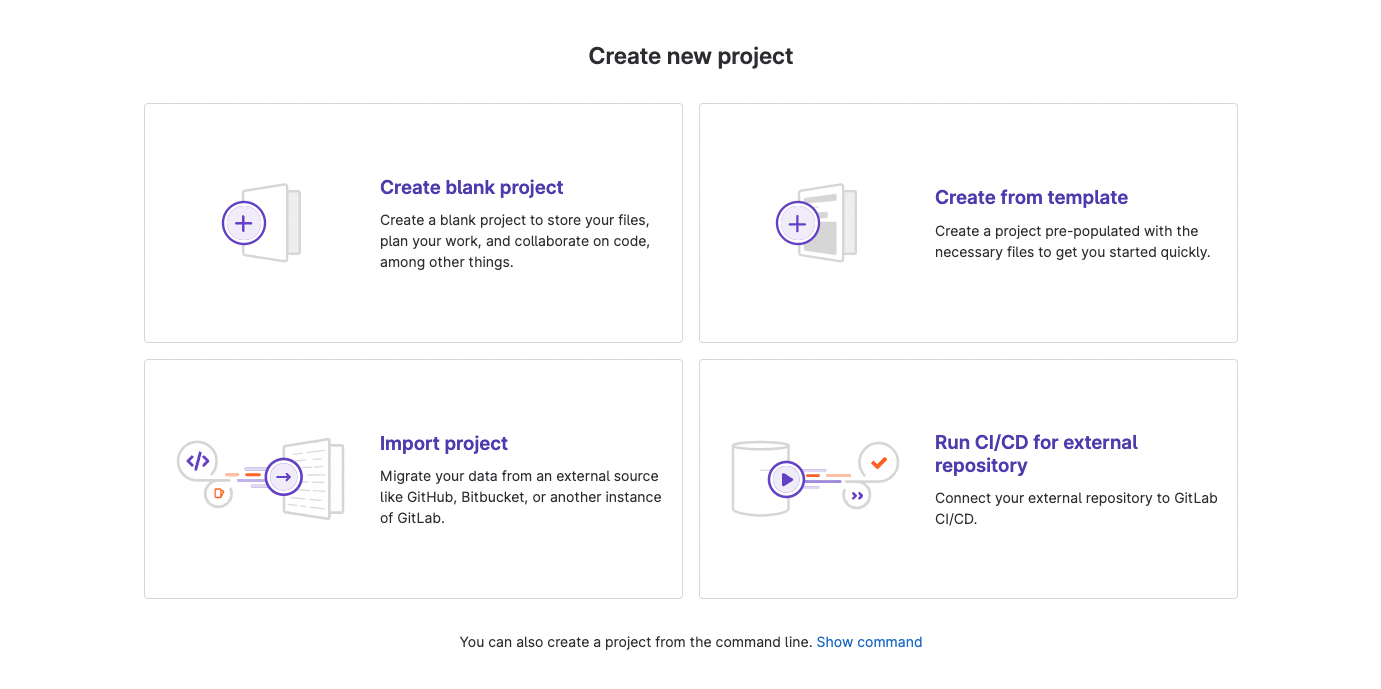
In this case I chose to import an existing repository from GitLab but you can also create a new project.

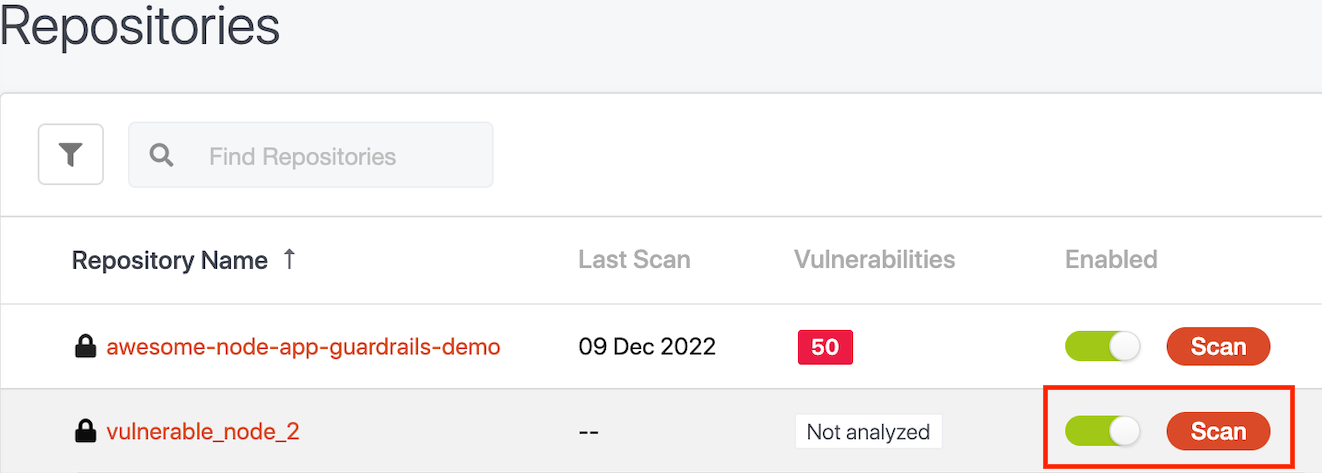
This should result in the repository automatically showing up in your GuardRails Dashboard under “Repositories”
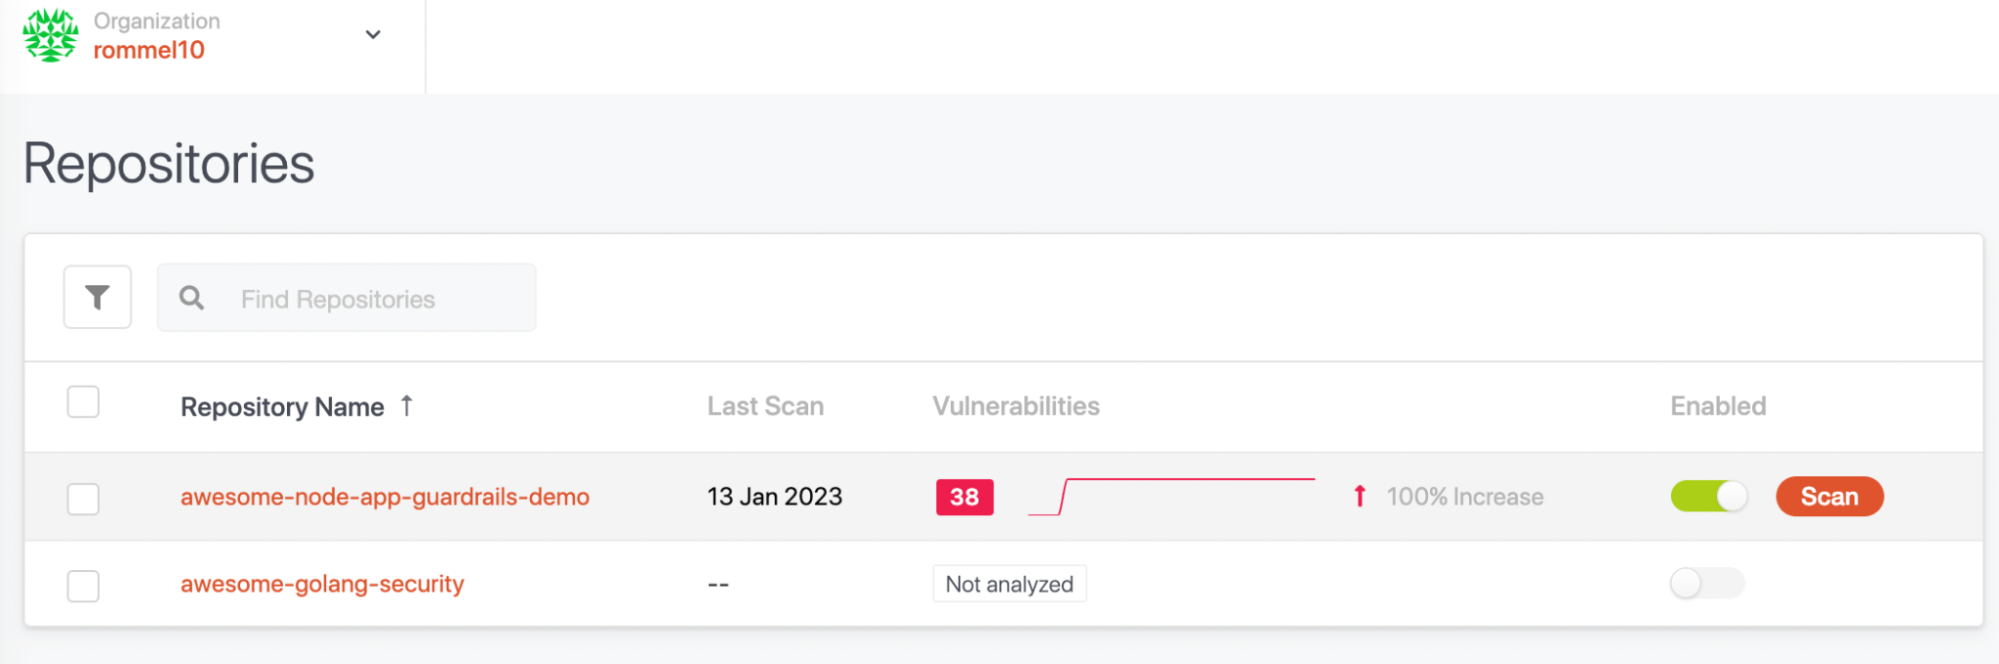
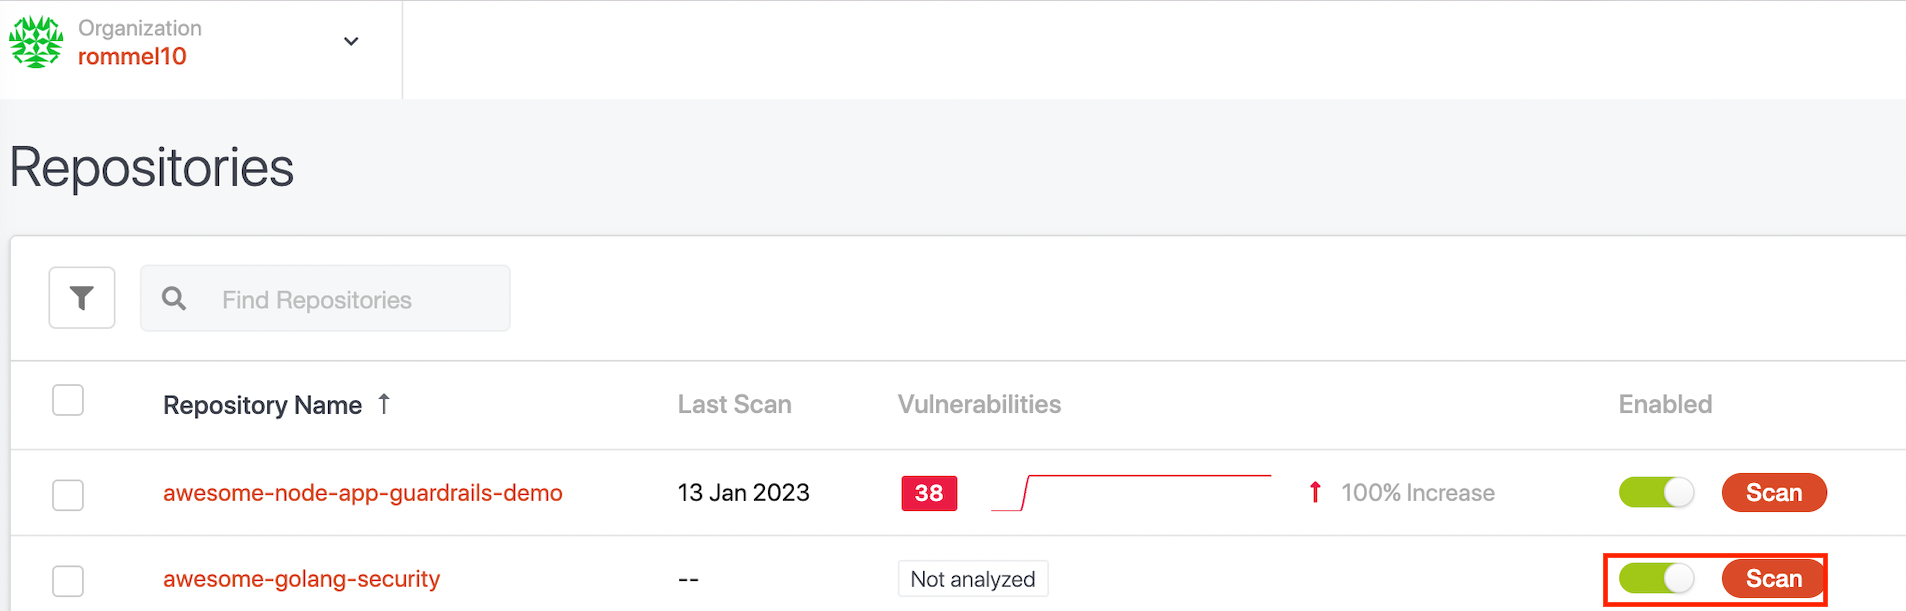
You can then enable the repository and hit the Scan button.
Once the scan completes, you will be able to see the result of the scan including the vulnerabilities detected.

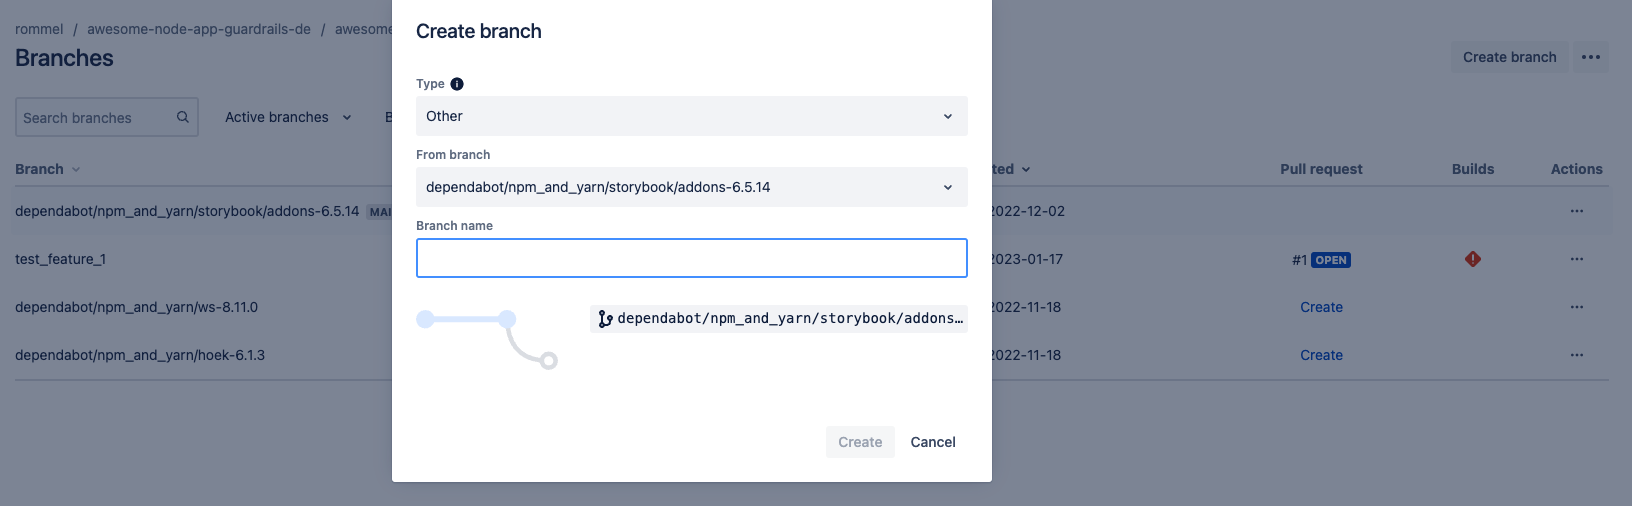
Scan an existing repository after a pull request (Bitbucket)
First create a new feature branch in that repository so that guardrails can scan the new changes.
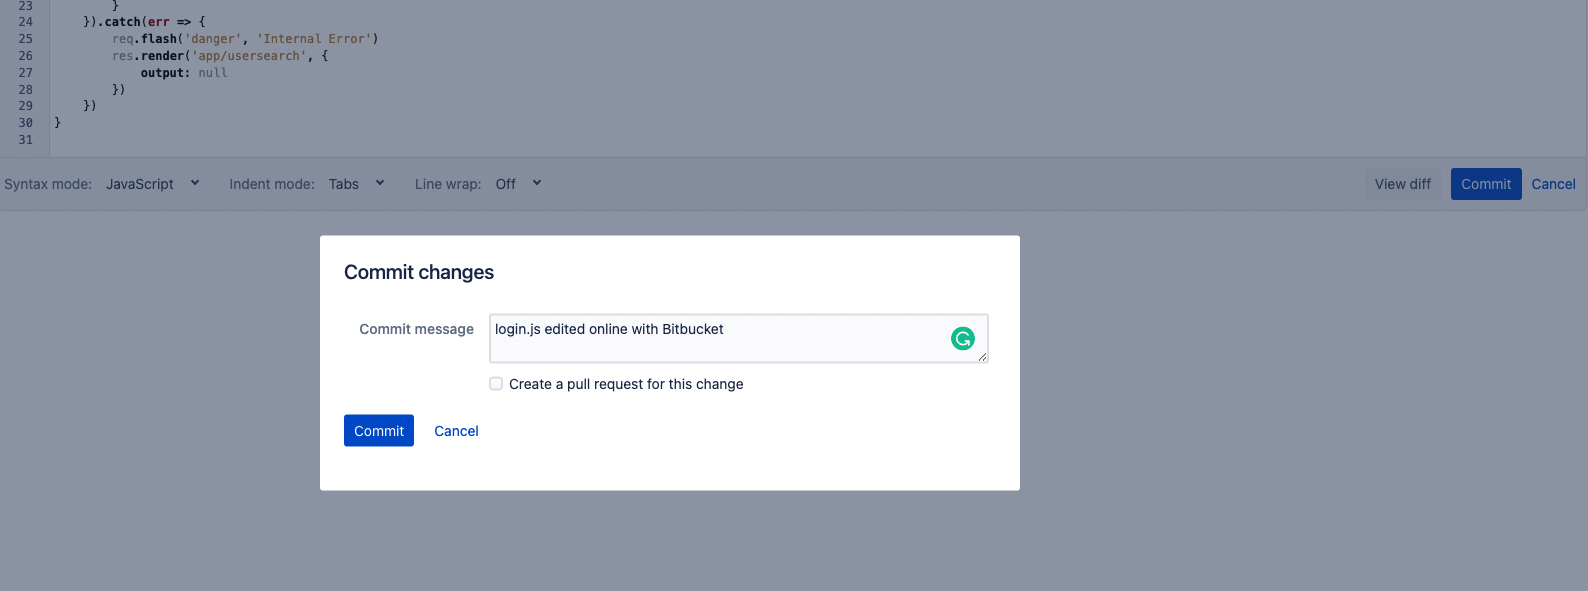
Once the branch is created, go ahead and commit the changes to the feature branch.
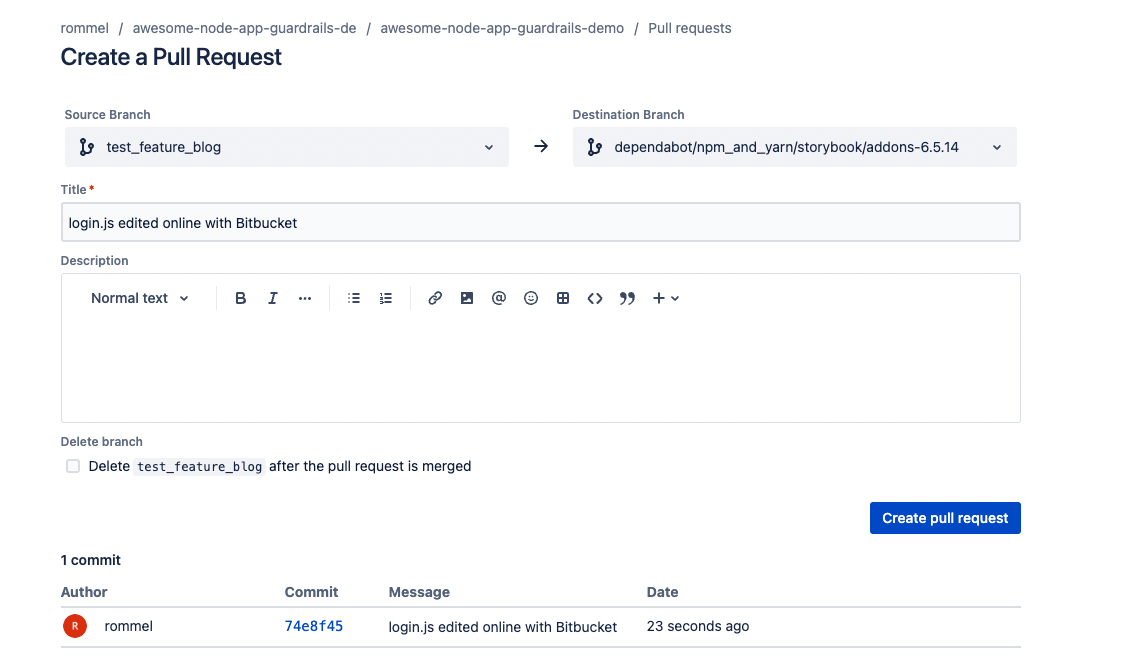
Open a pull request and this will automatically trigger a scan from GuardRails
Add a new repository and trigger a scan (Bitbucket)
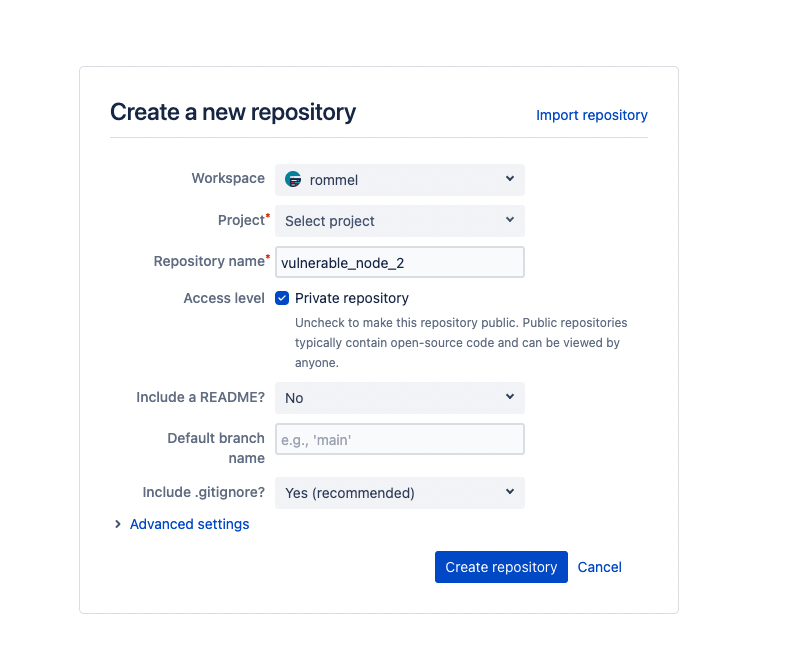
If you would like to add a new repository and trigger a scan you can follow the steps below.
Create a new repository in your VCS platform.
Then go to the existing code base that you wish to commit and enter the steps to create a new repository, add the code base to that repository and push the repository to version control.
git add -A
git commit -m "first commit"
git push origin master
This should result in the repository automatically showing up in your GuardRails Dashboard under “Repositories”
You can then enable scanning of the repository and hit the “Scan” button on that page which should trigger a scan on the default branch of this repo.
Once the scan completes, you will be able to see the result of the scan including the vulnerabilities detected.
Use the CLI to trigger a scan
First ensure that you have installed the CLI by following the installation instructions in our CLI usage guide.
In order to trigger a scan from the CLI, use the guardrails scan functionality from the local directory of a repository.
Note: This directory must already be added to version control and GuardRails must have access to the repository. The CLI cannot scan local copies of repositories, unless GuardRails already has access to the corresponding remote repository branch.
guardrails scan --token <insert token from guardrails dashboard>
After running the command above, you should receive the results of the scan in the CLI output.

You can also view the scan in the “Scans” tab for either the repository view within the GuardRails Dashboard or the “Scans” page where you can see all scans.

Conclusion
After following this tutorial, you should now be able to verify that GuardRails can scan existing and new repositories. In addition you should also be able to trigger scans through the CLI tool if needed as part of a CI/CD pipeline for example. We highly recommend to run scans based on pull requests, however if it does not fit your organization’s toolkit then the CLI is available as an option.