Getting started
Welcome
Hello there and a very warm welcome! We are thrilled that you are joining our rapidly growing user base.
GuardRails is all about providing a great Developer Experience. Please reach out and let us know if there is anything we can do to make the experience even better. Tweet at us @guardrailsio, email us at [email protected], or open a ticket in our support portal.
Still have questions? Click here to find out about more about GuardRails.
Select below for specific instructions on how to get started on a specific platform:
Missing a platform? Please drop us a line at [email protected].
We support on-premise deployments. For more information drop us a line.
GitHub
Prerequisites
It's simple, all you need is:
- a GitHub Account
ownerpermissions to install GitHub applications into organizations
Note: The GuardRails dashboard is accessible to members of the organization, but in order to enable repositories and manage subscriptions, owner privileges are required.
Install
You can trigger the install flow via the GuardRails.io website and either login to the dashboard first, with GitHub, or select a plan for trial - which would also redirect you to dashboard login screen. If you haven't installed the GuardRails app yet, you can do that after the first login. The steps are similar to the ones outlined below.
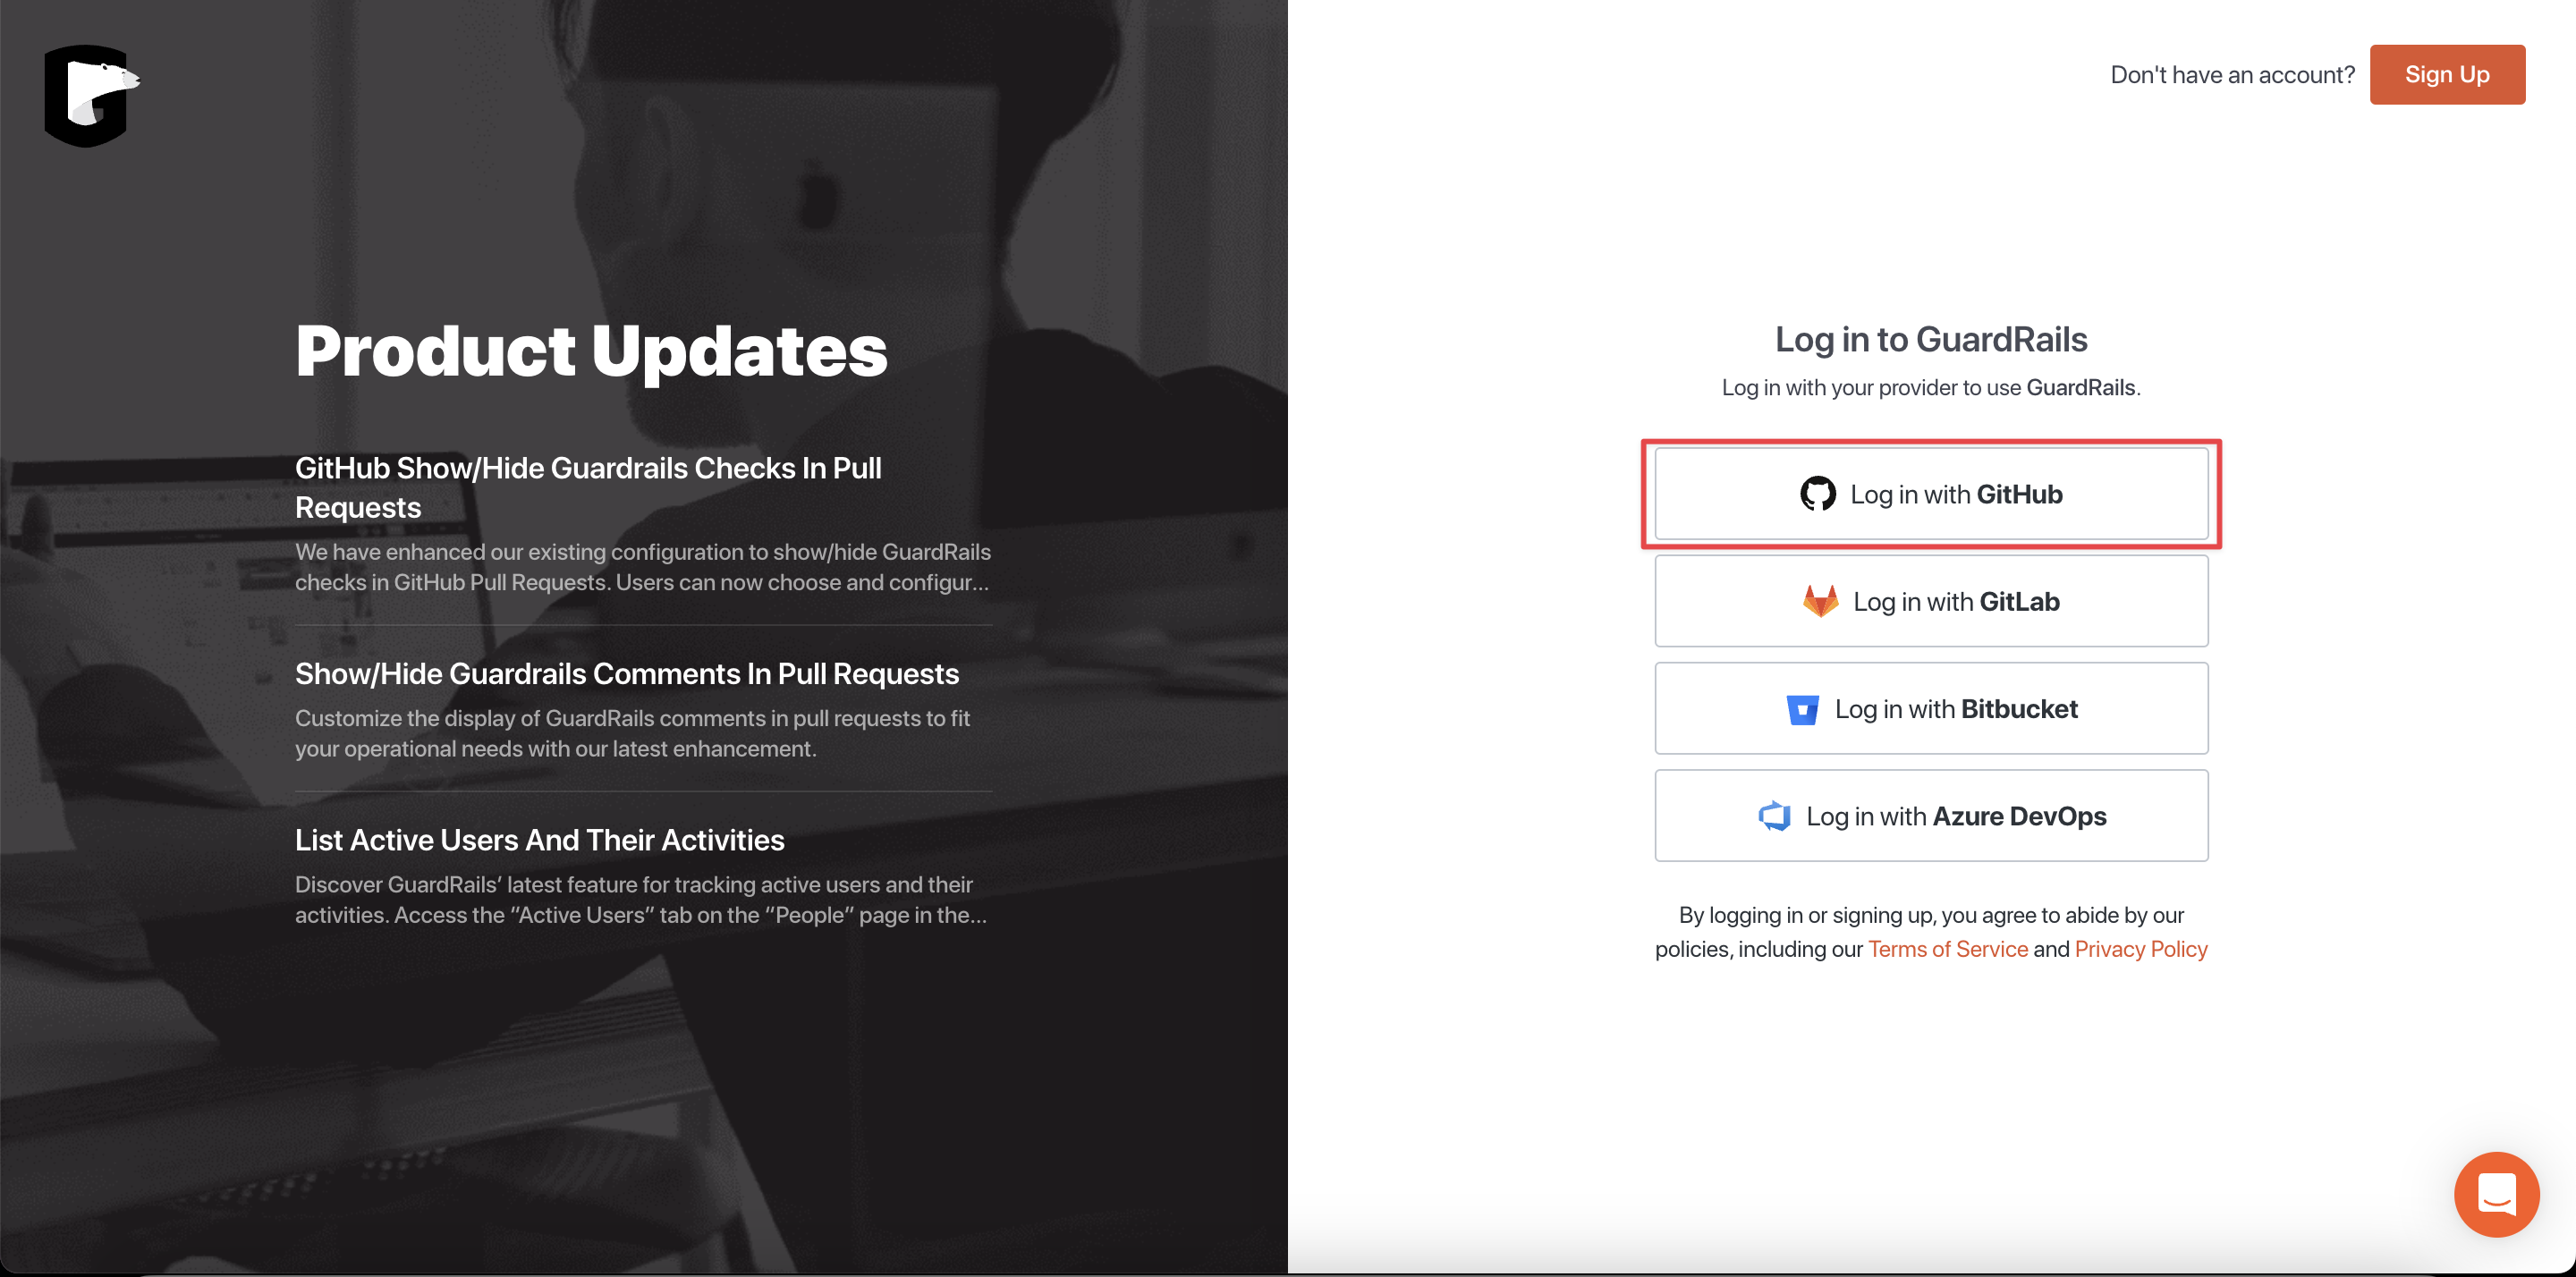
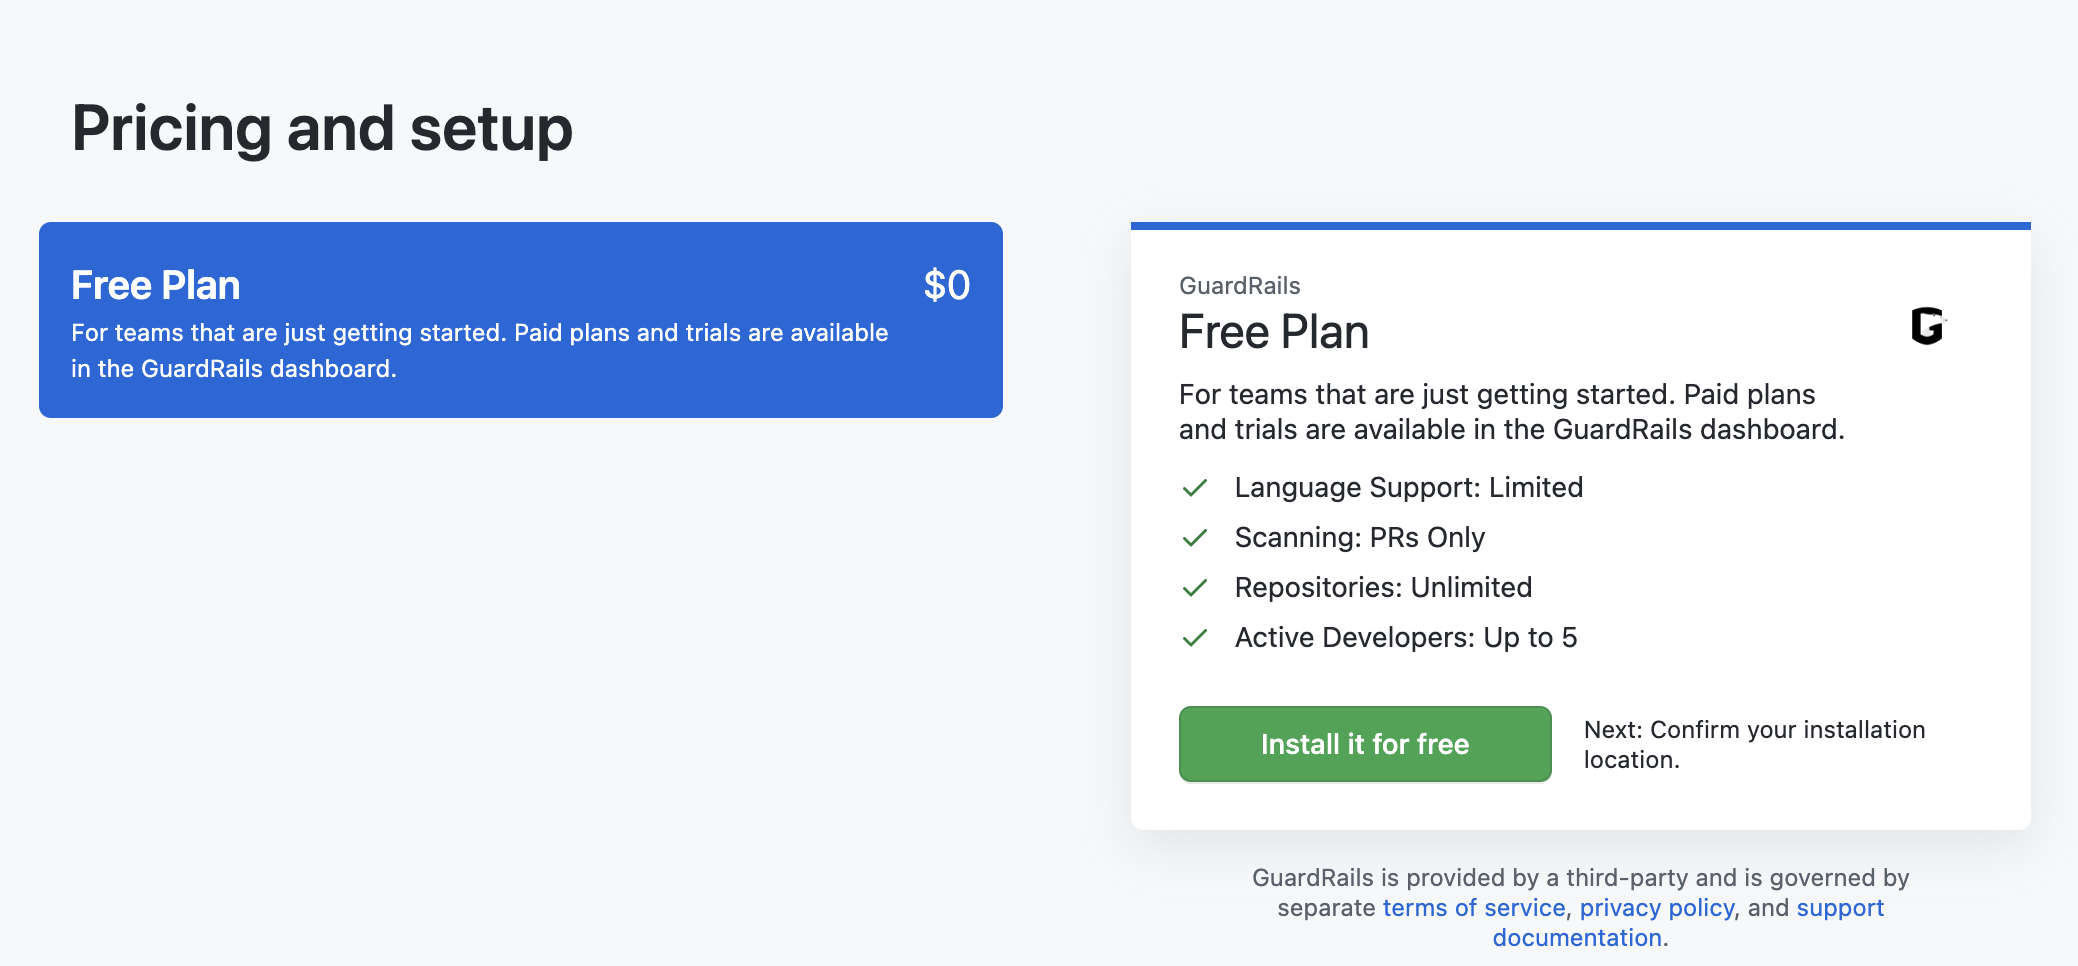
Alternatively, you can start by navigating to the GuardRails listing on the GitHub marketplace and click the "Set up a free trial" button.

Select the plan that you want to trial, select the organization that you want to install it in, and click on "Try free for 14 days".
Note: Every plan comes with a 2 week trial, so there are no charges at this point.
On the next screen you can review the order and click "Complete order and begin installation".
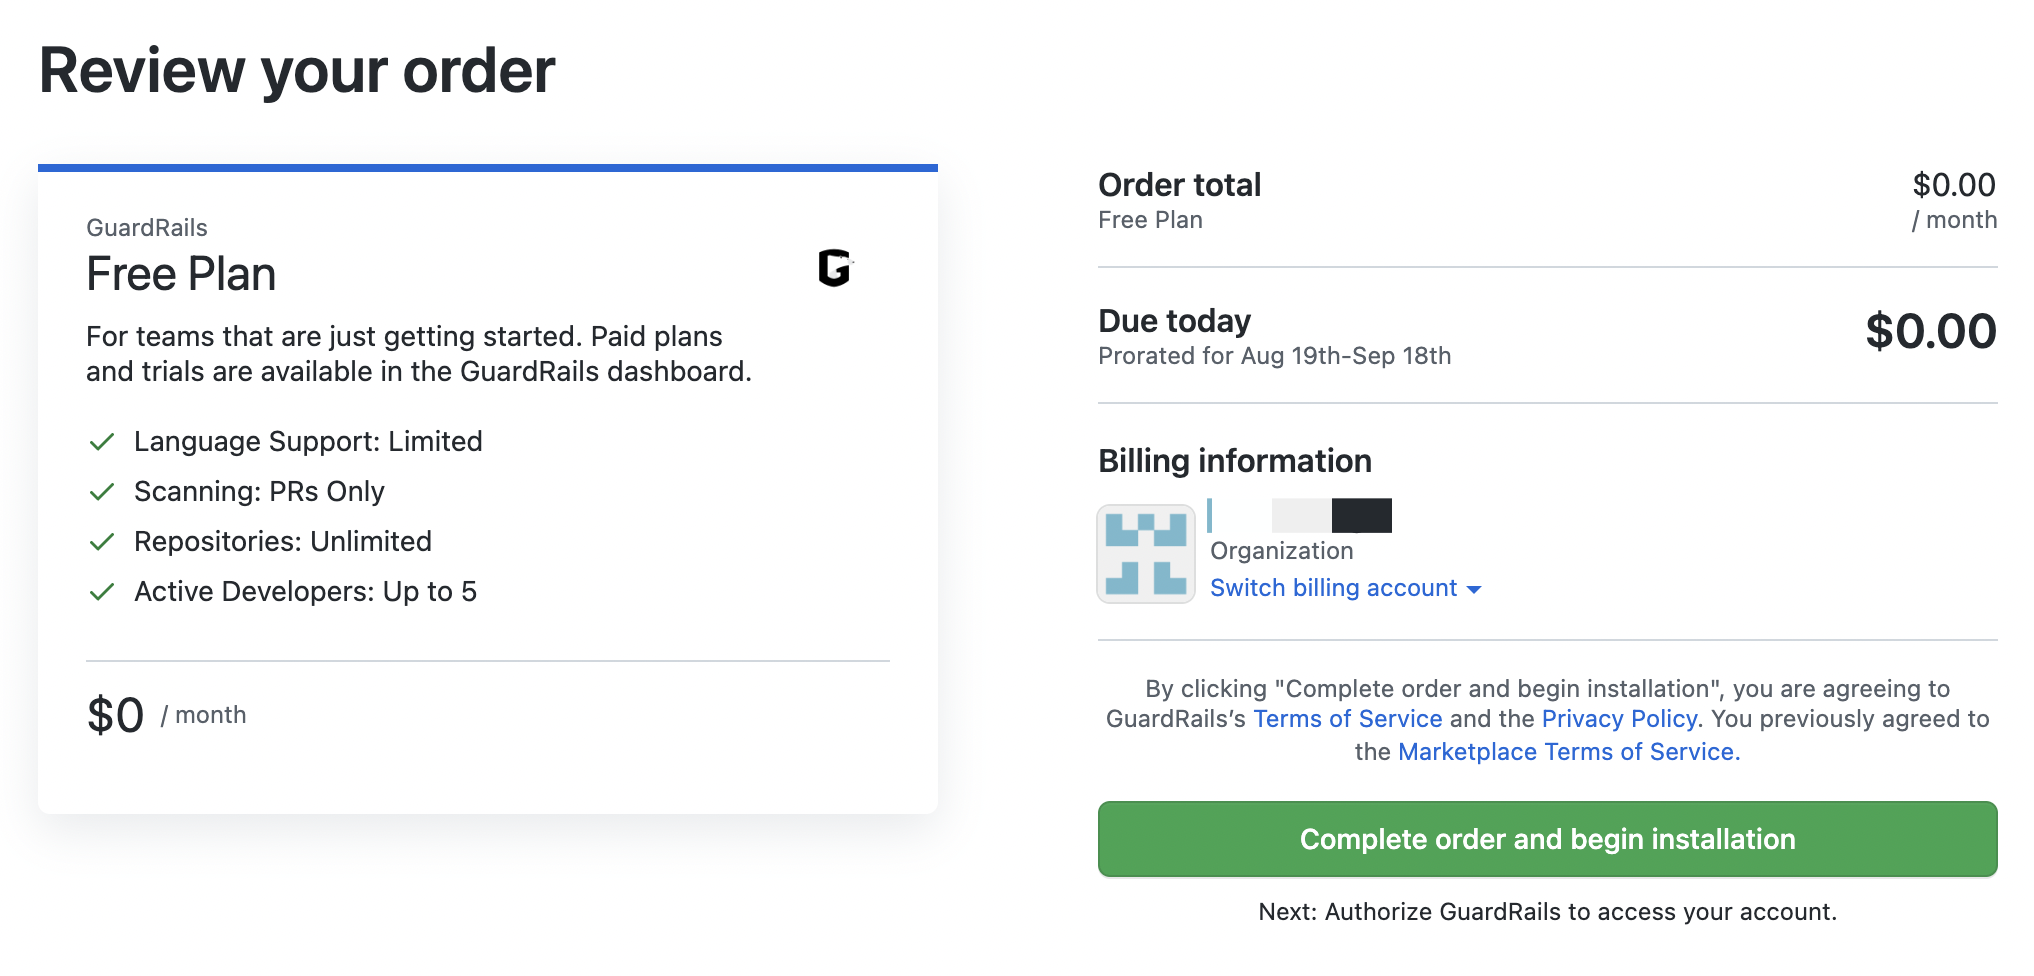
Note: You can select a plan and start a trial in the GuardRails Dashboard after the application was installed.
Next, you can choose which repositories you want to have covered by GuardRails.
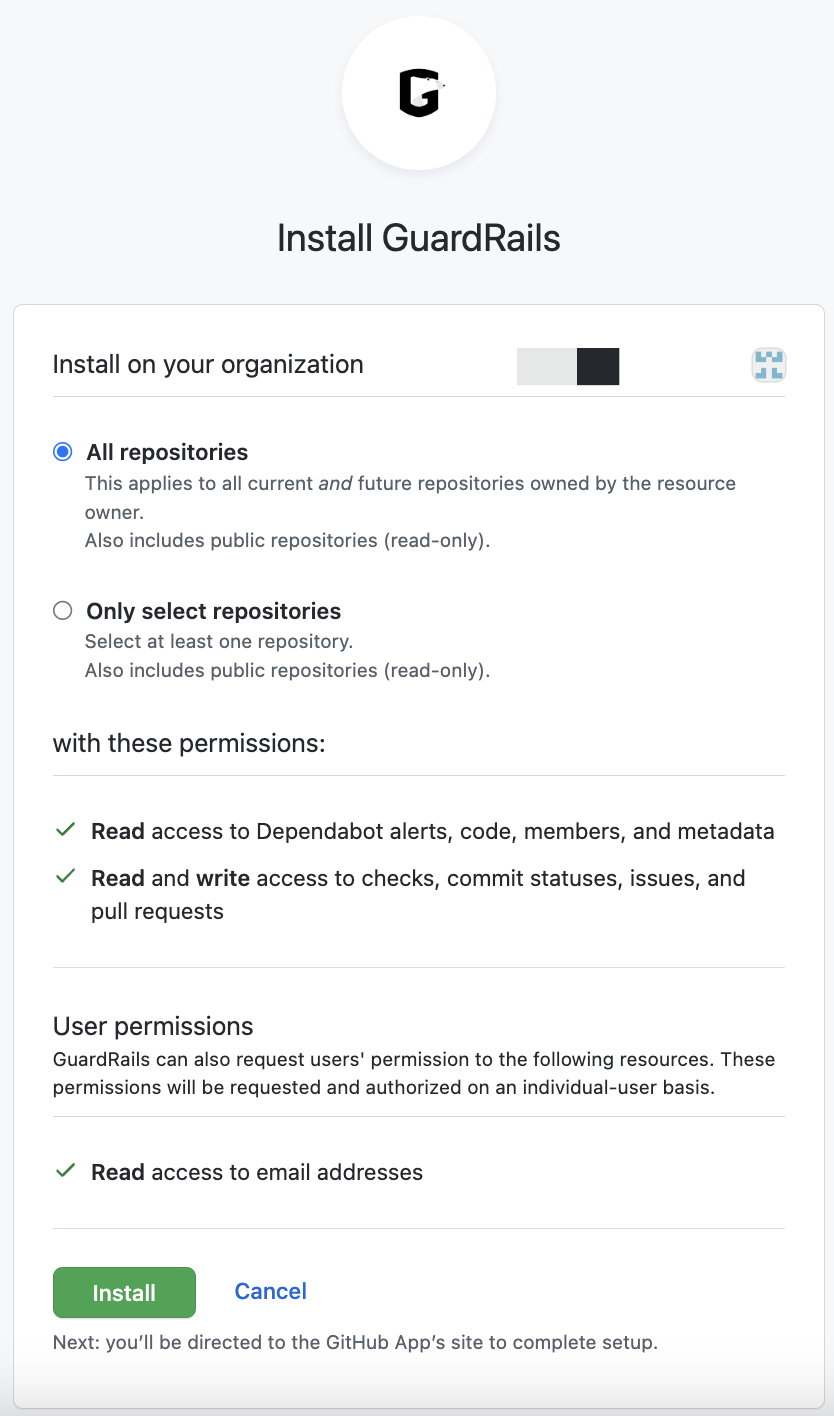
You can either add all repositories or select the ones that you want to protect. Click "Install" again to complete the setup.
After a successful installation, you will be redirected to the GuardRails Dashboard.
Now, you can select the repositories that you want to have scanned by GuardRails. By default, all repositories are enabled and a first scan was run automatically by GuardRails for each of them.
if you're using GuardRails on-premise, the repositories will not get auto-scanned.

Look for the repositories that you want to enable/disable and toggle the slider.
From now on, GuardRails will scan your repositories every time a Pull Request is created, and if you are on a paid team plan, also every time a commit is pushed to any branch.
The results of the security scan are shown as a comment of that PR, or in the branches tab of each repository.
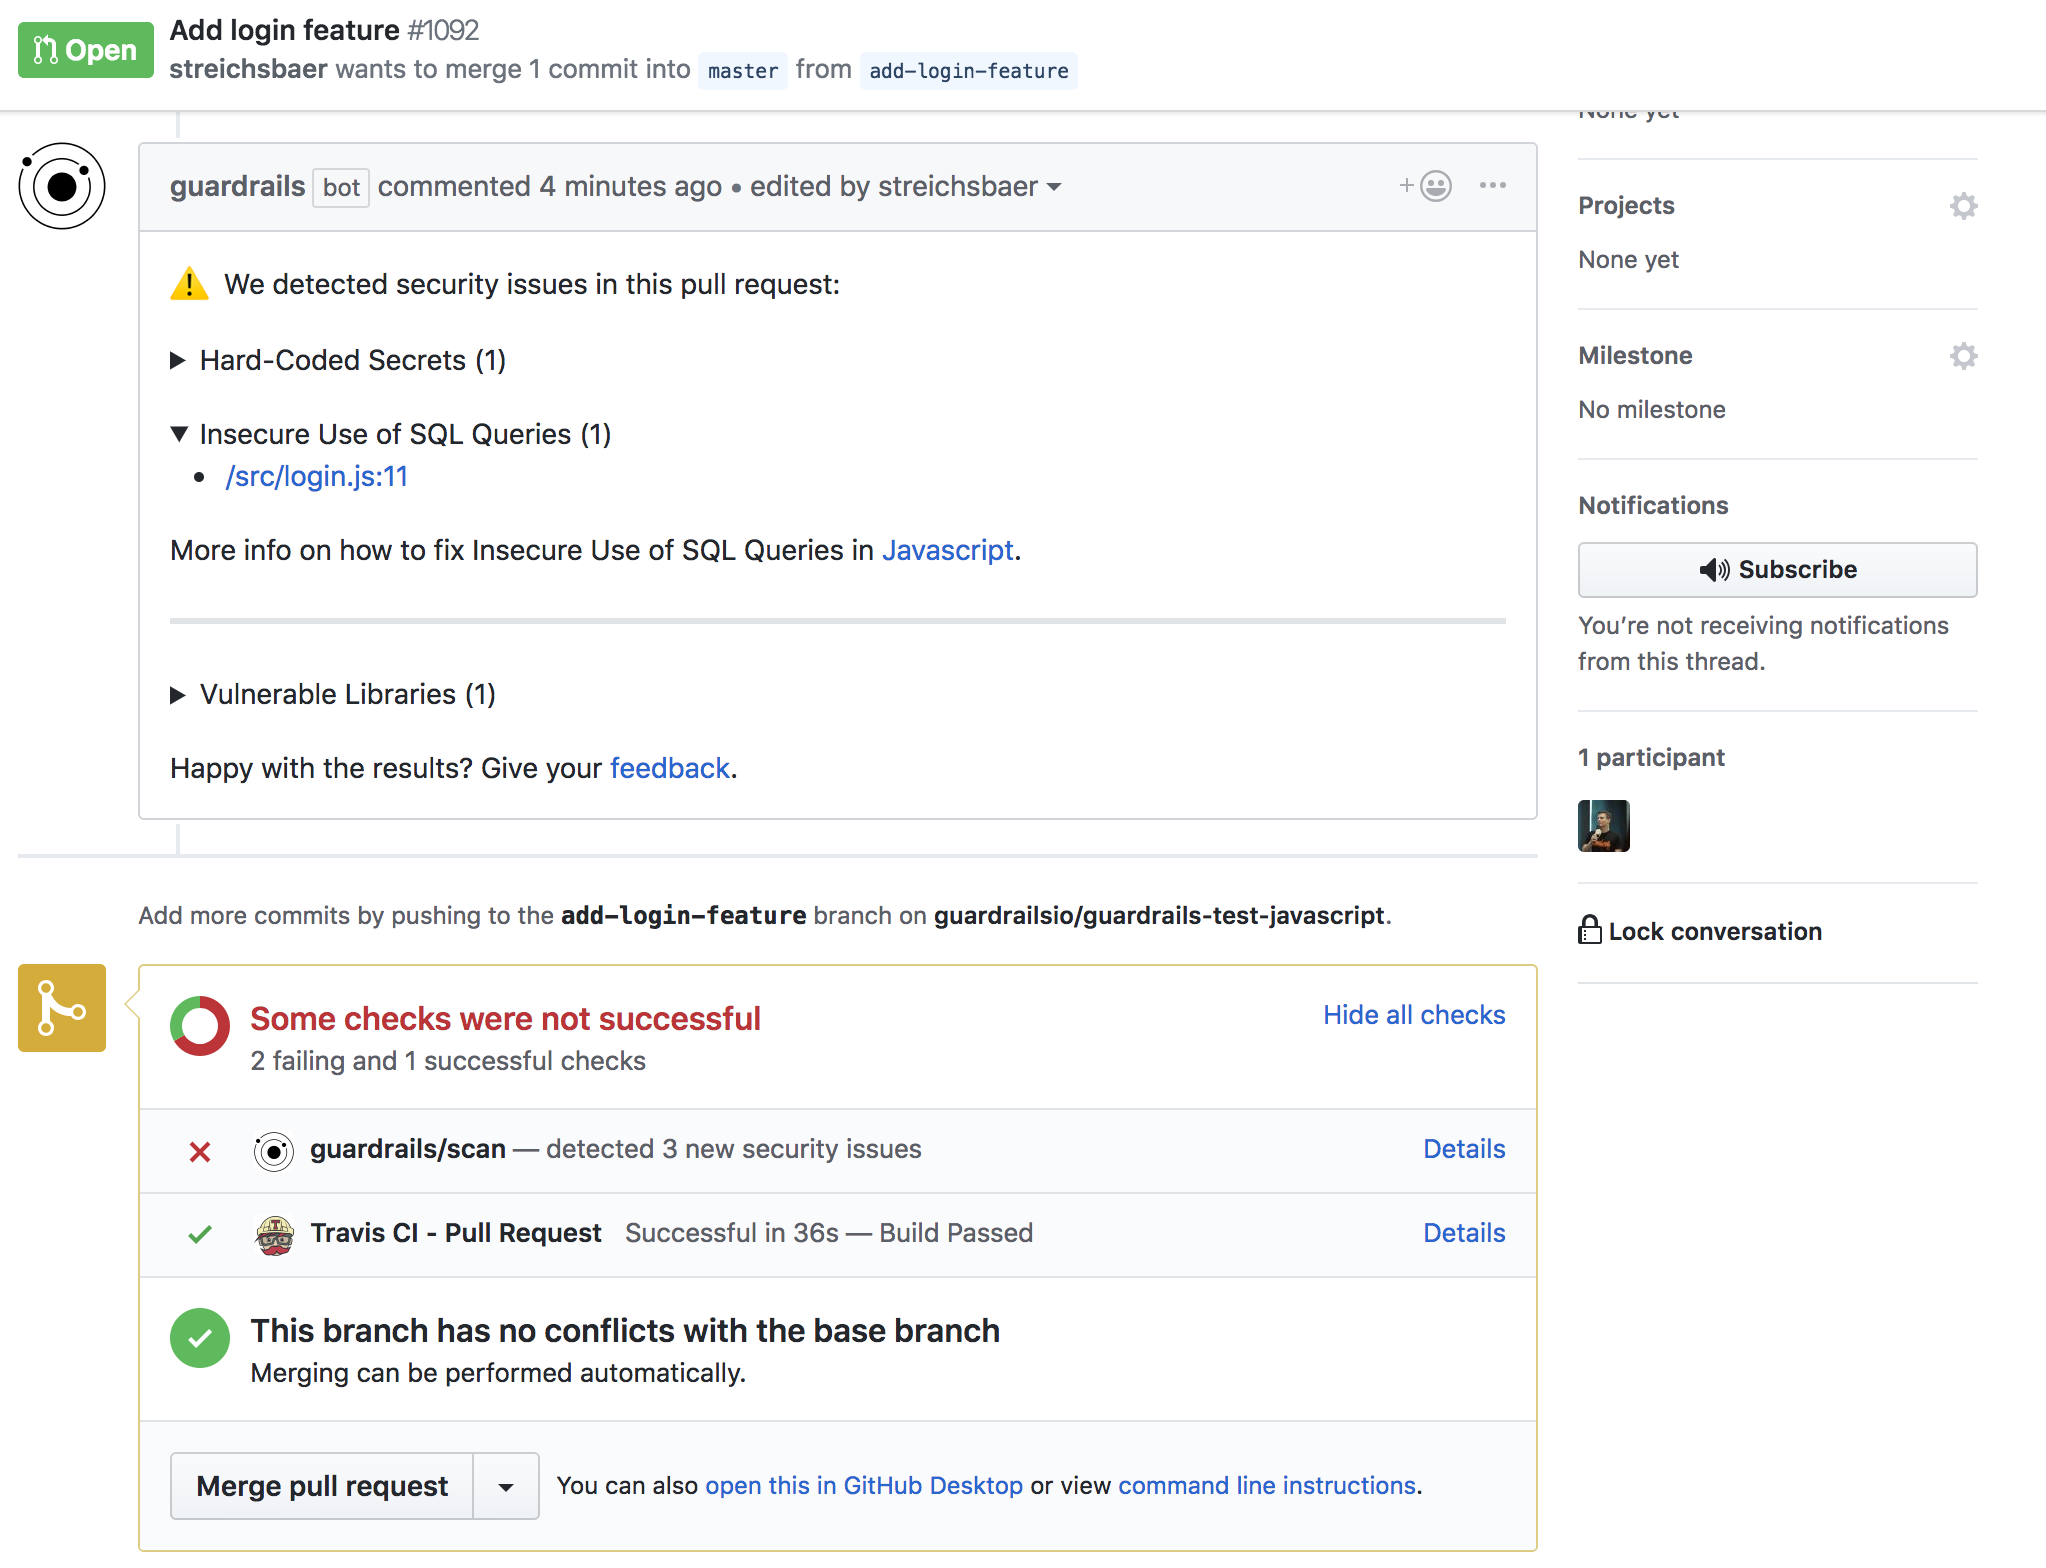
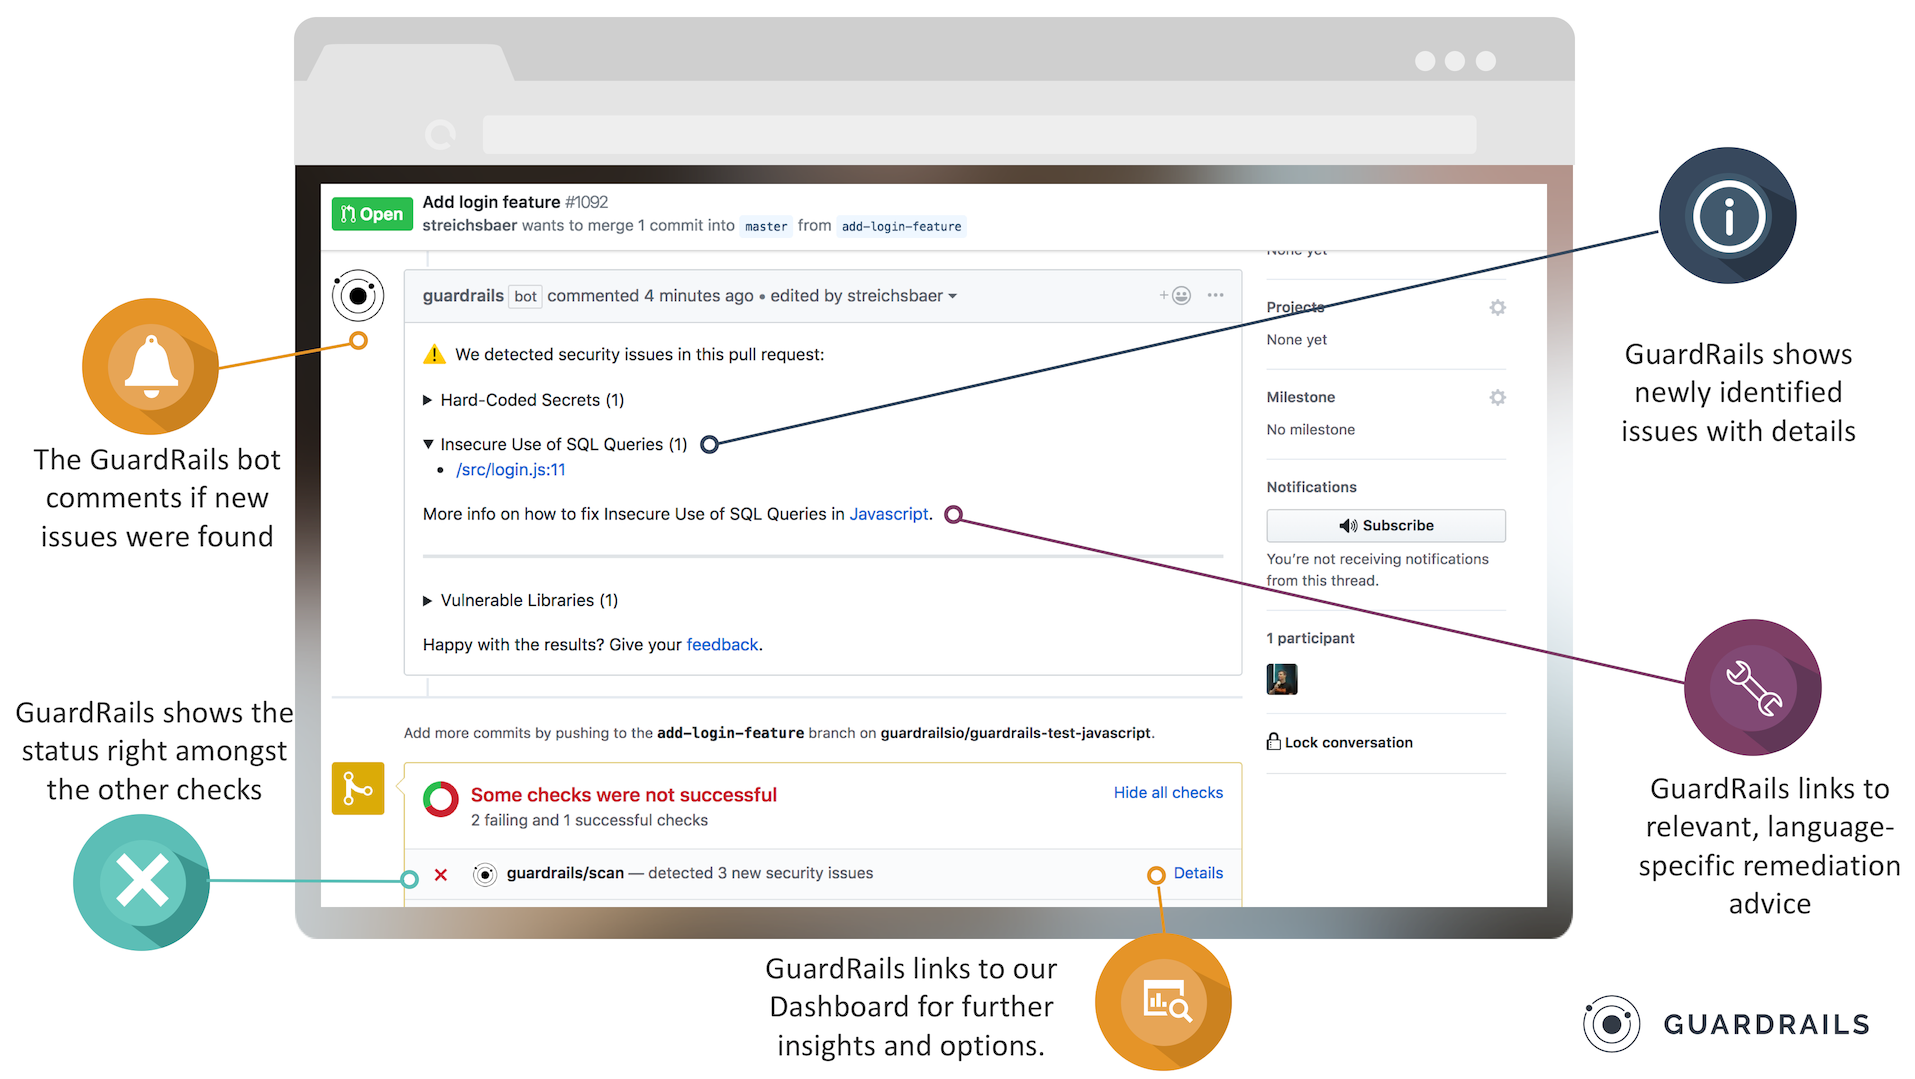
An explanation of the Pull Request comment is found below:
GitLab
Prerequisites
It's simple, all you need is:
- a GitLab account
Maintainerpermissions or higher to enable private repositories
Note: The GuardRails dashboard is accessible to anyone with access to repositories and groups on GitLab. GuardRails uses the Single-Sign-On (SSO) capabilities of GitLab. However, in order to enable repositories and manage subscriptions, at least maintainer privileges are required.
Getting Started
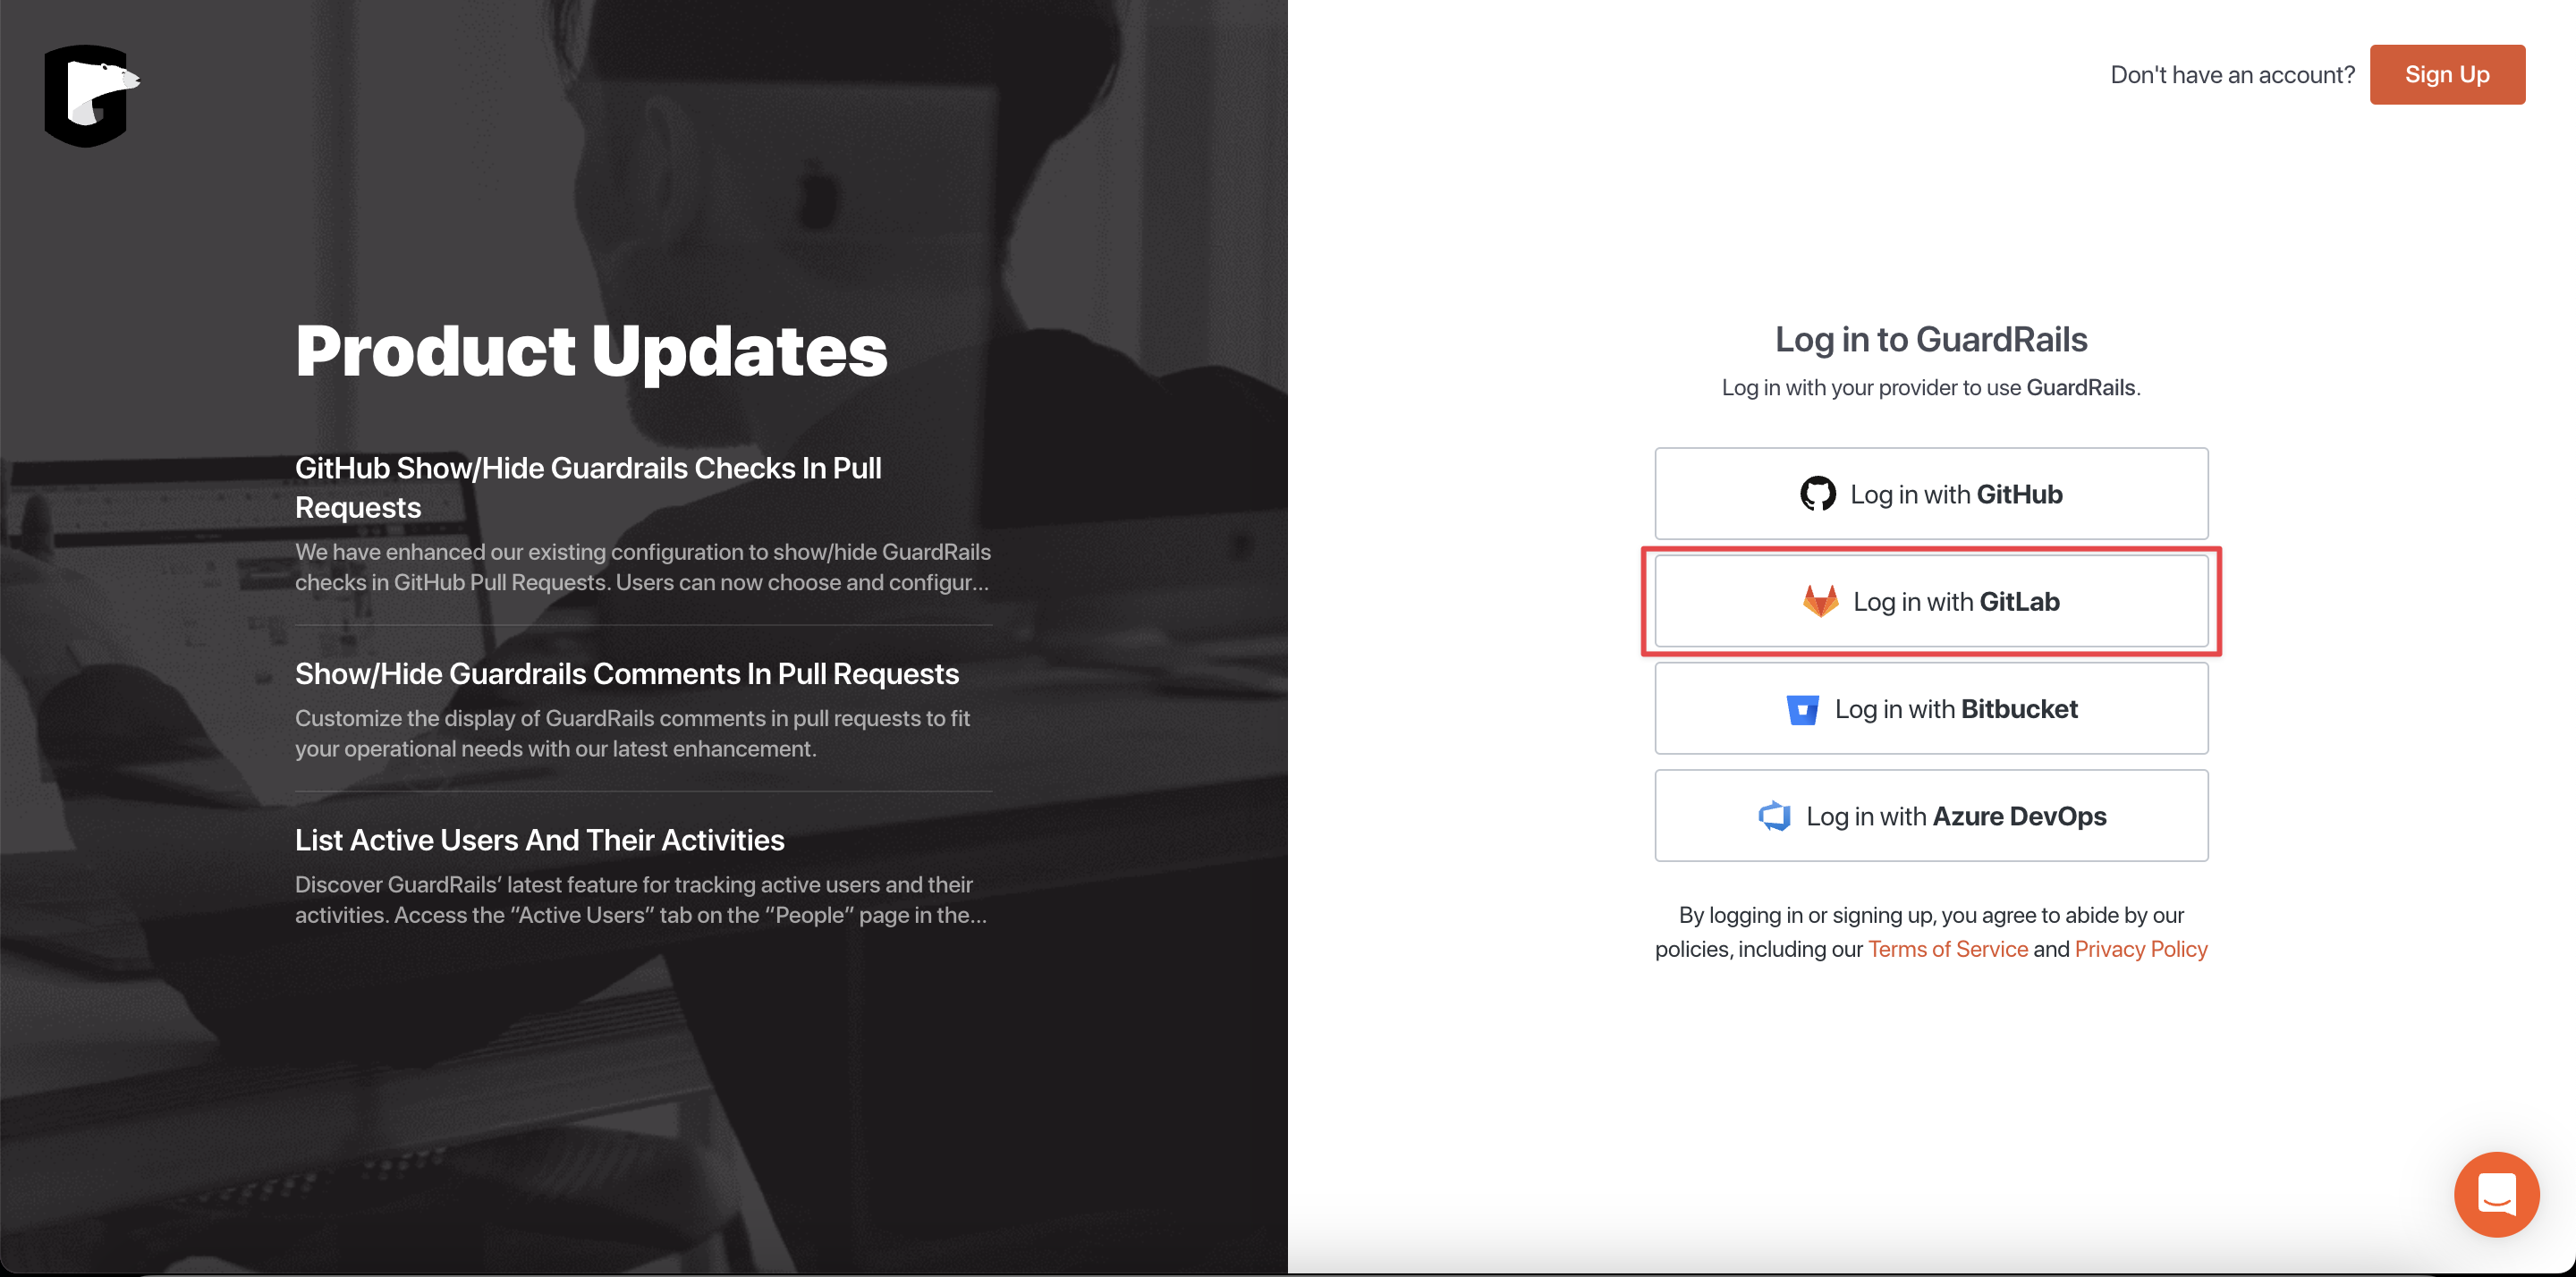
Start by navigating to the GuardRails Dashboard and click on "Log in with GitLab".
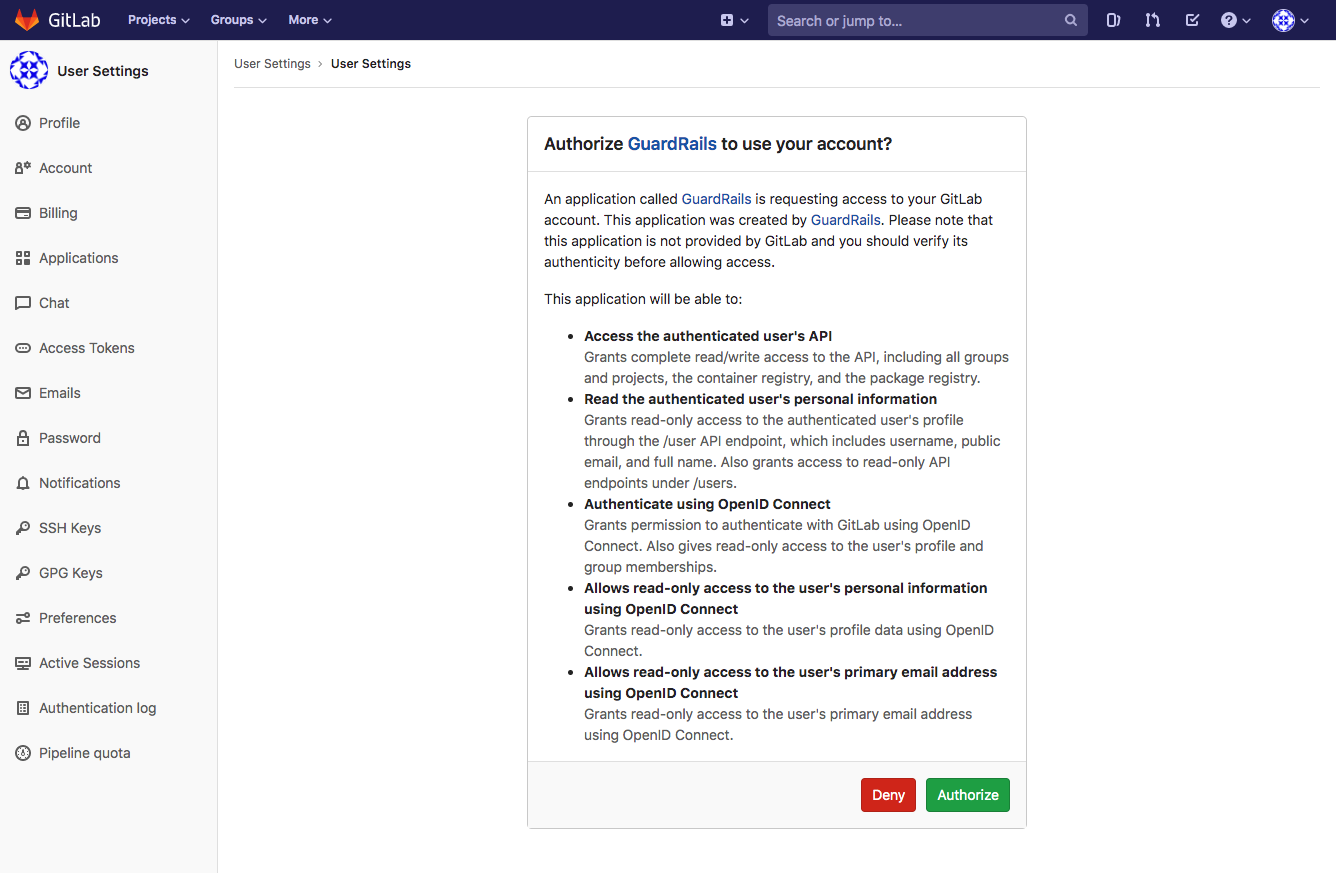
On the next screen, you can authorize the GuardRails application by clicking "Authorize".
For the first time, you will have to select a free plan, or start a trial.
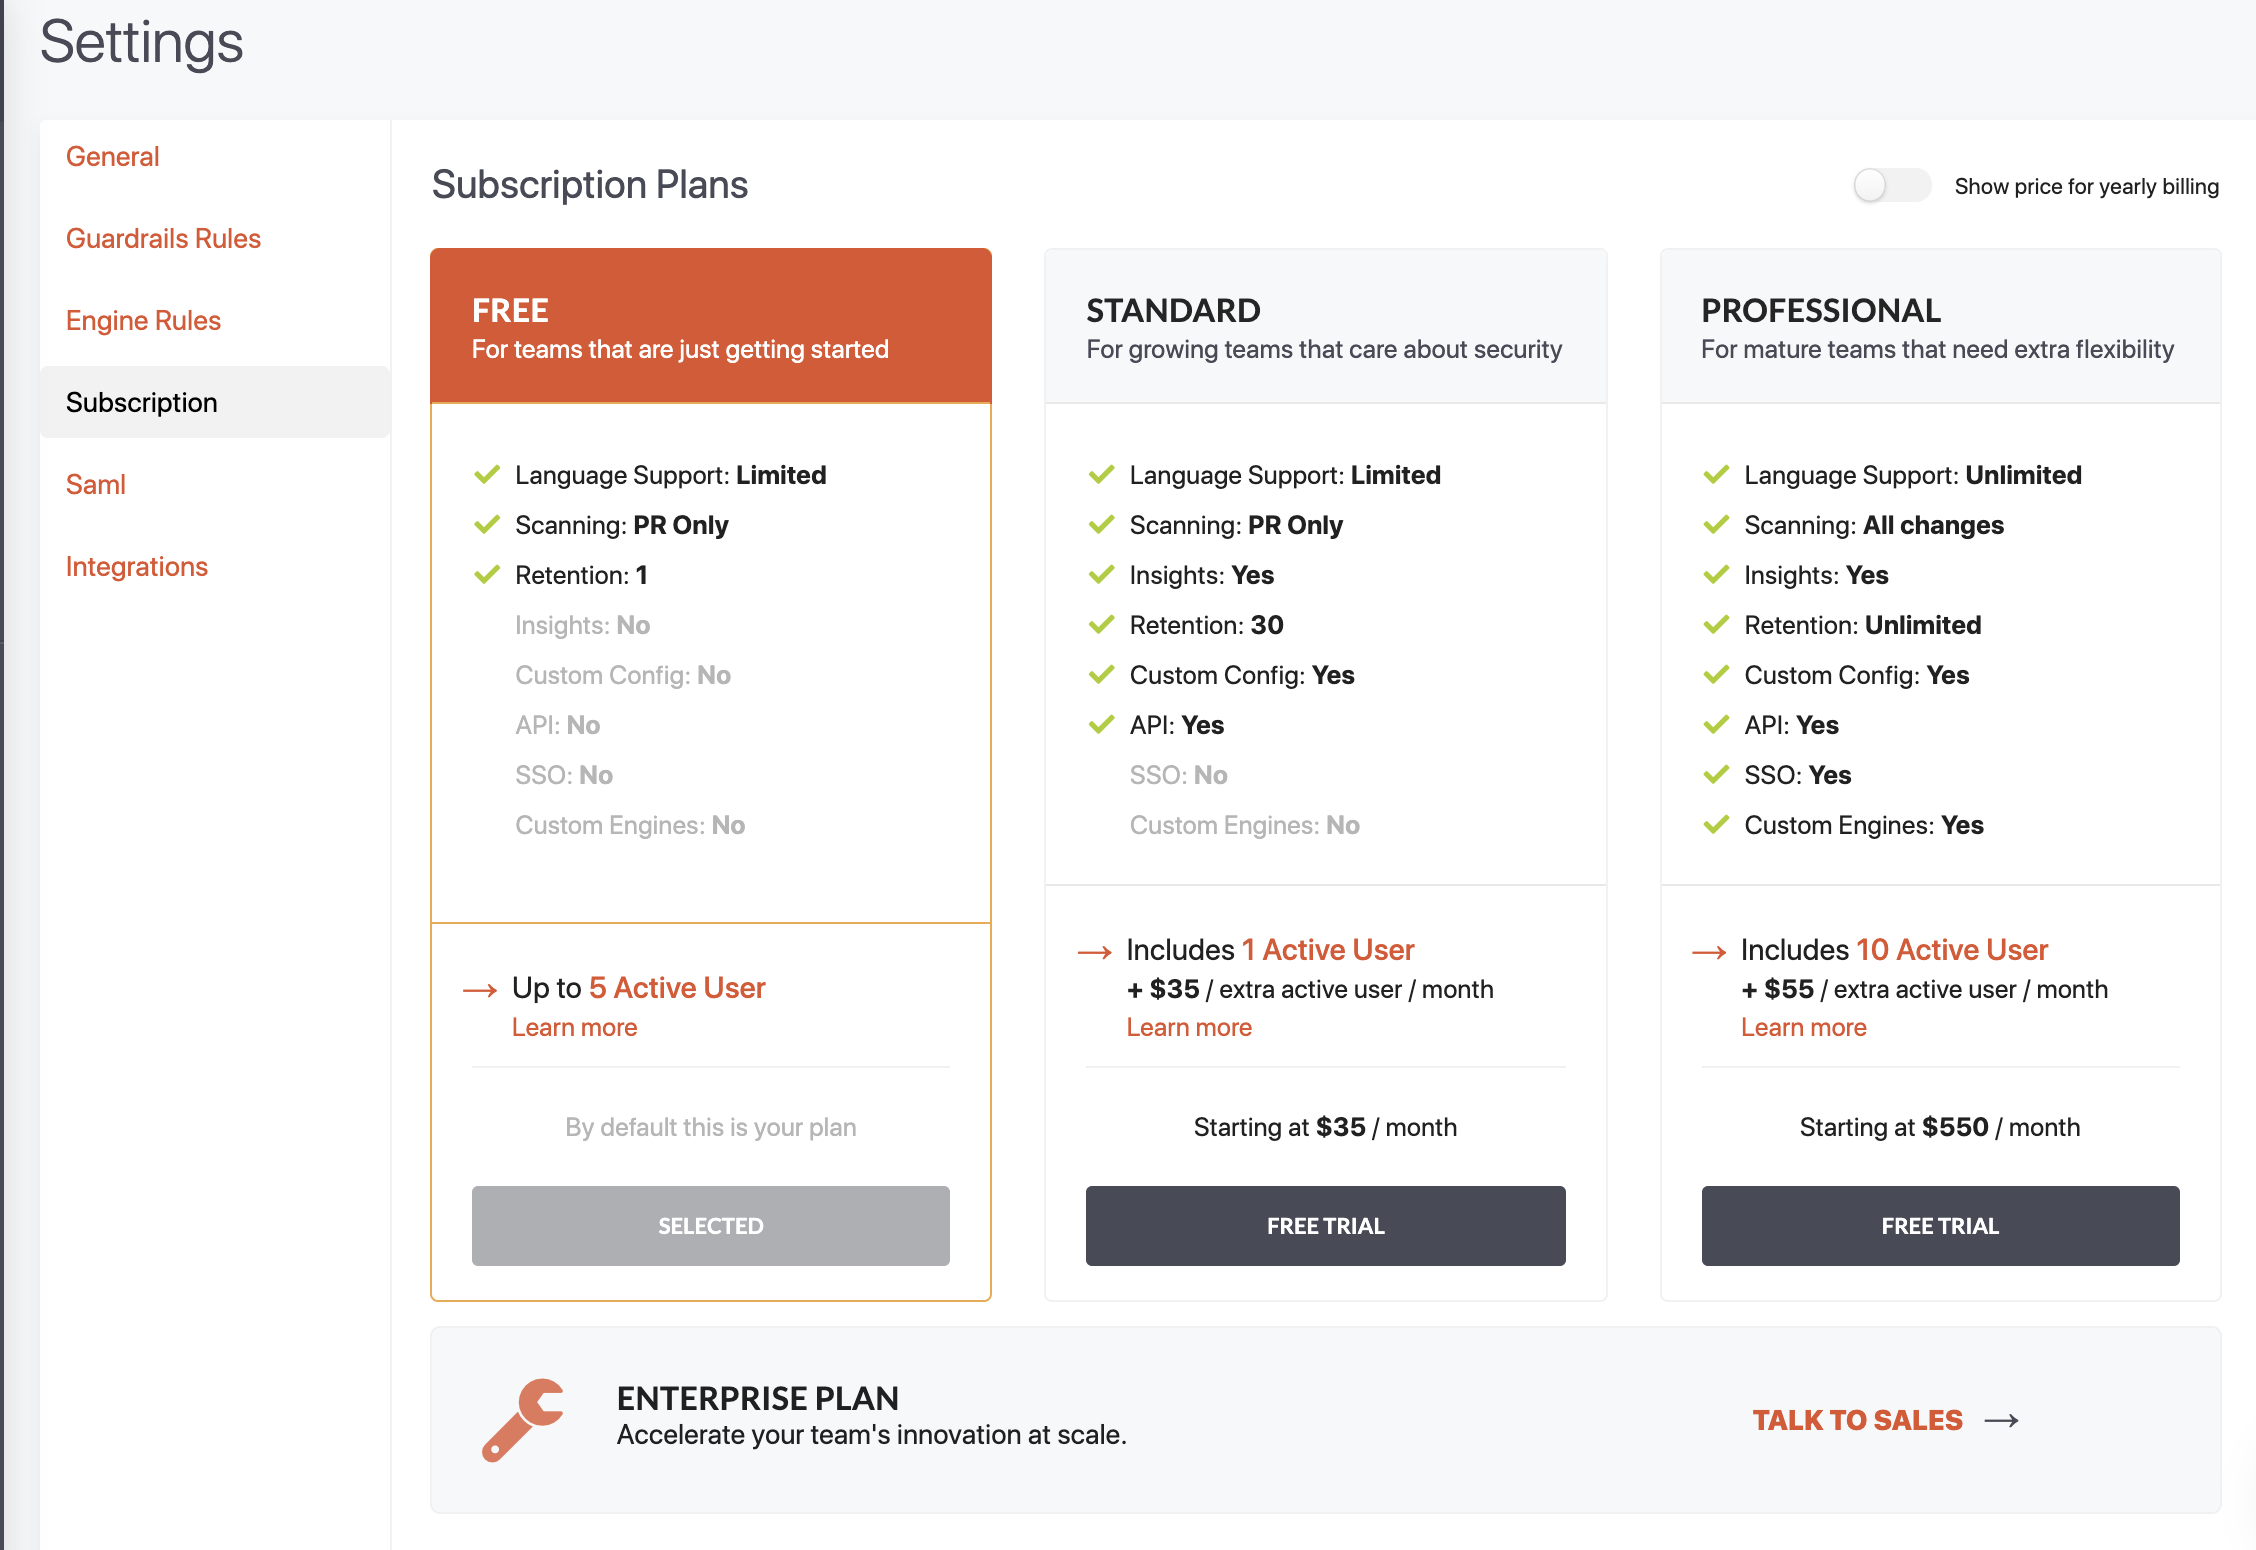
Now, you go back to the repositories list and select the repositories that you want to have scanned by GuardRails. By default, all repositories are disabled. Each repository has to be enabled with the toggle. When a repository is enabled for the first time, GuardRails will automatically trigger a scan for this repository.

From now on, GuardRails will scan your repositories every time a Merge Request (MR) is created, and also every time a commit is pushed to any branch. The results of the security scan are shown as a comment of that MR, or in the branches tab of each repository.
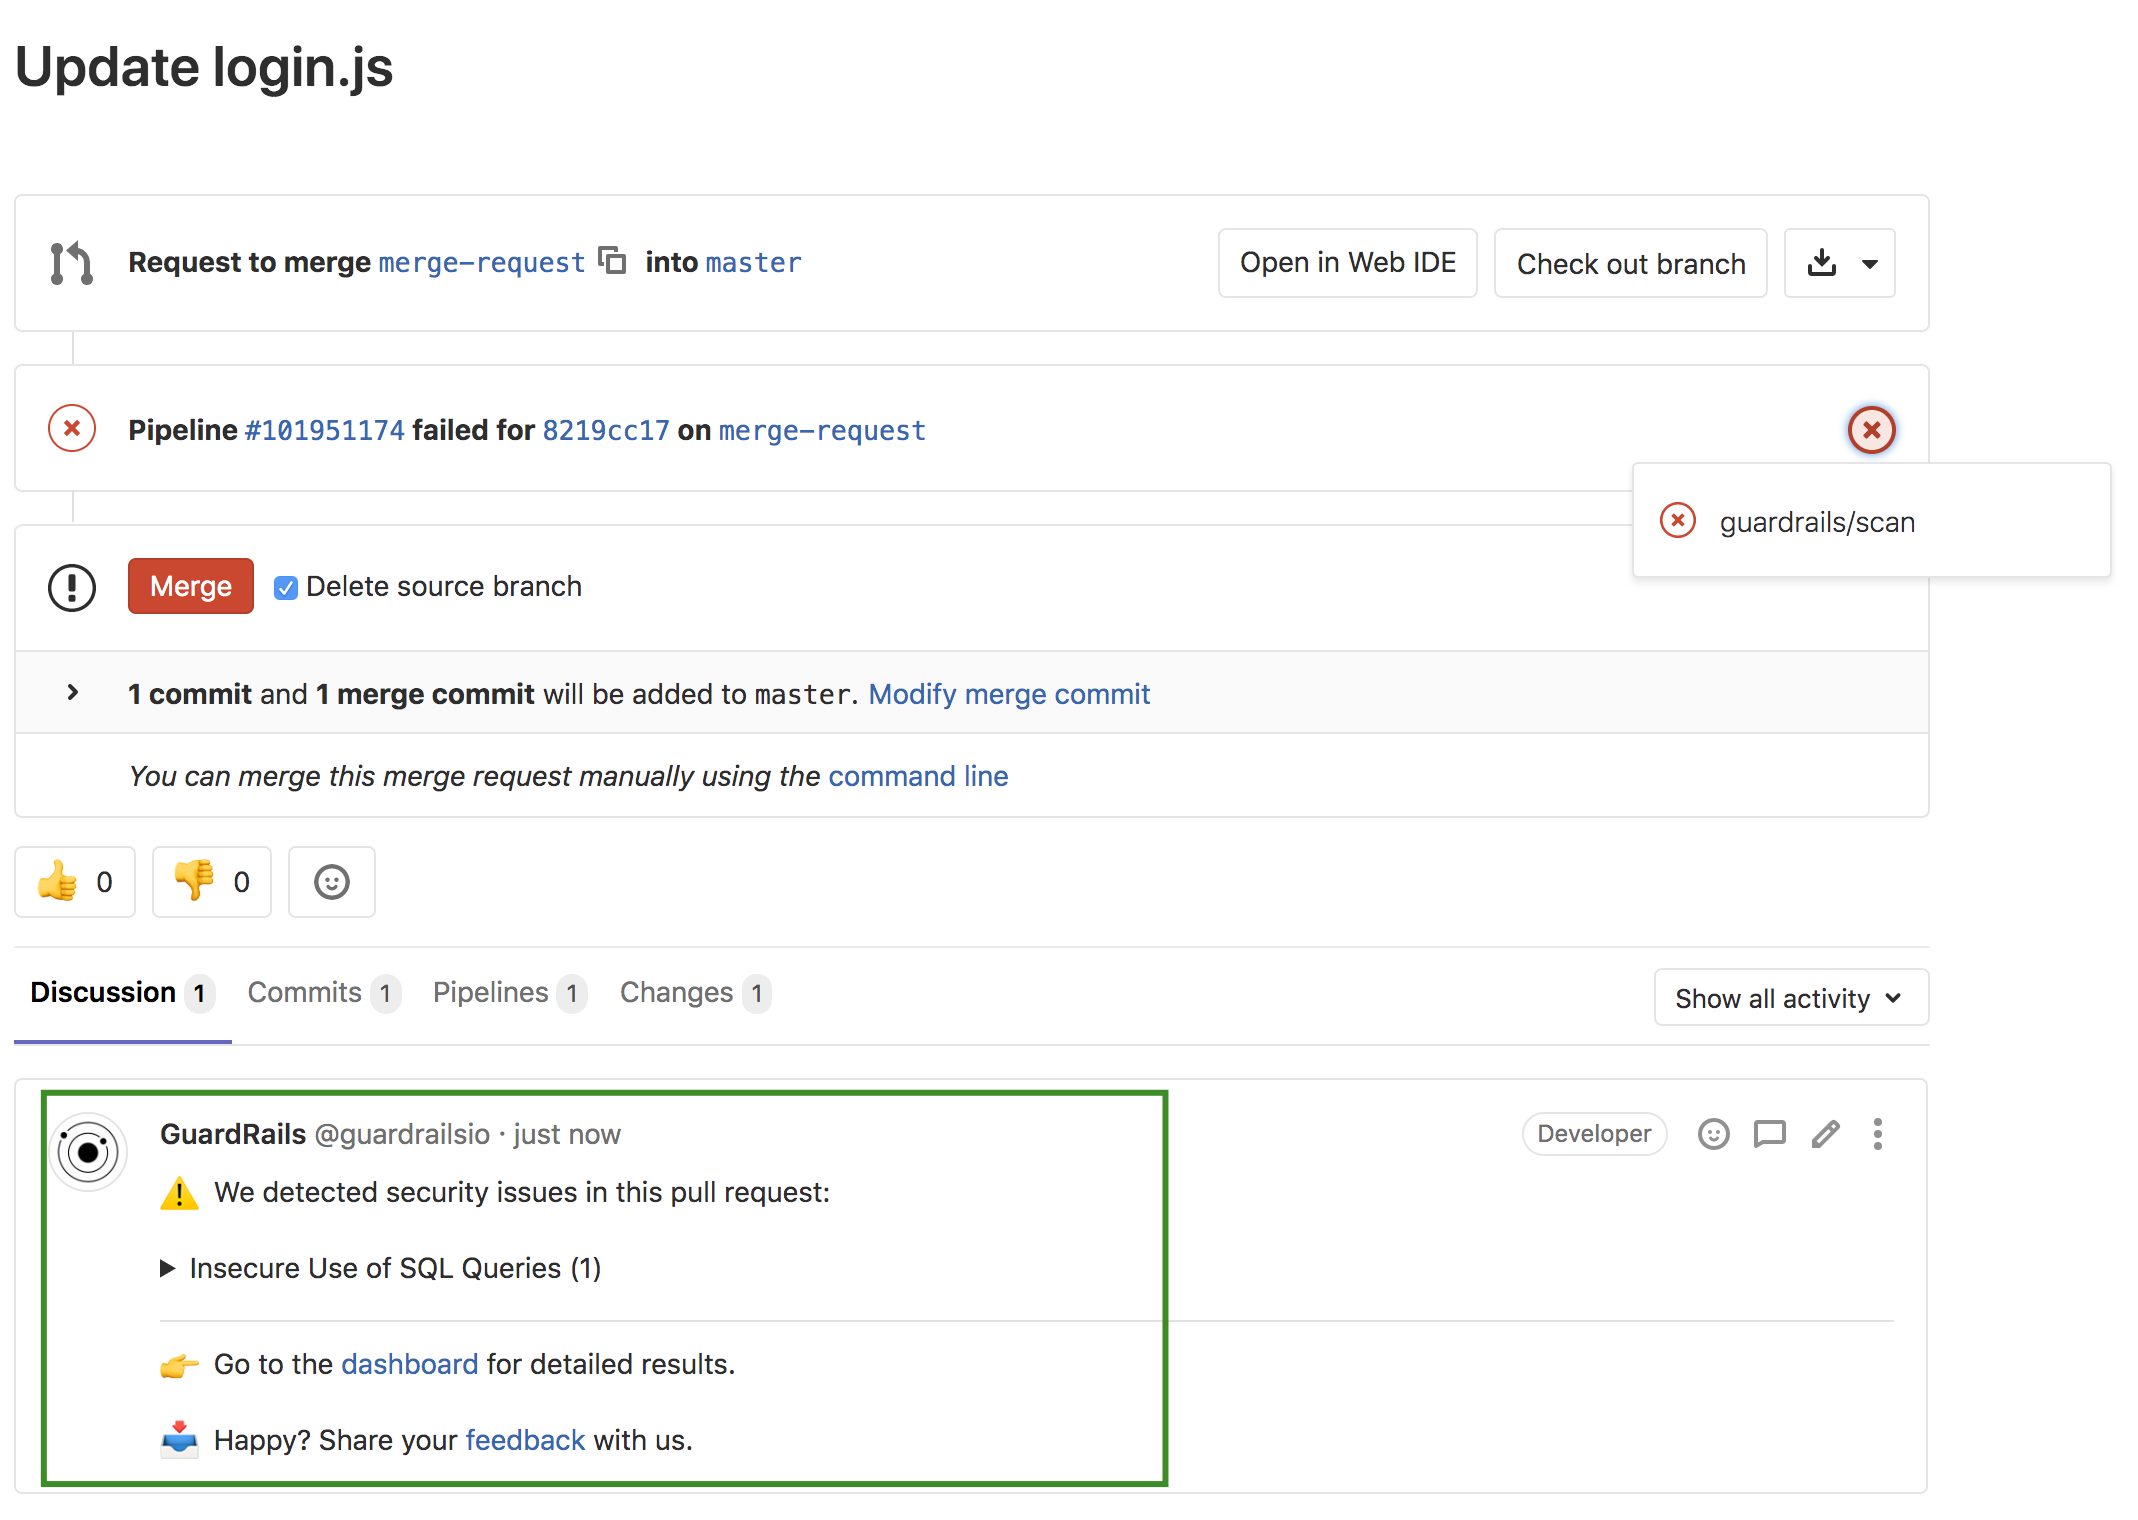
You can also click on the Scan button next to the enable/disable toggle to start a scan of the default branch of that repository, or go to the repository detail view, where you can start a scan against any branch.
Bitbucket
Prerequisites
It's simple, all you need is:
- a Bitbucket account
- permissions to install the GuardRails application into a workspace
Note: The GuardRails dashboard is accessible to anyone with access to repositories and workspaces on Bitbucket. GuardRails uses the Single-Sign-On (SSO) capabilities of Bitbucket.
Getting Started
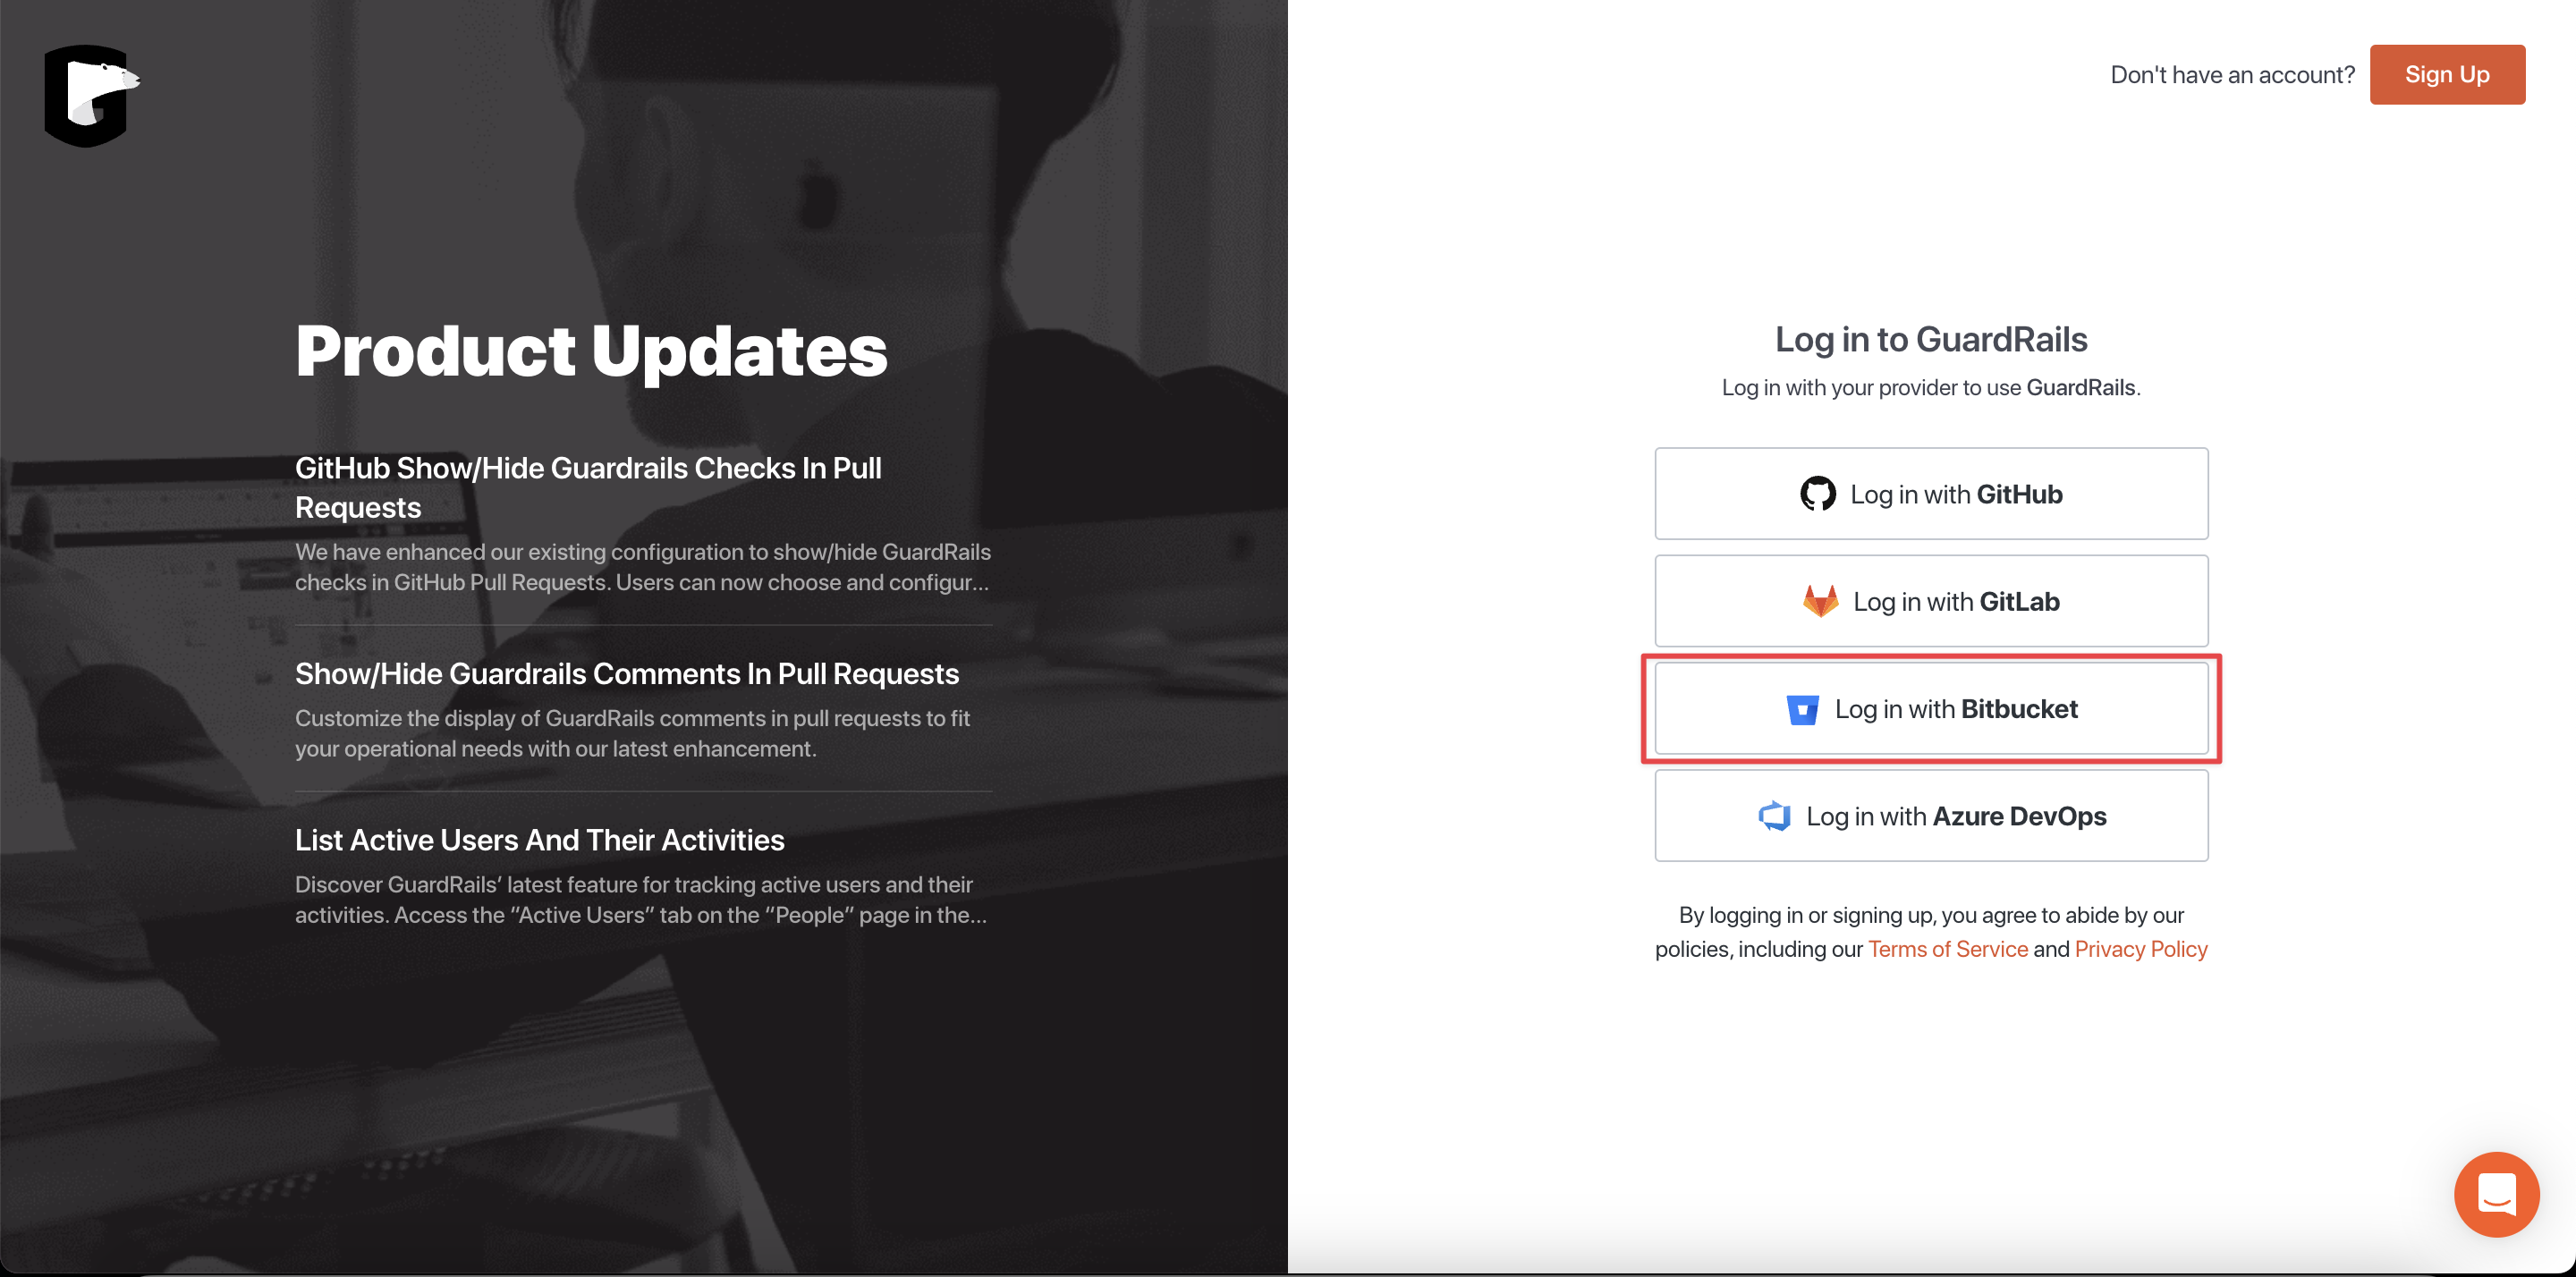
Start by navigating to the GuardRails Dashboard and click on "Log in with Bitbucket".
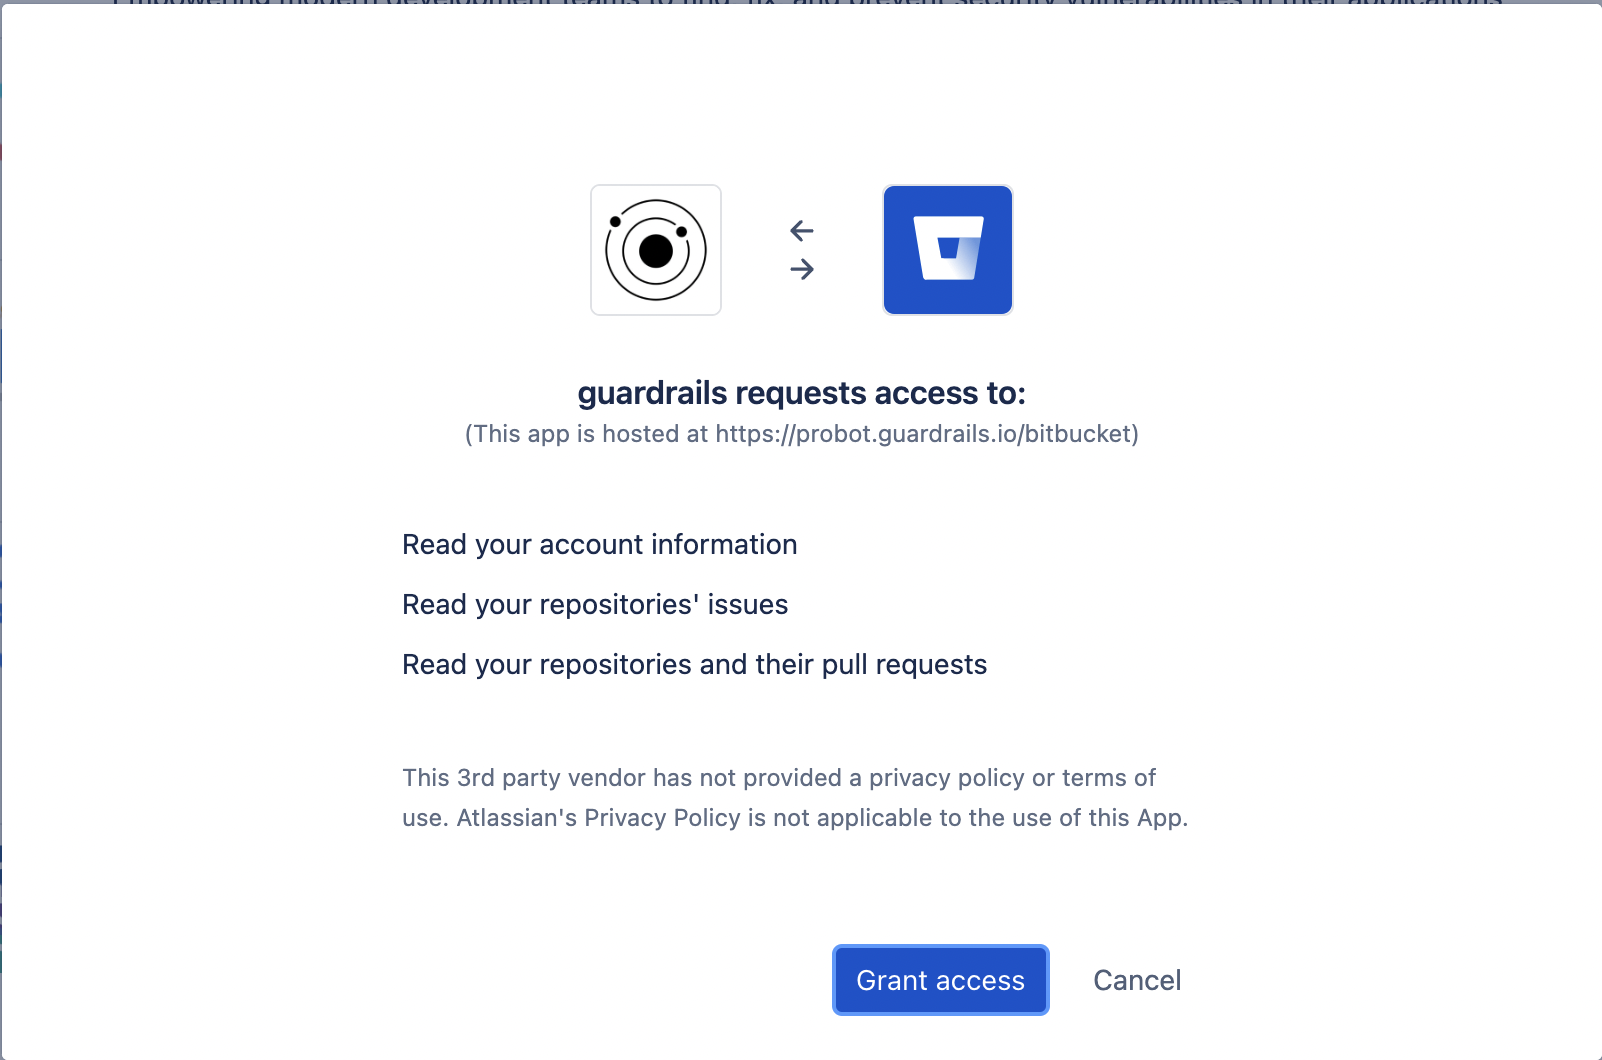
On the next screen, you can authorize the GuardRails application by clicking "Grant access".
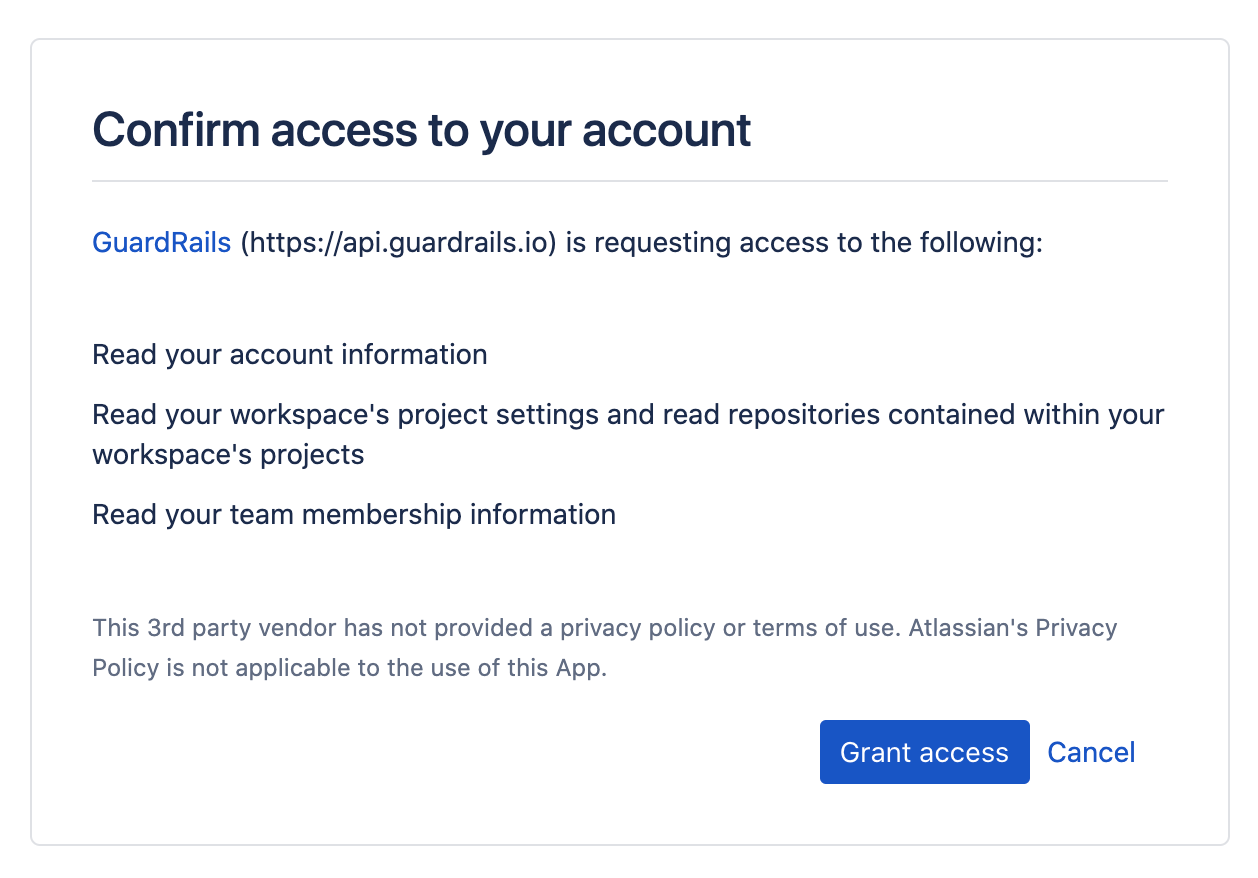
Then you have to install the GuardRails application into the desired workspaces. Click "Install GuardRails app on Bitbucket.

Initialize the GuardRails installation by click on "Get it now"

Install GuardRails (in the Code Analytic category)
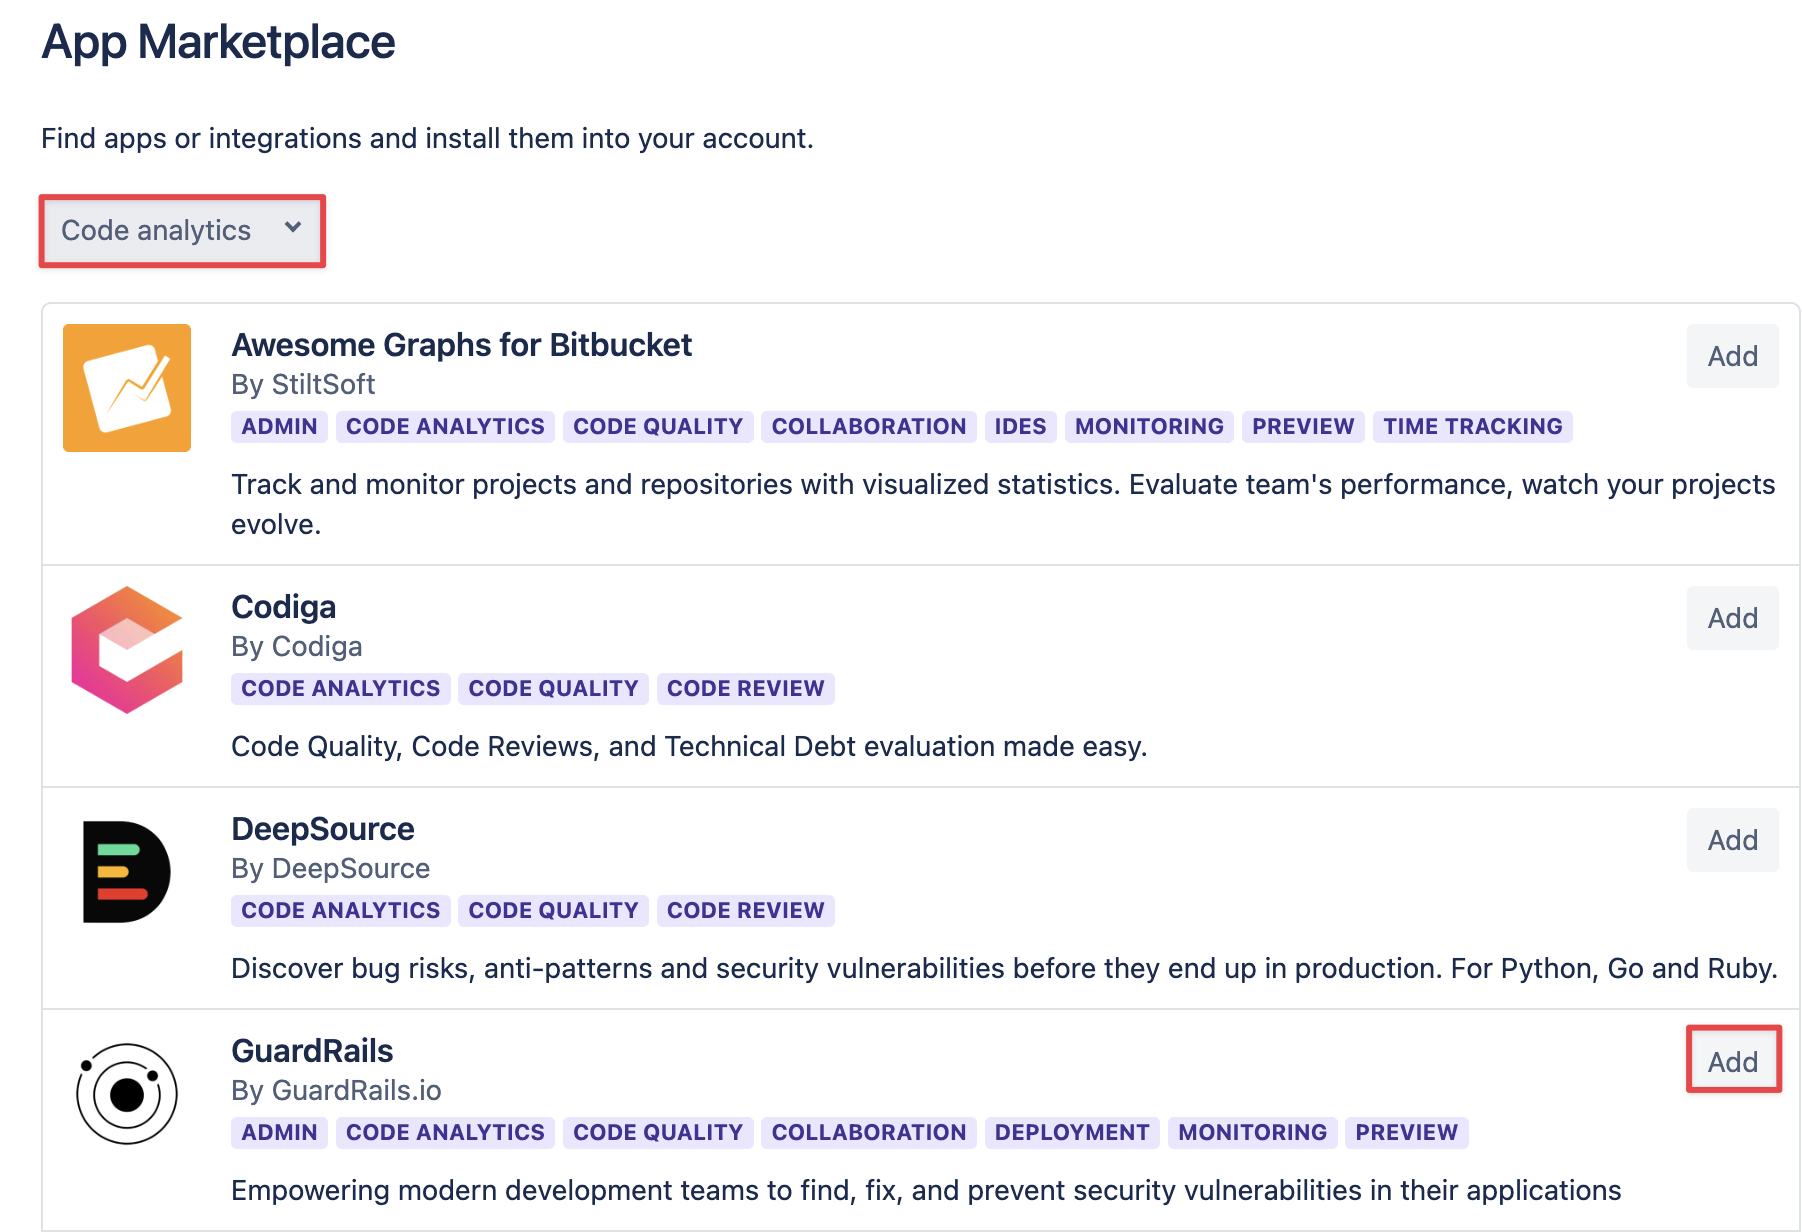
Now you can grant access to the GuardRails application, by clicking on "Grant access".
Login again by clicking the "Continue with Bitbucket" button and select a plan.
For the first time, you will have to select a free plan, or start a trial. For more details see the pricing page.

Now, you go back to the repositories list and select the repositories that you want to have scanned by GuardRails. By default, all repositories are enabled and GuardRails automatically triggered a first scan for each repository.
if you're using GuardRails on-premise, the repositories will not get auto-scanned.

From now on, GuardRails will scan your repositories every time a Pull Request (MR) is created, and also every time a commit is pushed to any branch. The results of the security scan are shown as a comment of that PR, or in the branches tab of each repository.
You can also click on the Scan button next to the enable/disable toggle to start a scan of the default branch of that repository, or go to the repository detail view, where you can start a scan against any branch.
Azure DevOps
Prerequisites
It's simple, all you need is:
- a Microsoft Azure account
Administratorpermissions to create a PAT for an organization
Note: The GuardRails dashboard is accessible to anyone with access to repositories and groups on Azure. GuardRails uses the Single-Sign-On (SSO) capabilities of Azure.
Getting Started
Start by navigating to the GuardRails Dashboard and click on "Log in with Azure DevOps".
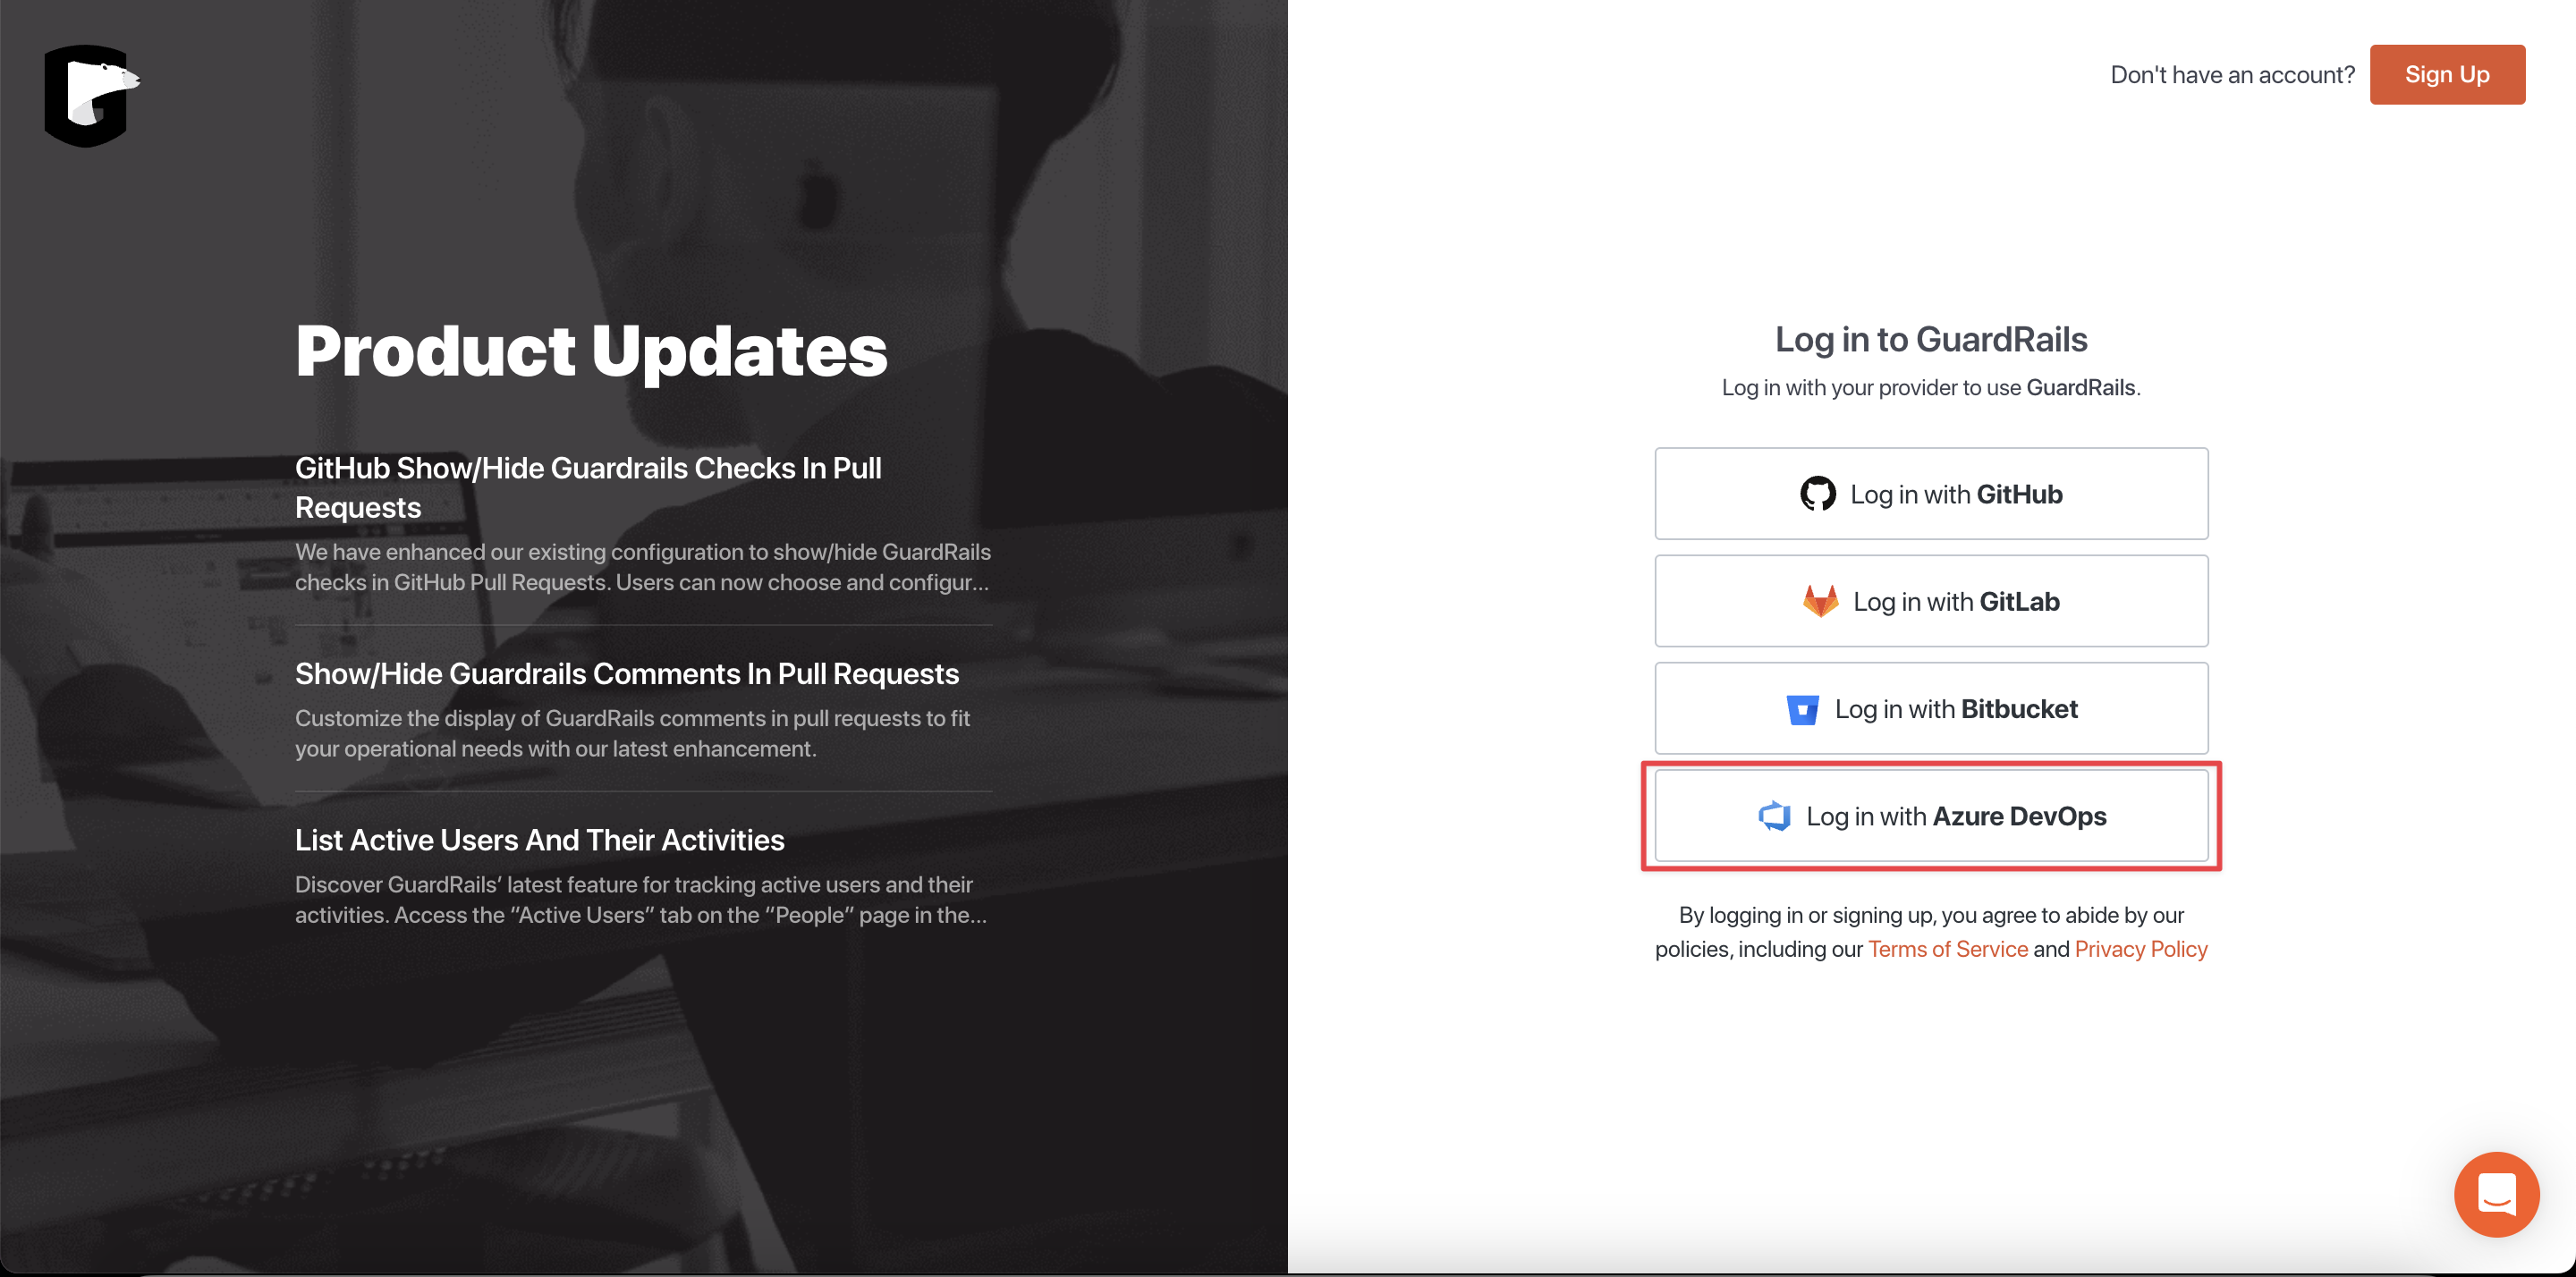
On the next screen, you can review the required permissions and authorize the GuardRails application by clicking "Accept".
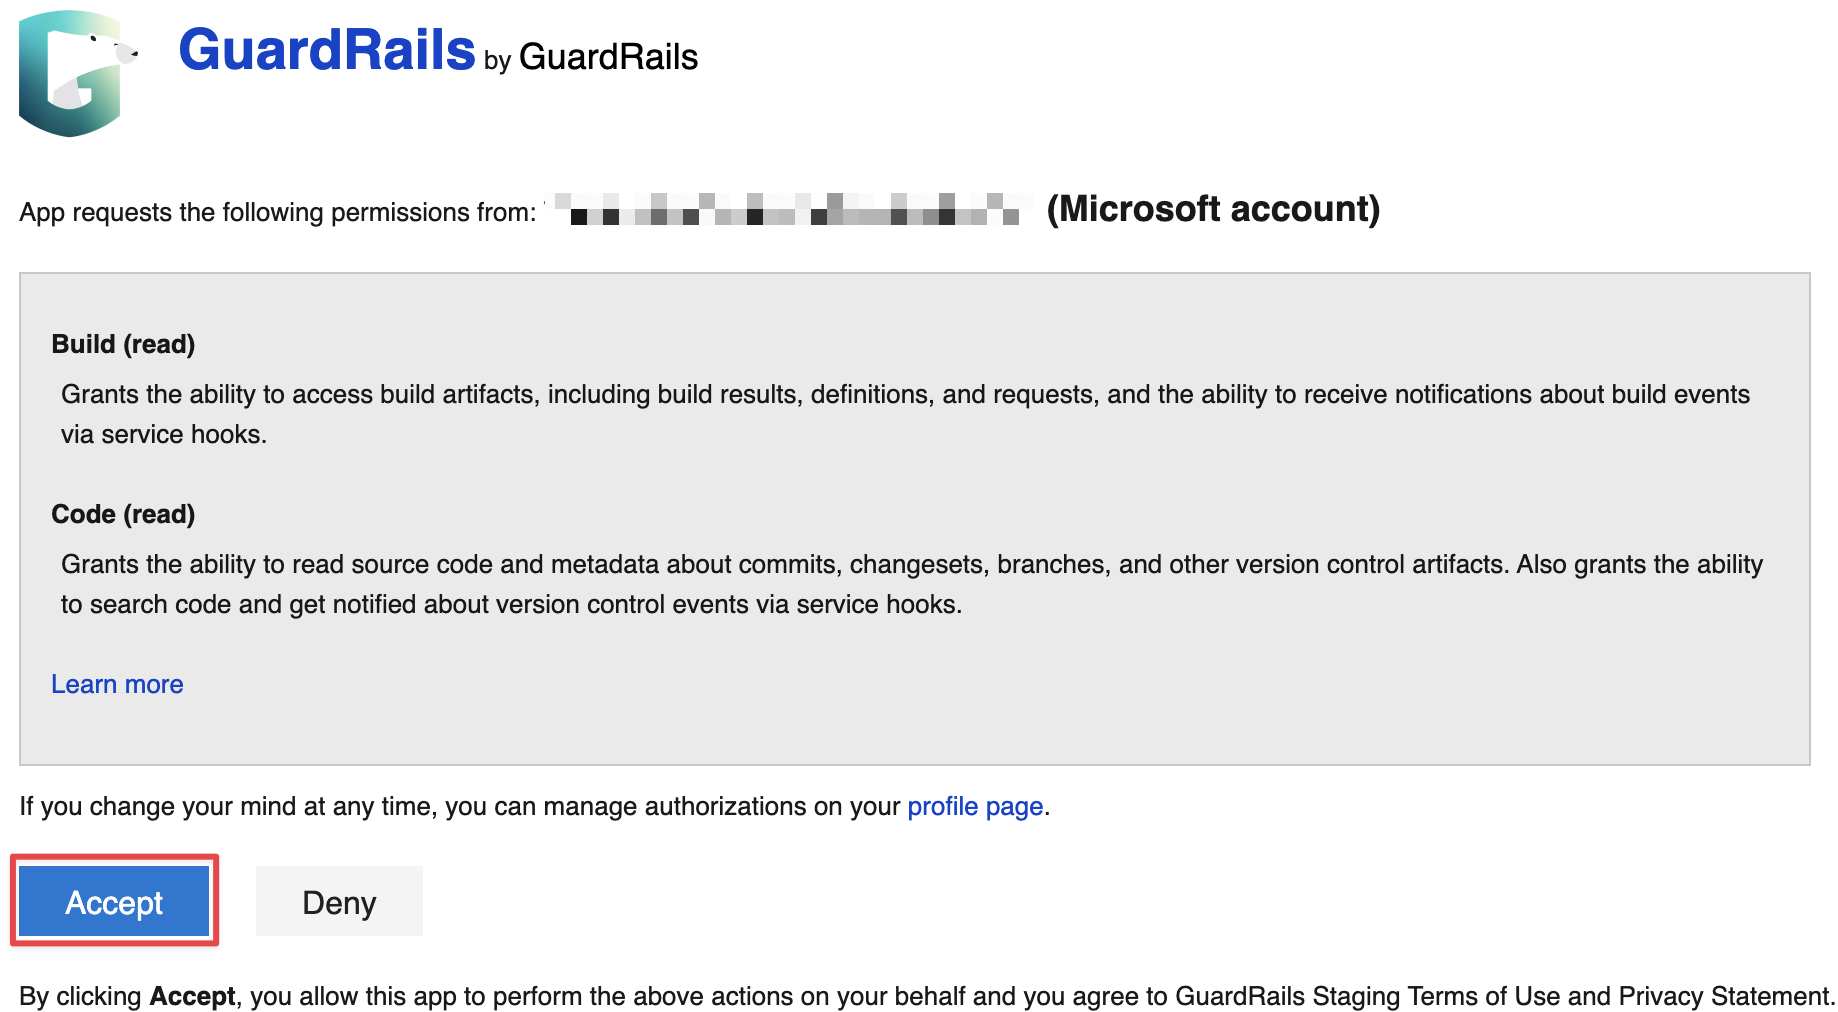
When installing GuardRails into an Azure DevOps organization for the first time, follow the steps below:
1. Enable Third-party Application Access Via OAuth
It's required to enable Third-party application via OAuth connection policy in your Azure DevOps's organization settings, to make sure GuardRails can gain access to resources in your organization through OAuth.
Follow these instructions to enable Third-party application via OAuth connection policy for your organization in Azure DevOps.
2. Synchonize the account
To ensure that the account receives the updated relevant role after enabling Third-party Application Access, it is necessary to log out and then log back in to the GuardRails Dashboard.
3. Create an Azure Personal Access Token (PAT)
The Personal Access Token (PAT) should be generated by an administrator who can access the entire organization, including all projects. It is strongly recommended to generate a PAT for a different admin user per organization to avoid running into rate limit issues. The following scopes are required:
- Expiration: We suggest selecting a token expiration date that is well into the future to prevent any disruption to the integration.
- Scopes: Custom defined
- Build: Read
- Code: Read, Status
- Member Entitlement Management: Read
- Pull Request Threads: Read & write
Once the PAT has been generated, copy & paste it into the GuardRails Dashboard under the Settings menu for the Organization (Root Account).
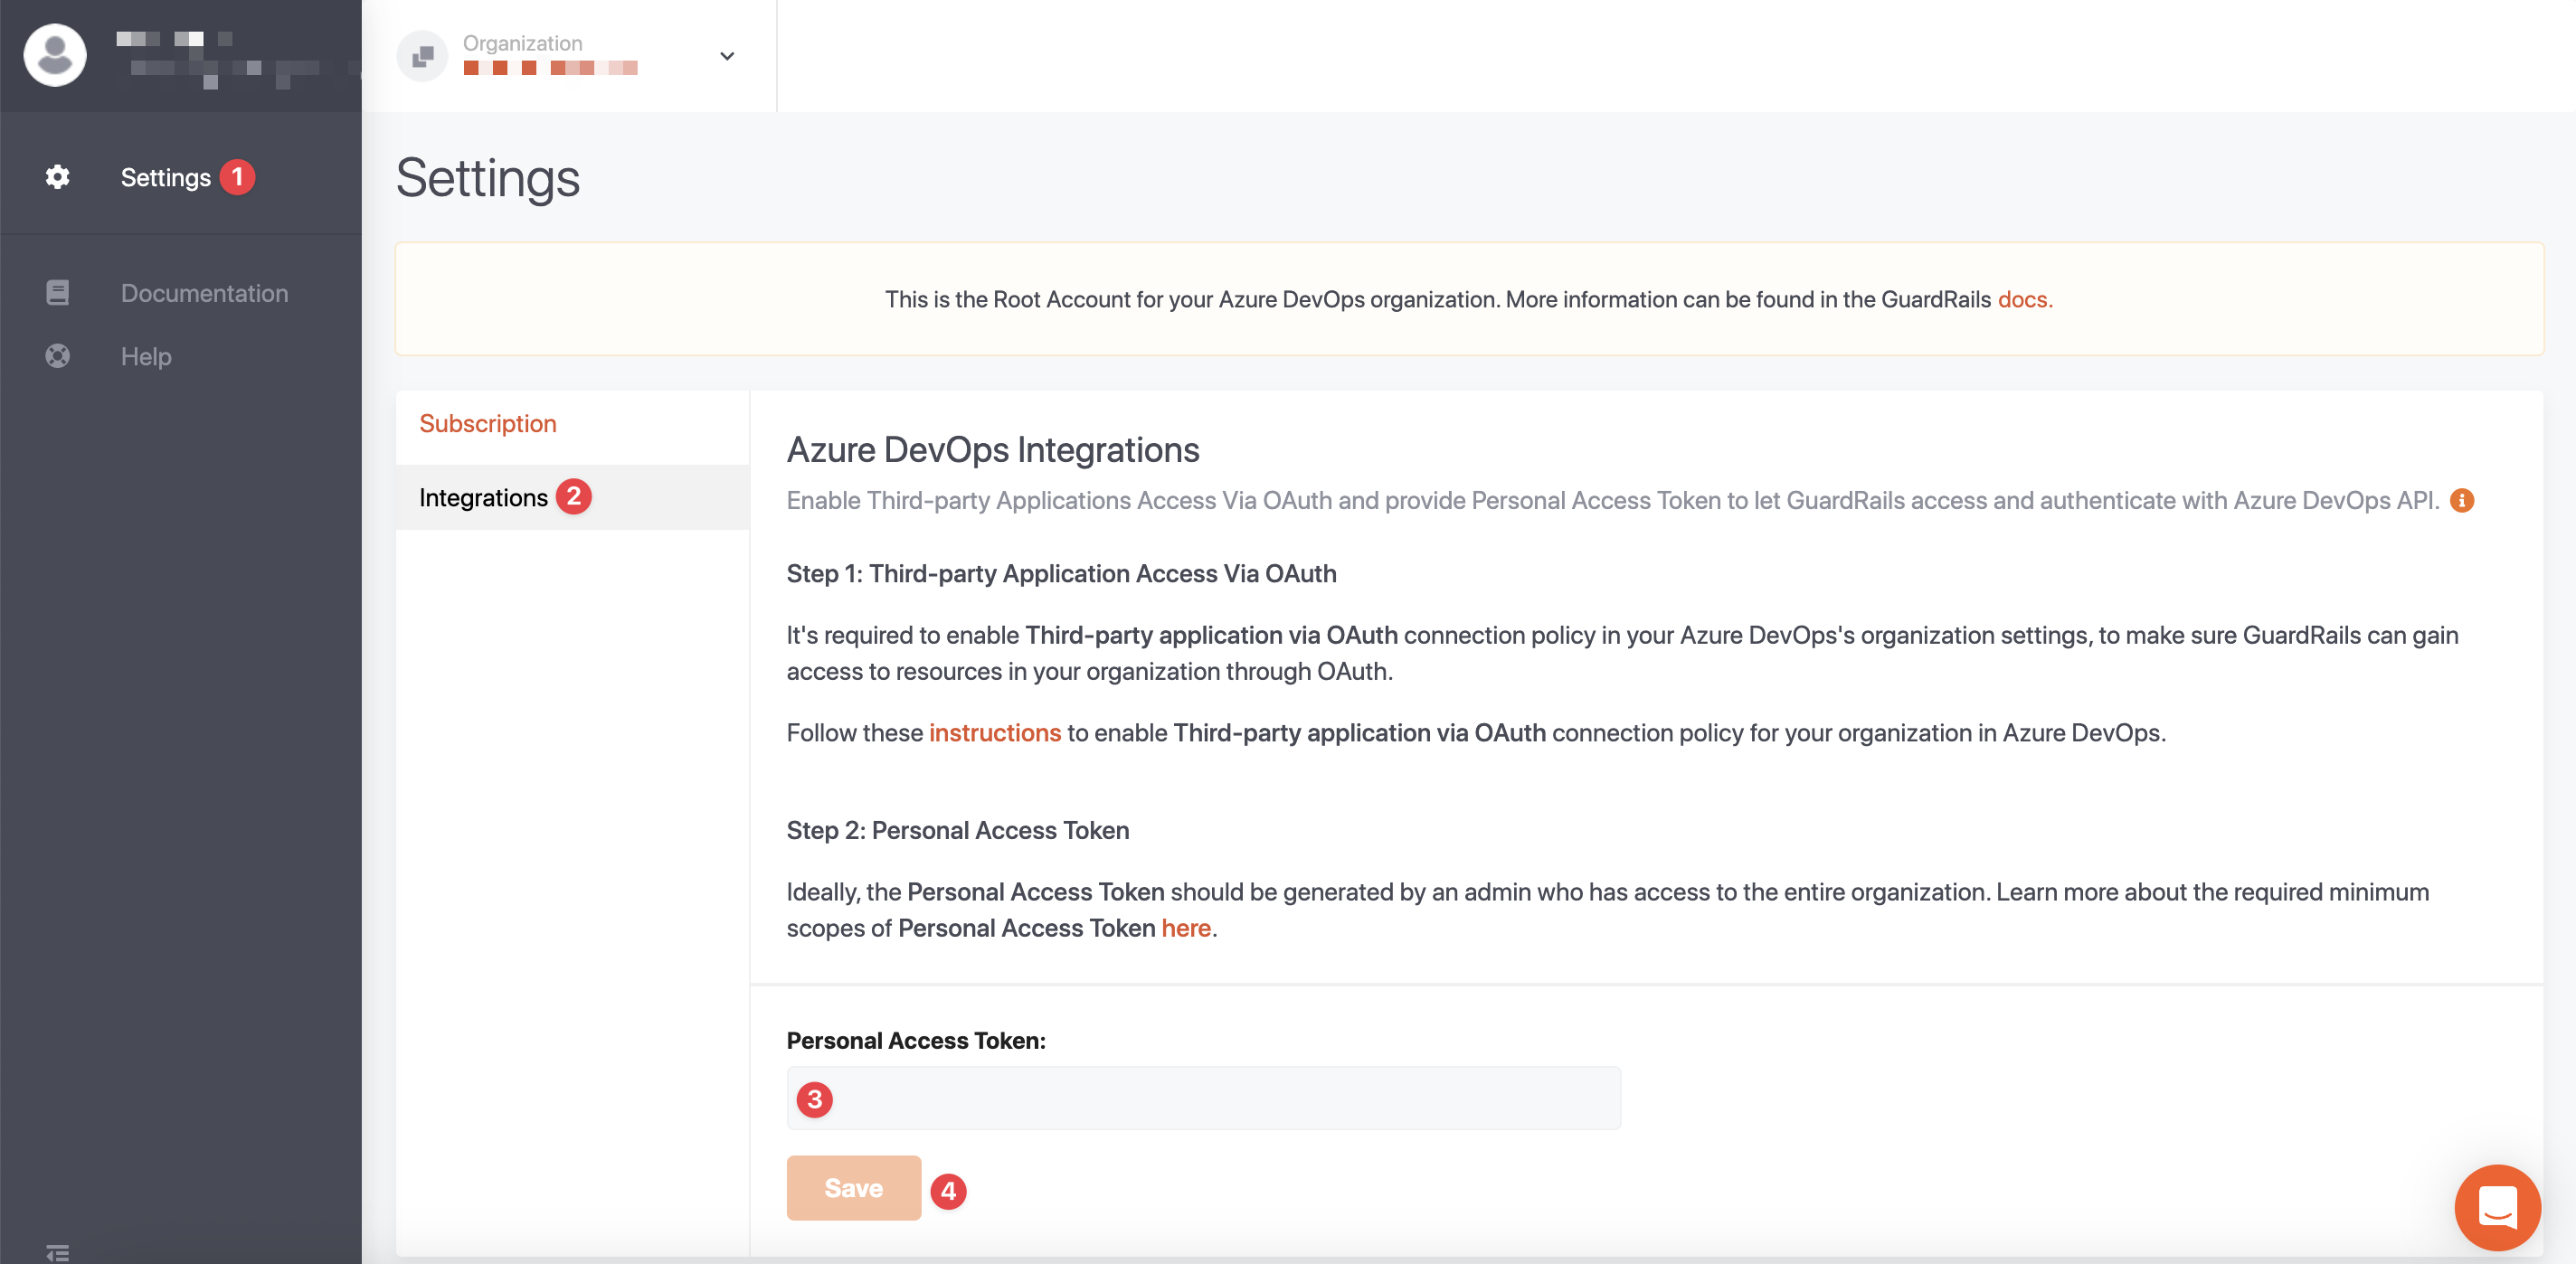
Now, you can navigate to the Sub-Accounts (Projects) and enable the repositories that you want to be scanned by GuardRails, and click on the Scan button next to the enable/disable toggle to start a scan of the default branch of that repository.

Dashboard
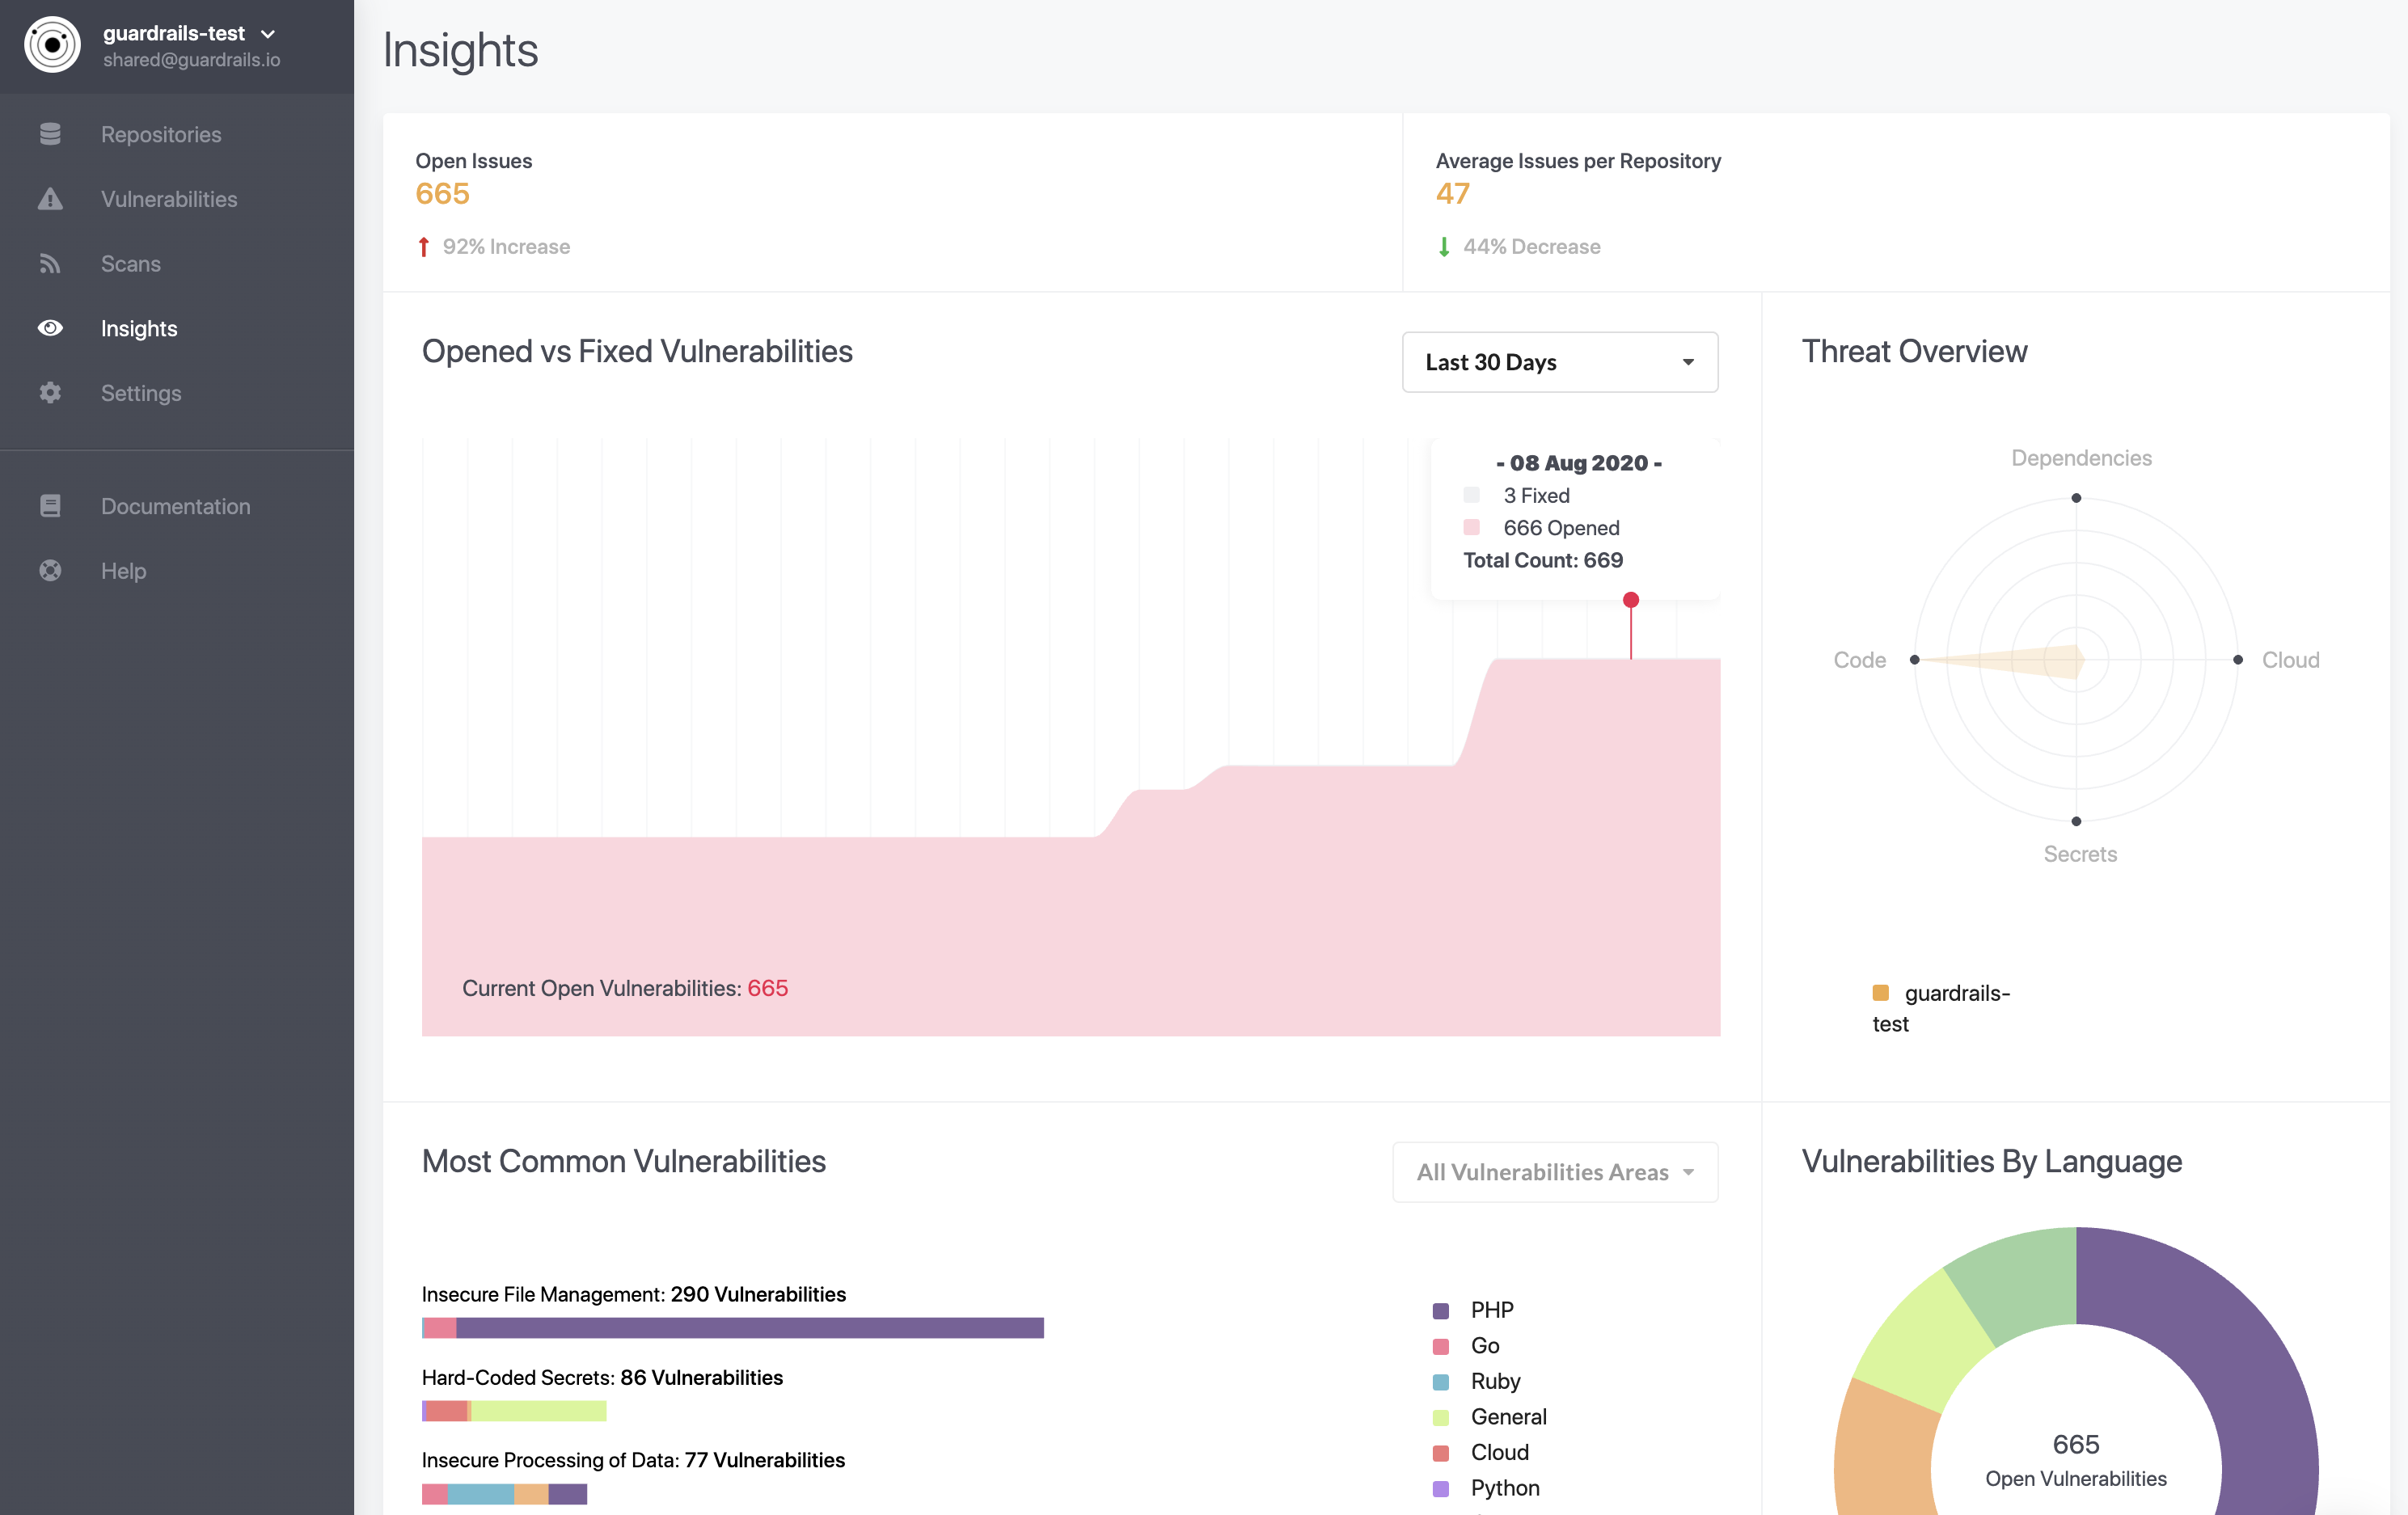
The GuardRails dashboard allows central configuration, provides an overview of scans, shows insights and much more.
We would love to hear your feedback on GuardRails. Tweet at us @guardrailsio, email us at [email protected], or open a ticket in our support portal.