Getting Started
You can use this feature with below steps:
Create an asset
Access the Assets page on the left global menu
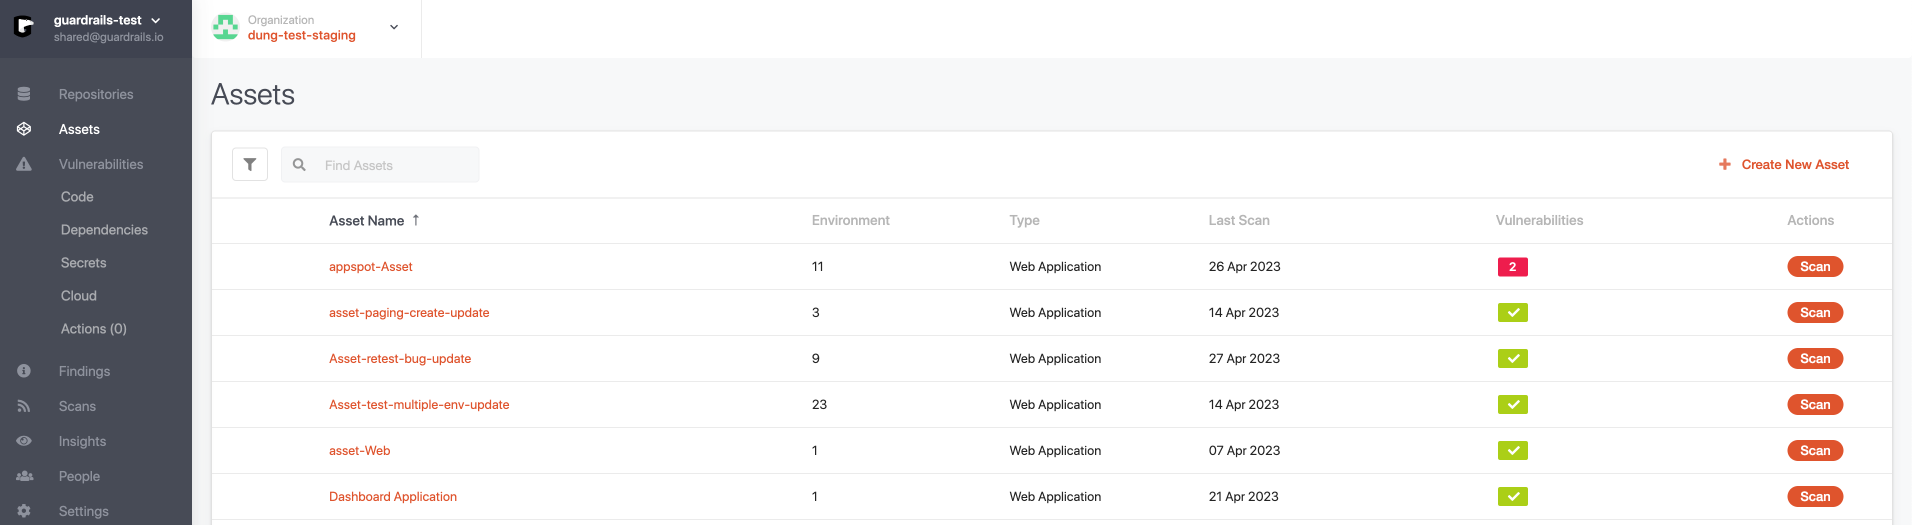
Click on Create New Asset button to create a new asset
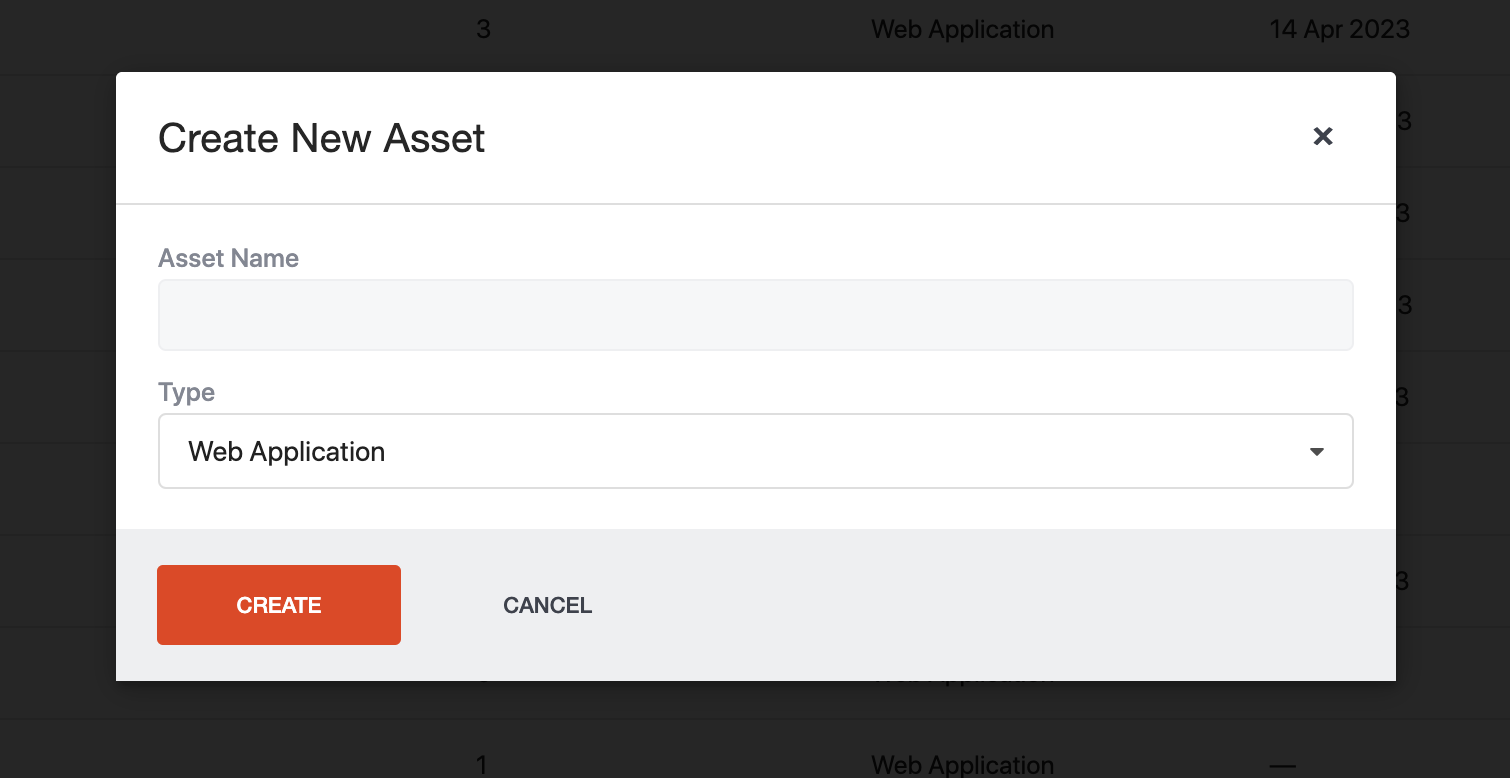
Fill in the asset name and click on Create button to create the asset
Create an environment
After successfully creating an asset, you can create an environment for that asset
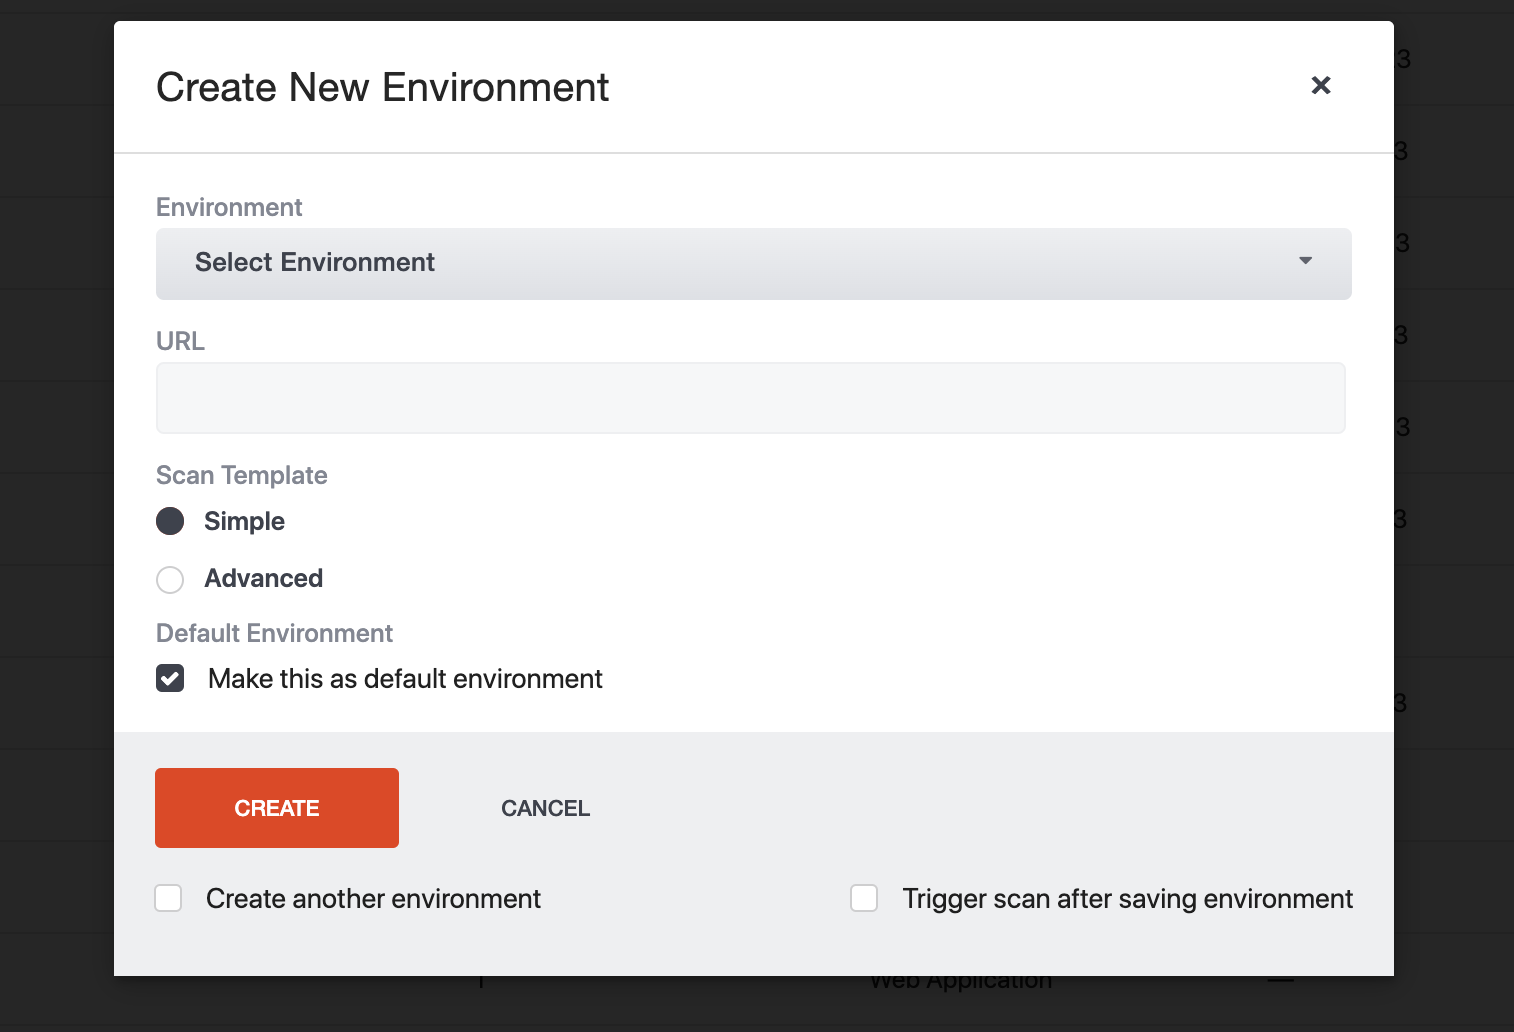
- Select or create a new environment name
- Enter the URL that you want to scan
- Choose the type of Job, which is the set of configurations that will be used to scan the target URL. If you choose Simple, a Job file conforming to either the Browser App (simple) or Api (simple) schema will be created behind the scenes. The documentation for the varius Job file schemas can be found here
- If you want to upload your own Job file, you can do so by clicking on Advanced option
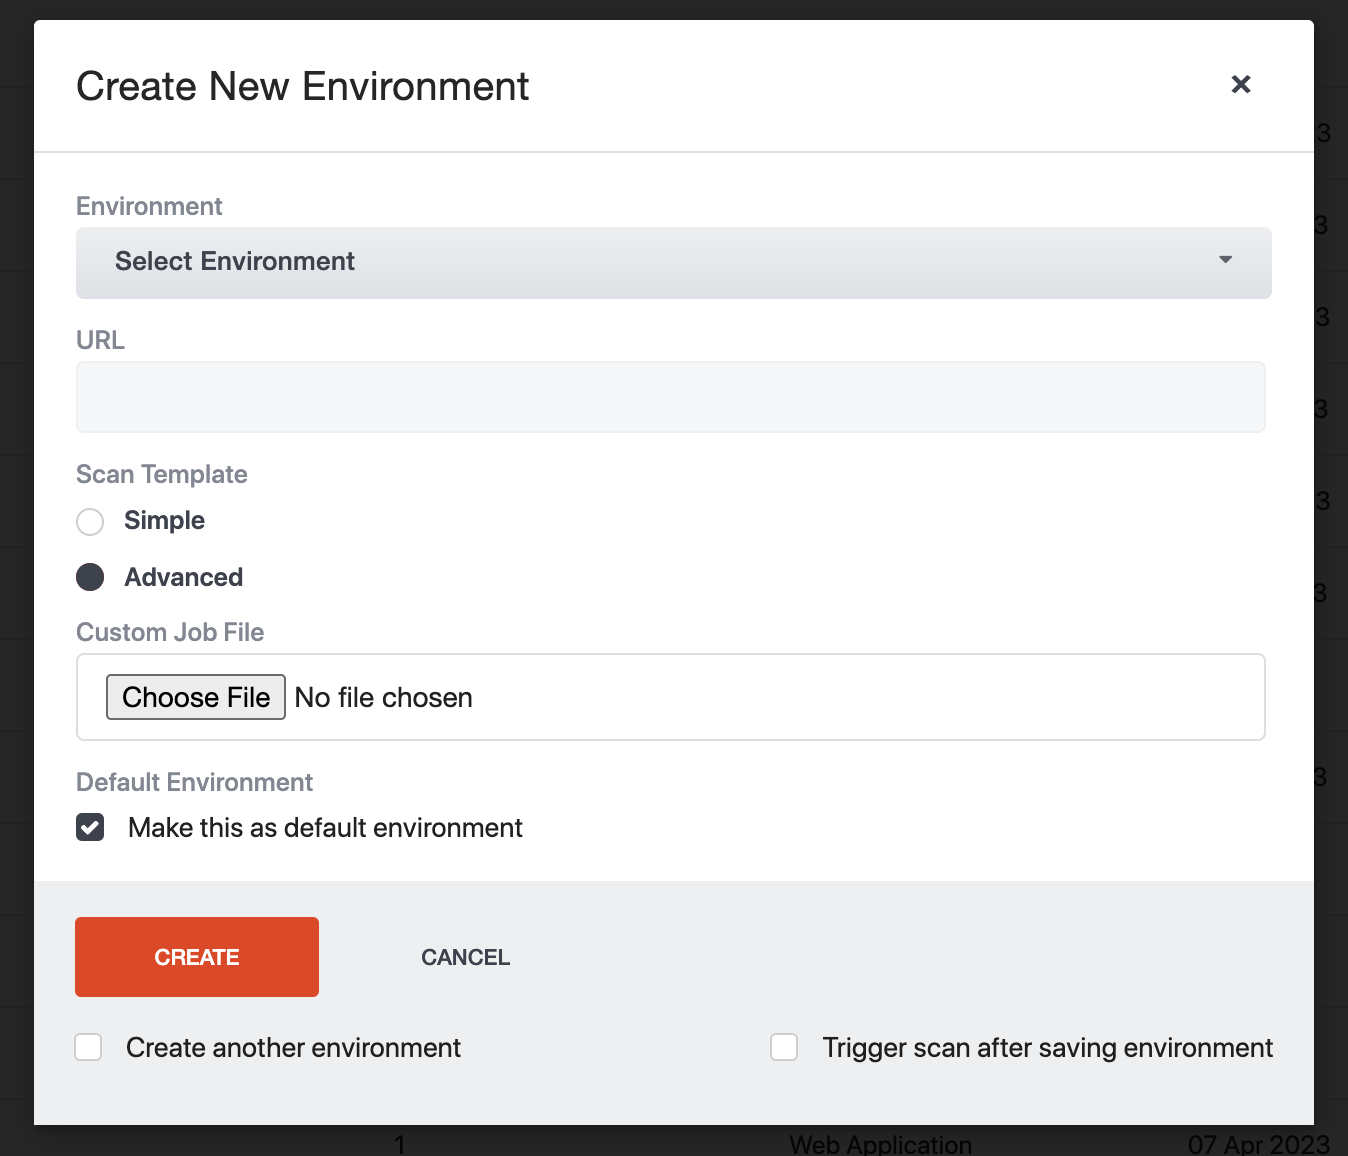
You can get more information about how to create a job file here
Check the Default Environment option if you want to mark this as the default environment for the asset. This will be the environment that will be scanned when you run a scan on the asset.
We can continue to create another environment for the same asset by checking on Create another environment checkbox
Check on the Trigger scan after saving environment option if you want to run the scan immediately after creating the environment
Click on Create button to create the environment
Access asset details page
Access the asset details page by clicking on the asset name on the Assets page
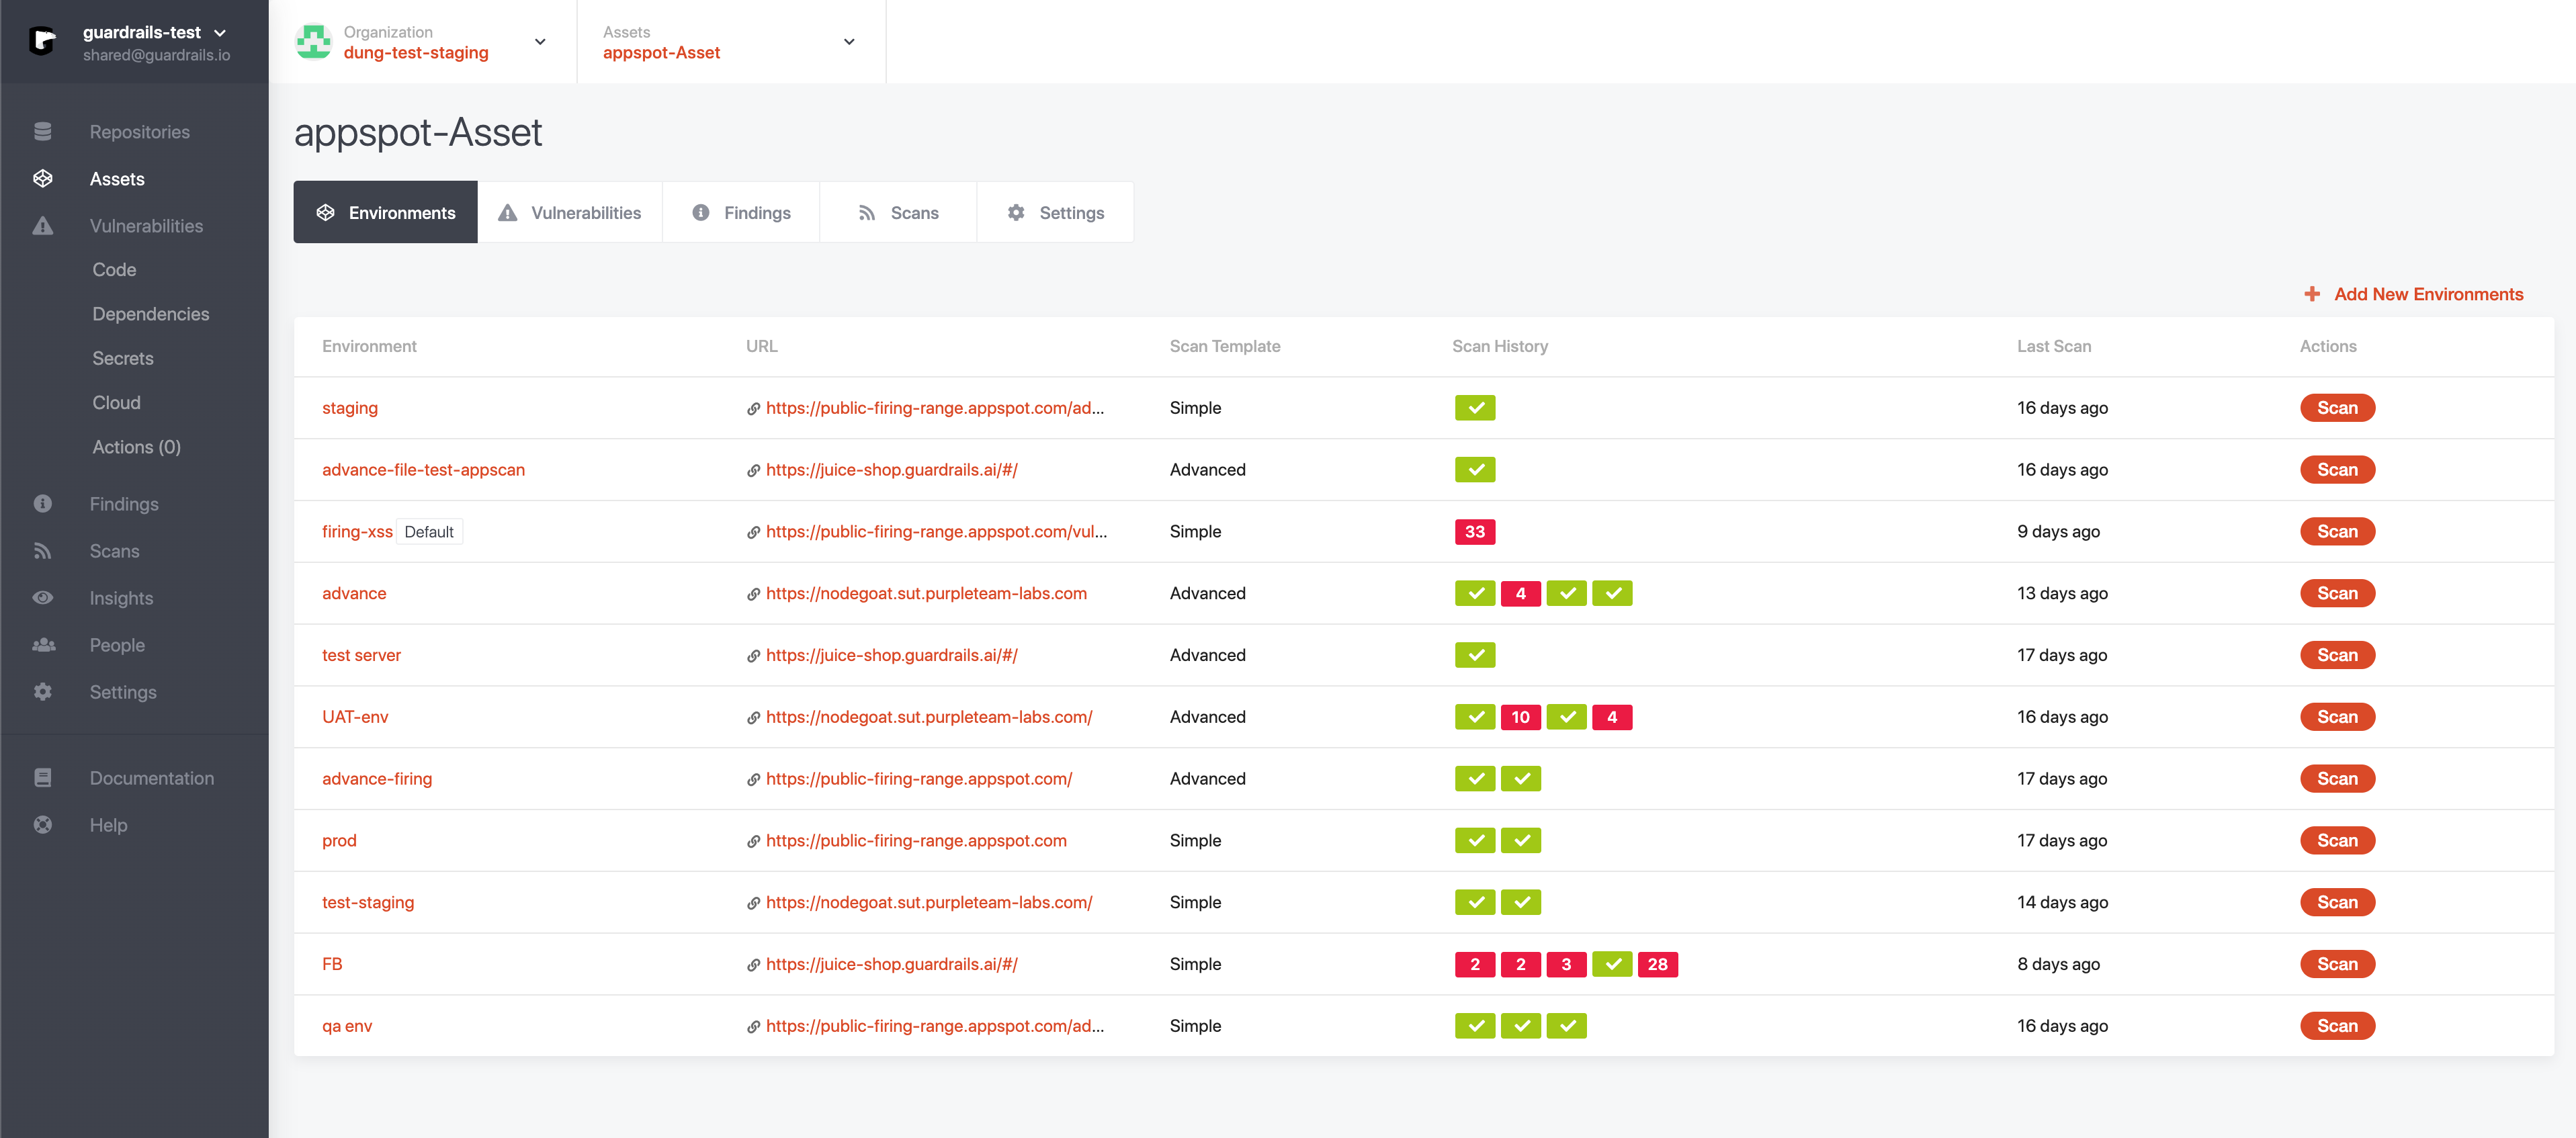
In this page, you can see the list of environments that you have created for this asset, list of vulnerabilities that were found in each environment, and the list of scans that were run on each environment.