GuardRails Enterprise Deployment Guide
👩💼👨💼 GuardRails Kubernetes On-Premise Deployment for Enterprises
Table of Contents
Overview
This document outlines the required steps of deploying GuardRails in an on-premise environment.
System Requirements
- Requirements for the GuardRails Admin interface (KOTS)
- Installation Requirements for an existing cluster
- The sizing of cluster requirements depends on each installation, reach out to us to clarify
- Ensure you have a recent version of kubectl installed
- Ensure that you run as a cluster admin, or that a namespace has been created and the installing user has permissions to deploy into that namespace
- Provision required storage PVs to match the PVC claims made (documentation below)
Pre-Requisites
IMPORTANT: For this Setup we will assume that <YOUR_HOST> will be either the configured DNS (i.e.: guardrails.your-company.com) or the provisioned server IP. Both will work. So, whenever you see a <YOUR_HOST> remember this.
There are a three main tasks that have to be completed first:
- Access to a Kubernetes cluster context:
kubectlis available locally and has access to a kubernetes cluster context - Configure the firewall rules: Ensure that the required inbound and outbound access is possible
- Configure DNS entries: Ensure that you can easily access the GuardRails server
More details on the Deployment Requirements can be found here.
Pre-Deployment Setup
Important - Make sure you have:
Received the On-Premise Licence (
.yaml) file from GuardRails.
The Pre-Deployment Setup is a series of steps that you need to complete before you can start with the Setup & Deploy phase.
Configure your Version Control Platform
For now we only support
GitLab,GitHubandBitbucketversion control platforms.
Follow the next instructions depending on which version control platform you are using:
- GitHub: Create the GitHub GuardRails Application
- GitLab: Create the GitLab GuardRails Application
- BitBucket: Create the BitBucket GuardRails Application
What you should have as a result
If you followed and completed the Pre-Deployment Setup, you should have the following information before you continue to Setup & Deploy:
- If you configured GitHub:
App IDClient IDClient SecretWebhook SecretPrivate Key
Setup Internal Container Registries (Optional)
This will work with any container registry that can act as a mirror to our Docker Hub namespace.
Follow the next instructions depending on which version control platform you are using:
Artifactory
Pre-requisites:
- Ask your GuardRails account manager for credentials to access our Docker namespace.
- Username:
guardrailsio - Password/Access Token:
Provided by your account manager
- Username:
Setup Remote Registry for GuardRails images
Follow the steps below:
- Go to your artifactory instance
<ARTIFACTORY_HOST>/ui/admin/repositories/remote - Click on "Add Repositories" in the top right
- Select Remote Repository and type
Docker - Enter "Repository Key":
guardrailsio - Enter "URL":
https://registry-1.docker.io/, and clickTest. This should show the success message:Successfully connected to server. - Enter "Remote Authentication":
- Username:
guardrailsro - Password/Access Token:
Provided by your account manager - Click
Test, this should show the success message:Successfully connected to server.
- Username:
- Docker Settings: Unselect
Block pulling of image manifest v2 schema 1. - Advanced: Select
Enable Foreign Layers Caching - Leave the other settings as per the defaults
- Click
Save & Finish
Setup Remote Registry for Replicated KOTS images (Optional)
This is required if the initial install needs to go through a container proxy as well.
Follow the steps below:
- Go to your artifactory instance
<ARTIFACTORY_HOST>/ui/admin/repositories/remote - Click on "Add Repositories" in the top right
- Select Remote Repository and type
Docker - Enter "Repository Key":
guardrailskots - Enter "URL":
https://registry-1.docker.io/, and clickTest. This should show the success message:Successfully connected to server. - No authentication is needed for this organization
- Docker Settings: Unselect
Block pulling of image manifest v2 schema 1. - Advanced: Select
Enable Foreign Layers Caching - Leave the other settings as per the defaults
- Click
Save & Finish
Create User
Follow the steps below:
- Go to your artifactory instance
<ARTIFACTORY_HOST>/ui/admin/management/users/new - Enter a username:
guardrailsio - Enter an email address
- Set a password
- Click
Save
Update Permissions
Follow the steps below:
- Go to your artifactory instance
<ARTIFACTORY_HOST>/ui/admin/management/permissions/create - Enter a name:
guardrailsio - Drag and drop
guardrailsiointo the list of "Included Repositories" and clickOk- Optionally: Drag and drop
guardrailskotsinto the list as well.
- Optionally: Drag and drop
- Go to the
Userstab and select theguardrailsiouser. - Select the following permissions for "Repositories":
- Read
- Annotate
- Deploy/Cache
Now complete with the setup and configure GuardRails to leverage the Artifactory Remote Repository in a later installation step.
Install GuardRails Platform
If you want to install a full Kubernetes cluster on a virtual machine and the GuardRails stack on top of it, please see Option A. If you want to install GuardRails stack on an existing Kubernetes cluster, please see Option B.
Option A: Embedded Cluster
This will install a full Kubernetes cluster on a virtual machine (VM) and the GuardRails stack on top of it. This is recommended when:
- you don't use any managed Kubernetes services such as AWS EKS, Microsoft AKS, or Google Kubernetes Engine (GKE).
- you don't have a dedicated engineer team to manage a Kubernetes cluster.
- your team doesn't have the expertise or bandwidth to setup and maintain a Kubernetes cluster.
This will take about 30-45 minutes, depending on the specs of the provisioned system and the speed of the Internet connection.
We will use KURL to install Kubernetes and GuardRails. Before you begin, please make sure that your VM meets the system requirements for KURL and GuardRails:
Increase the limits for number of open files. Add the following text to file /etc/security/limits.conf:
*                soft    nofile          4096
*                hard    nofile          16384
root             soft    nofile          16384
root             hard    nofile          65535
Install embedded Kubernetes cluster and GuardRails:
curl -sSL https://k8s.kurl.sh/guardrails-enterprise | sudo bash
When this command run successfully, it will show some information such as URL and credentials for Grafana, GuardRails Admin Console, and command line to create additional worker nodes, please save it for later use.
Option B: Existing Cluster
This will install the GuardRails stack on an existing Kubernetes cluster. This is recommended when:
- you use a managed Kubernetes service such as AWS EKS, Microsoft AKS, or Google Kubernetes Engine (GKE).
- you have a dedicated engineer team to manage Kubernetes clusters.
- your team have the expertise and bandwidth to setup and maintain Kubernetes clusters.
This will take about 5-10 minutes, depending on the specs of the provisioned system and the speed of the Internet connection.
The installation leverages a Kubernetes plugin, which adds functionality to the kubectl command.
More information on the kots-cli can be found here.
Install KOTS, a kubectl plugin to help you install GuardRails:
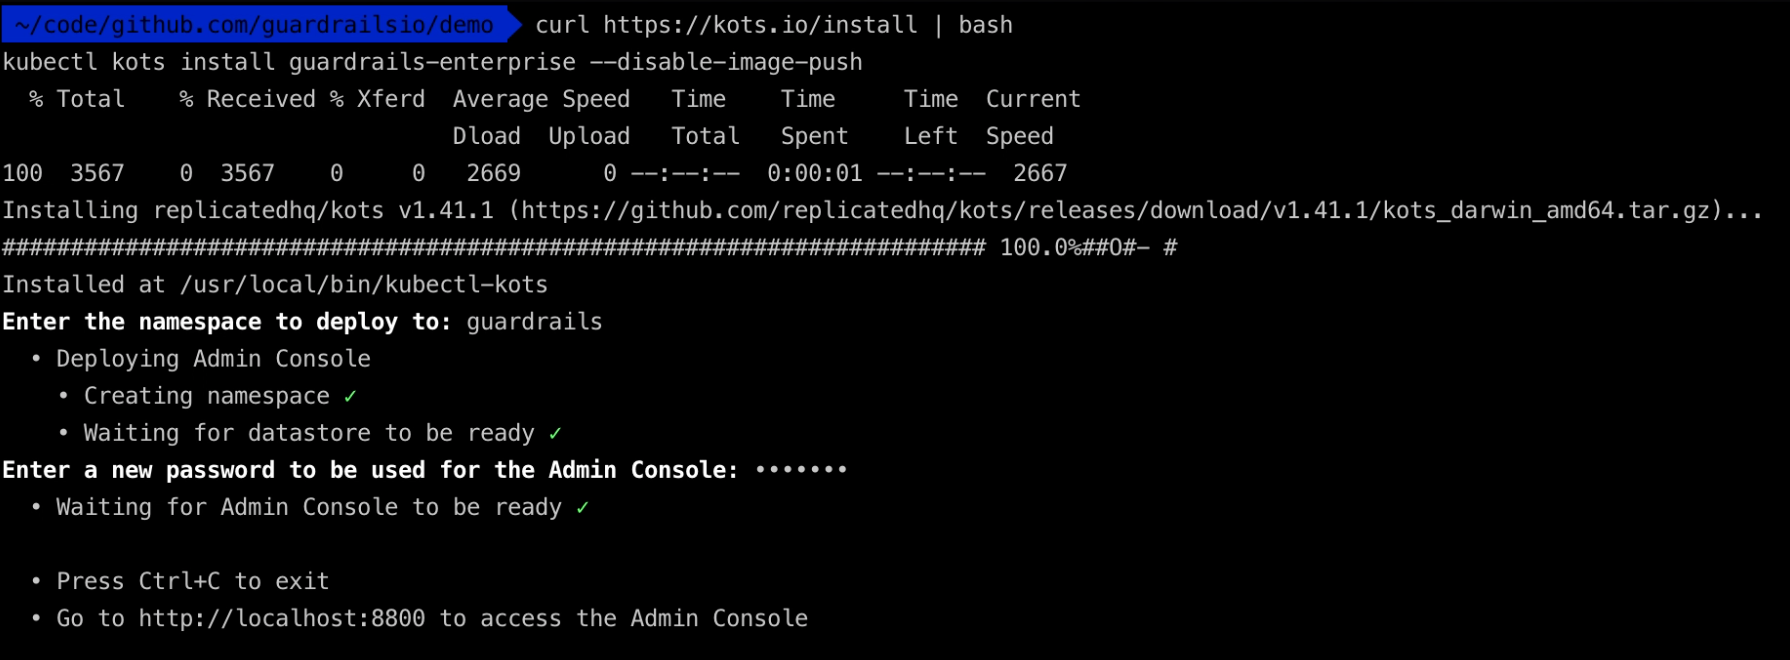
curl https://kots.io/install | bash
kubectl kots install guardrails-enterprise
Note: If you want to leverage an internal docker registry proxy (e.g. Artifactory, or Nexus), then you need to install with the following command.
curl https://kots.io/install | bash
kubectl kots install guardrails-enterprise --disable-image-push
Note: If you have to go through an internal docker registry proxy for the initial installation (not just the GuardRails stack), you have to install with the following command.
curl https://kots.io/install | bash
kubectl kots install guardrails-enterprise --disable-image-push --kotsadm-registry <artifactory-hostname> --kotsadm-namespace guardrailskots/guardrailskots --registry-username <artifactory-user> --registry-password <artifactory-password>
When asked enter the name for the GuardRails namespace and setup a password for the GuardRails admin interface (kots admin).
GuardRails Application Setup
Configure GuardRails
Note: If you want to access the admin console, you can run the following command: kubectl kots admin-console --namespace <YOUR_NAMESPACE>
As soon as the GuardRails admin interface is available, you can open the URL
http://localhost:8800where you will see the following screen. Enter the password and click onLog Inin order to proceed.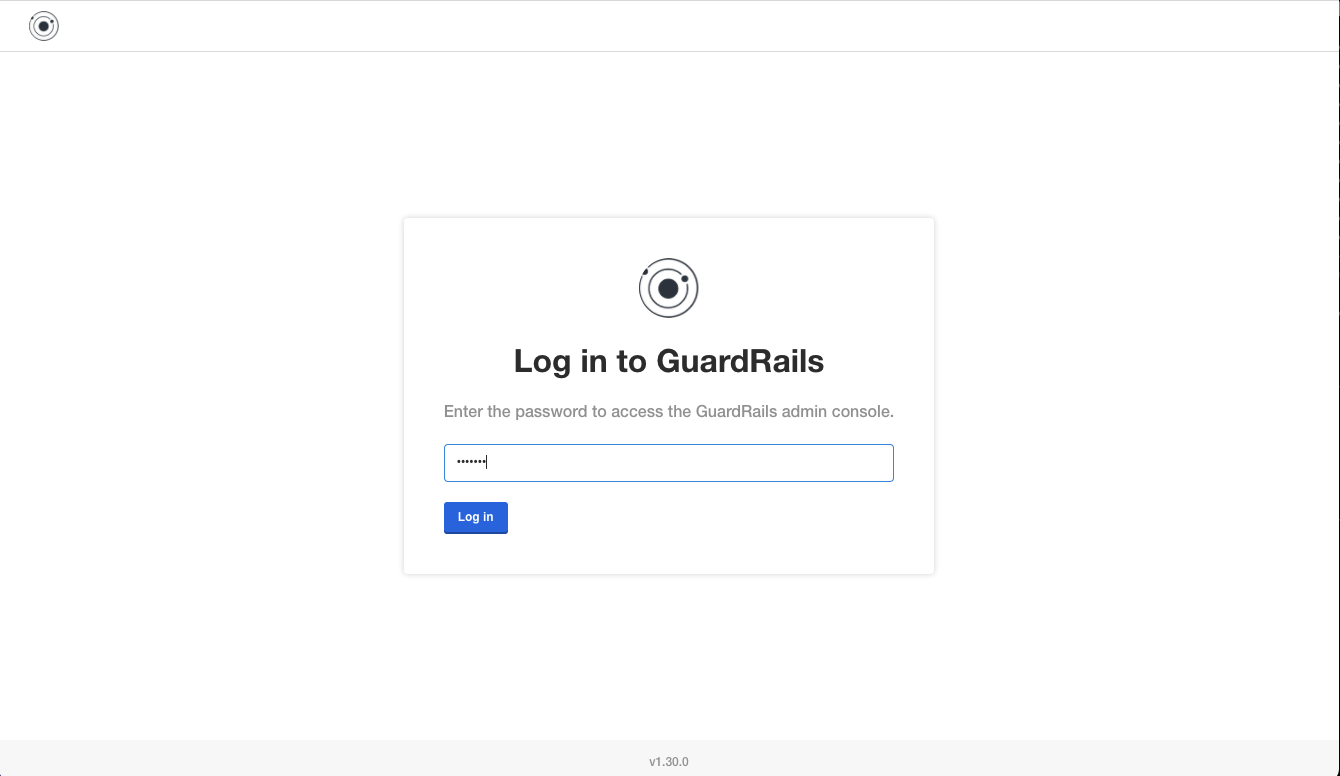
Upload the license that you received from GuardRails (the
.yamlfile).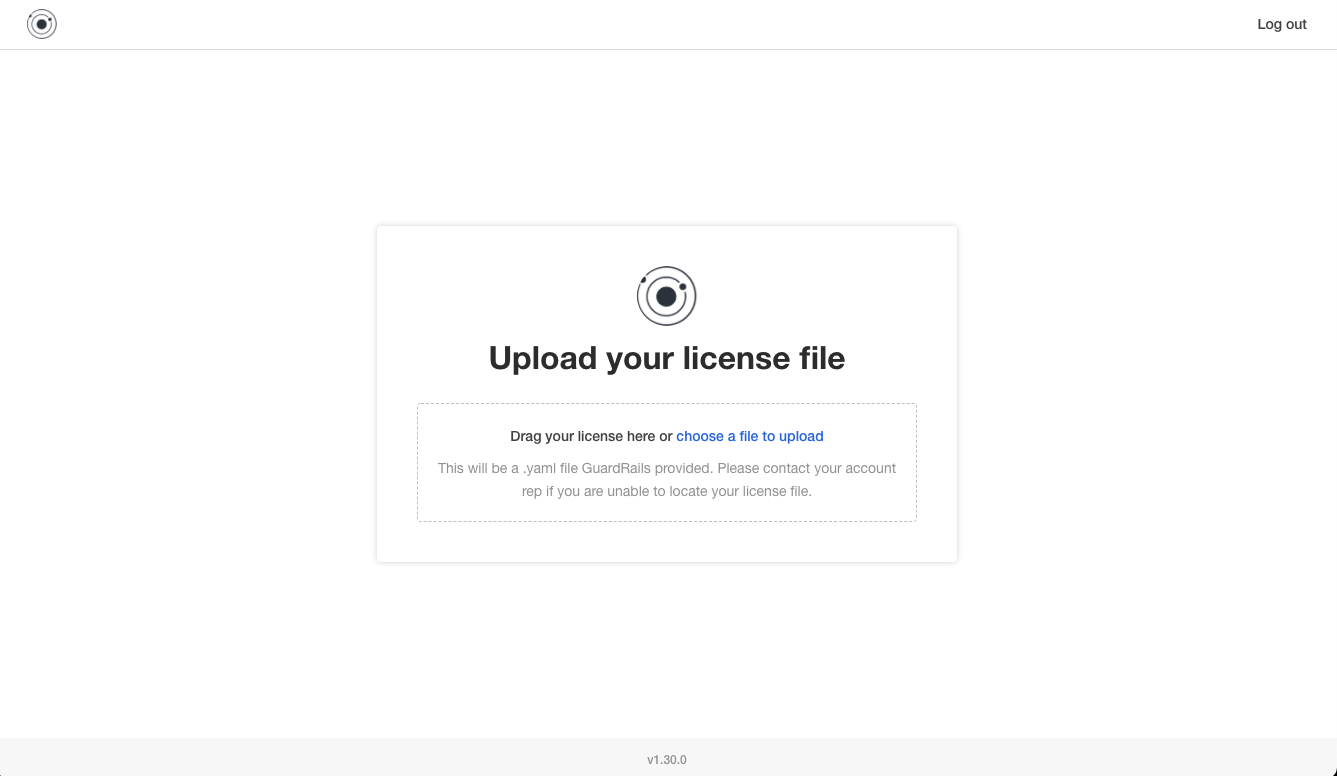
Wait for the initialization to complete.
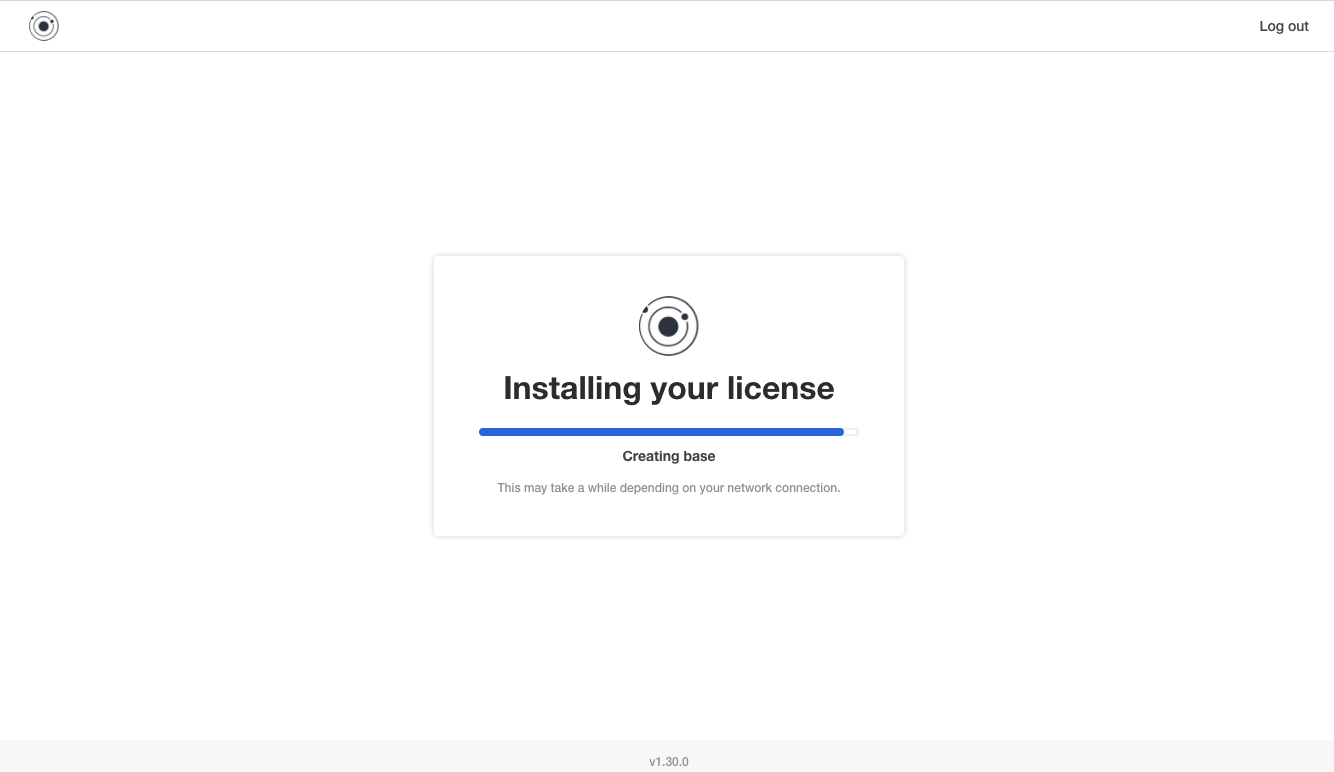
Afterwards, you will be redirected to the Config screen.
GuardRails Configuration
Here each of the configuration sections are gonna be explained field by field. In order to complete this installation, follow the sections and fill the form accordingly.
Section: Site Configuration
Organization Name: Enter the name of your organization.Hostname: Enter<YOUR_HOST>.
Section: GitHub Integration
If you are using GitHub, click on Enable GitHub Integration and follow the steps below;
All GitHub deployment options are supported.
GitHub.comGitHub Enterprise
If you are using GitHub Enterprise, please enter the hostname (without protocol) of your instance and select whether it's secure (https) or not (http).
If you are using self-signed certificates on your GitHub enterprise instance, then disable Enforce SSL Verification under the Section: SSL Options.
Fill out the following details based on the values that you have saved when you Configured your version control platform.
GitHub Application IDGitHub App Client IDGitHub App Client SecretGitHub App Webhook SecretGitHub App Private Key
Section: GitHub User Permissions
- Require Write Permissions for Users: Require write permission for users to see repositories in the dashboard.
- Recommended: Disabled
Section: GitLab Integration
If you are using GitLab, click on Enable GitLab Integration and follow the steps below;
All GitLab deployment options are supported.
GitLab.comGitLab Enterprise
If you are using GitLab Enterprise, please enter the hostname (without protocol) of your instance and select whether it's secure (https) or not (http).
If you are using self-signed certificates on your GitLab enterprise instance, then disable Enforce SSL Verification under the Section: SSL Options.
Fill out the following details based on the values that you have saved when you Configured your version control platform.
GitLab App IDGitLab App SecretGitLab GuardRails User Personal Access Token
Section: Bitbucket Integration
If you are using GitLab, click on Enable Bitbucket Integration and follow the steps below;
All Bitbucket deployment options are supported.
Bitbucket.org (i.e. Bitbucket cloud)Bitbucket server/data center (i.e. Bitbucket on-premise)
If you are using Bitbucket server/data center
Fill out the following details based on the values that you have saved when you Configured your version control platform.
- Bitbucket Server and Data Center Host:
<BITBUCKET HOST>(example: guardrails.example.com) - Protocol: (select either HTTP or HTTPS)
- Bitbucket Consumer Key:
<CONSUMER_KEY> - Bitbucket Consumer Secret:
<YOUR_PRIVATE_KEY> - Bitbucket Admin Personal Access Token:
<YOUR_PAT>
If you are using Bitbucket cloud
Fill out the following details:
- Bitbucket App Name: Enter the name that you want for your Bitbucket app (that you will create in a later step). You can enter any name that you want in this field.
- Bitbucket App Secret: (leave blank for now)
- Bitbucket OAuth Client Id: (leave blank for now)
- Bitbucket OAuth Client Secret: (leave blank for now)
Section: SSL Options
Enforce SSL Verification: Disable this option if you're usingself-signedcertificates for your version control platform.
Section SSL/TLS Certificate
Note: If you can't provision certificates through your setup, then the SSL/TLS certificates must be provided at this step. Otherwise, the GuardRails stack will not be started up.
An example on creating these certs is shown below:
# Create RootCA
openssl genrsa -des3 -out rootCA.key 4096
# Enter and note down passphrase

# Create and self sign the Root Certificate
openssl req -x509 -new -nodes -key rootCA.key -sha256 -days 1024 -out rootCA.crt

# Create the certificate key
openssl genrsa -out <YOUR_HOST>.key 2048

# Create the signing request (csr)
openssl req -new -key <YOUR_HOST>.key -out <YOUR_HOST>.csr

# Generate the certificate
openssl x509 -req -in <YOUR_HOST>.csr -CA rootCA.crt -CAkey rootCA.key -CAcreateserial -out <YOUR_HOST>.crt -days 500 -sha256

# Generate the DH parameters
openssl dhparam -out dhparam.pem 2048

# Create the certificate chain
cat <YOUR_HOST>.crt rootCA.crt > chain.pem
Section: Cookie Options
If for some reason you can't access GuardRails over a secure connection, you can disable secure cookies.
Section: GuardRails Internal Config Options
- Enable Smart Scan: Disable smart scan functionality will increase scan times and is not recommended.
- Recommended: Enabled
- Enable Latest Scan Improvements: Disabling the latest scan improvements is not recommended.
- Recommended: Enabled
- Enable Smart Code Download: Disabling smart code download will increase scan times and is not recommended.
- Recommended: Enabled
- Disable PR Comment Footer: Disable the PR comment footer to not render links to the dashboard.
- Recommended: Disabled
If for some reason you can't access GuardRails over a secure connection, you can disable secure cookies.
Section: Database Type
Embedded: Uses an embedded database as part of the GuardRails stack. This is not recommended for production use.External: Provide the DB connection string to your dedicated database instance. This connection string or postgres URI must be in the format of:postgresql://user:password@host:port/database-name. Even if the default port is being used, ensure that it is part of the connection string. Ifexternalis specified then optionally the SSL configuration option can be set. TheSSL Certificate Filebutton allows selecting a root certificate, similar to the optionsslrootcert. Finally, ensure that the GuardRails instance can connect to the DB instance and there are no firewall restrictions in place.
For production deployments it is recommended to setup a dedicated PostgreSQL instance.
Section: Sentry Integration
For error logging, for now GuardRails supports Sentry, which we consider a great tool for its purpose.
Sentry Disable: Errors won't be sent to any Sentry instance, still logs will be available under the services docker logs.Sentry GuardRails: Errors are reported to GuardRails.Sentry On-Premise: Errors will be reported to an specific Sentry instance of your preference.
Section: SAML Integration For GuardRails GitHub Users
If required you can enable SAML for GitHub here.
Section: Performance Configuration
This allows the configuration of how many scans can be consumed by one worker node at once. This depends on the hardware specs of your nodes.
Section: Cluster Configuration
Enable this to scale the number of worker pods across your nodes to support higher scan throughput.
Section: IP Configuration
Configure the GuardRails IP configuration, this is either IPv4 mode, DualStack, or IPv6 mode.
Section: Expose Services
Configure how you would like to make GuardRails accessible, this is either via Load Balancer, Ingress, or Node Port.
Option Ingress
The GuardRails platform will automatically create objects of kind Ingress with apiVersion networking.k8s.io/v1 to facilitate inbound network traffic. The Kubernetes cluster is required to have at least 1 Ingress Controller, such as nginx, Contour, or others. Please see this page for more information.
Fill out the following fields to configure GuardRails Ingress objects:
- Ingress Class Name: The name of the IngressClass cluster resource.
- Admin Console Hostname: The Admin Console itself. Leave blank to disable.
- Dashboard Hostname: This is the dashboard, e.g.
guardrails.example.com - API Hostname: This is the API, e.g.
guardrails-api.example.com - Probot Hostname: This is the webhook receiver, e.g.
guardrails-probot.example.com - Minio Hostname: This is for storage of some use cases such as API or Pre-Receive hooks, e.g.
guardrails-minio.example.com
Note:
- Configure whether you want to disable HTTP traffic between client and load-balancer.
- Cert Manager is recommended to enable TLS for your Ingress. Please see this page for more information.
- You can add annotations for your Ingress, e.g to request TLS certificates with Cert Manager.
Cluster Type
Select whether you are on an existing Kubernetes, or embedded Kubernetes cluster.
Version Hash
Change the version hash if you make any changes that should trigger a restart of the GuardRails stack. This is not required for the first setup.
Overall Config Example
The following image shows an example of the filled Settings screen for an installation with a GitHub Enterprise instance:

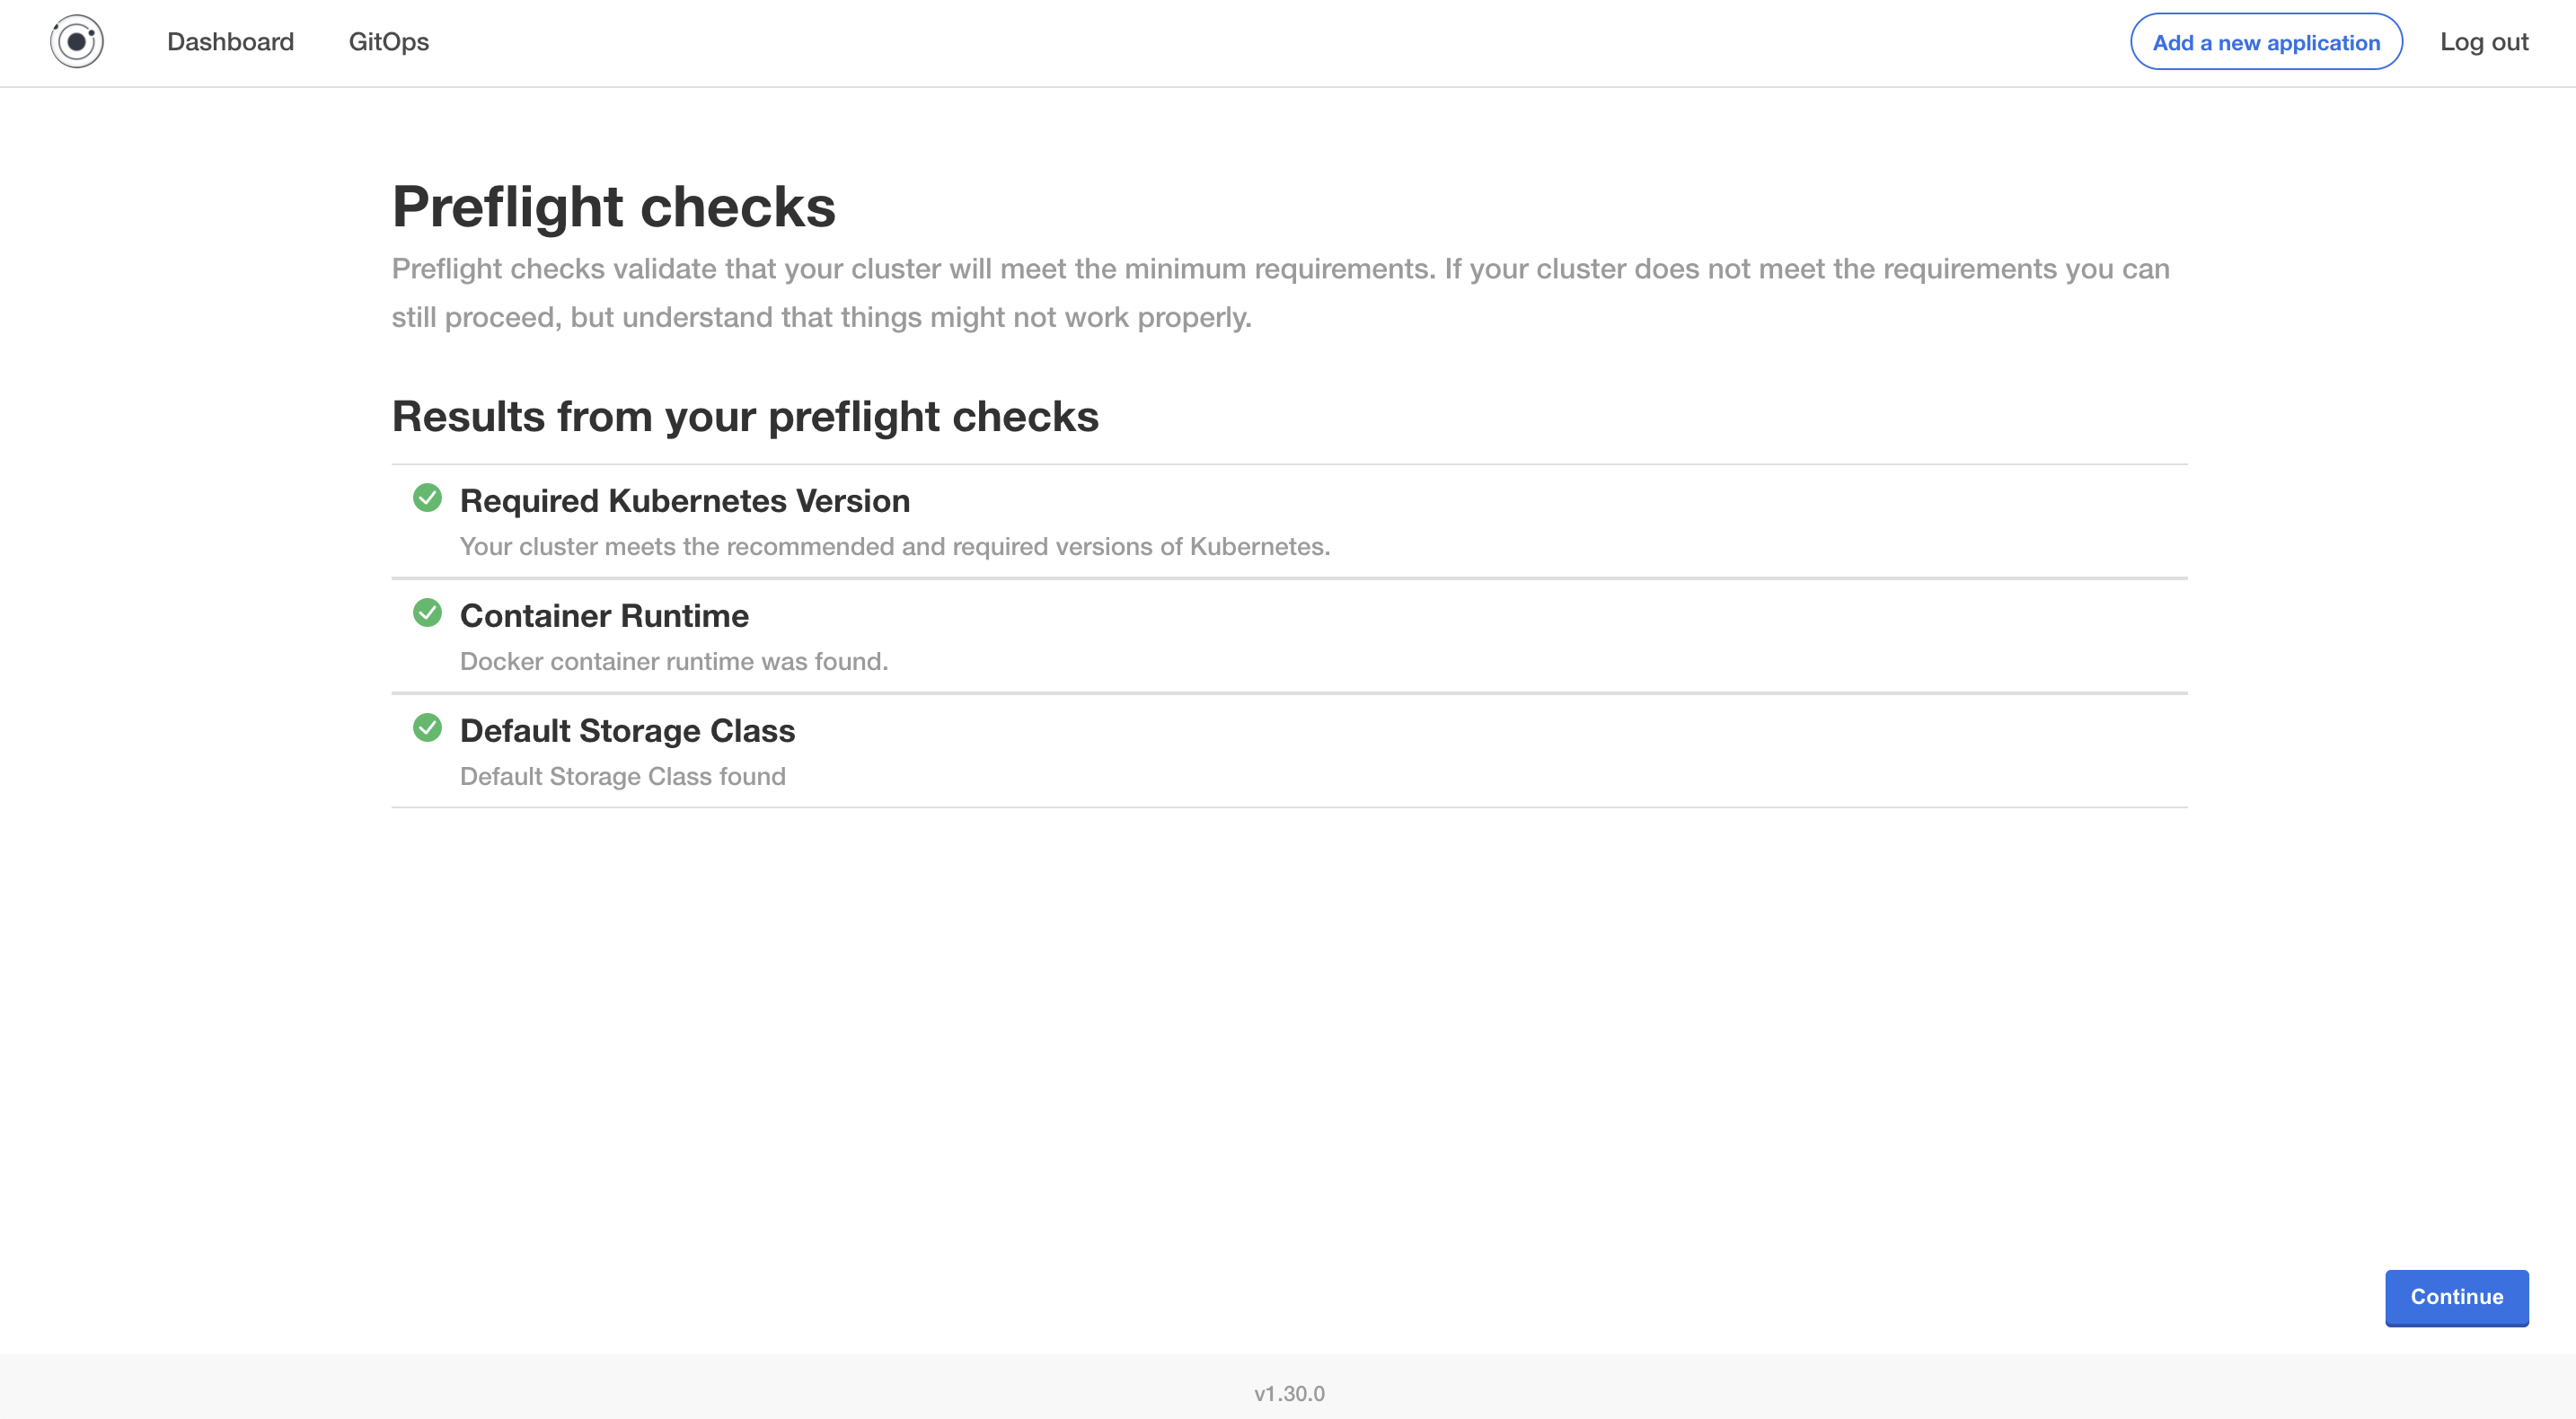
Continue
After all settings have been configured, click on Continue. Wait for the preflight checks to complete then press Continue.
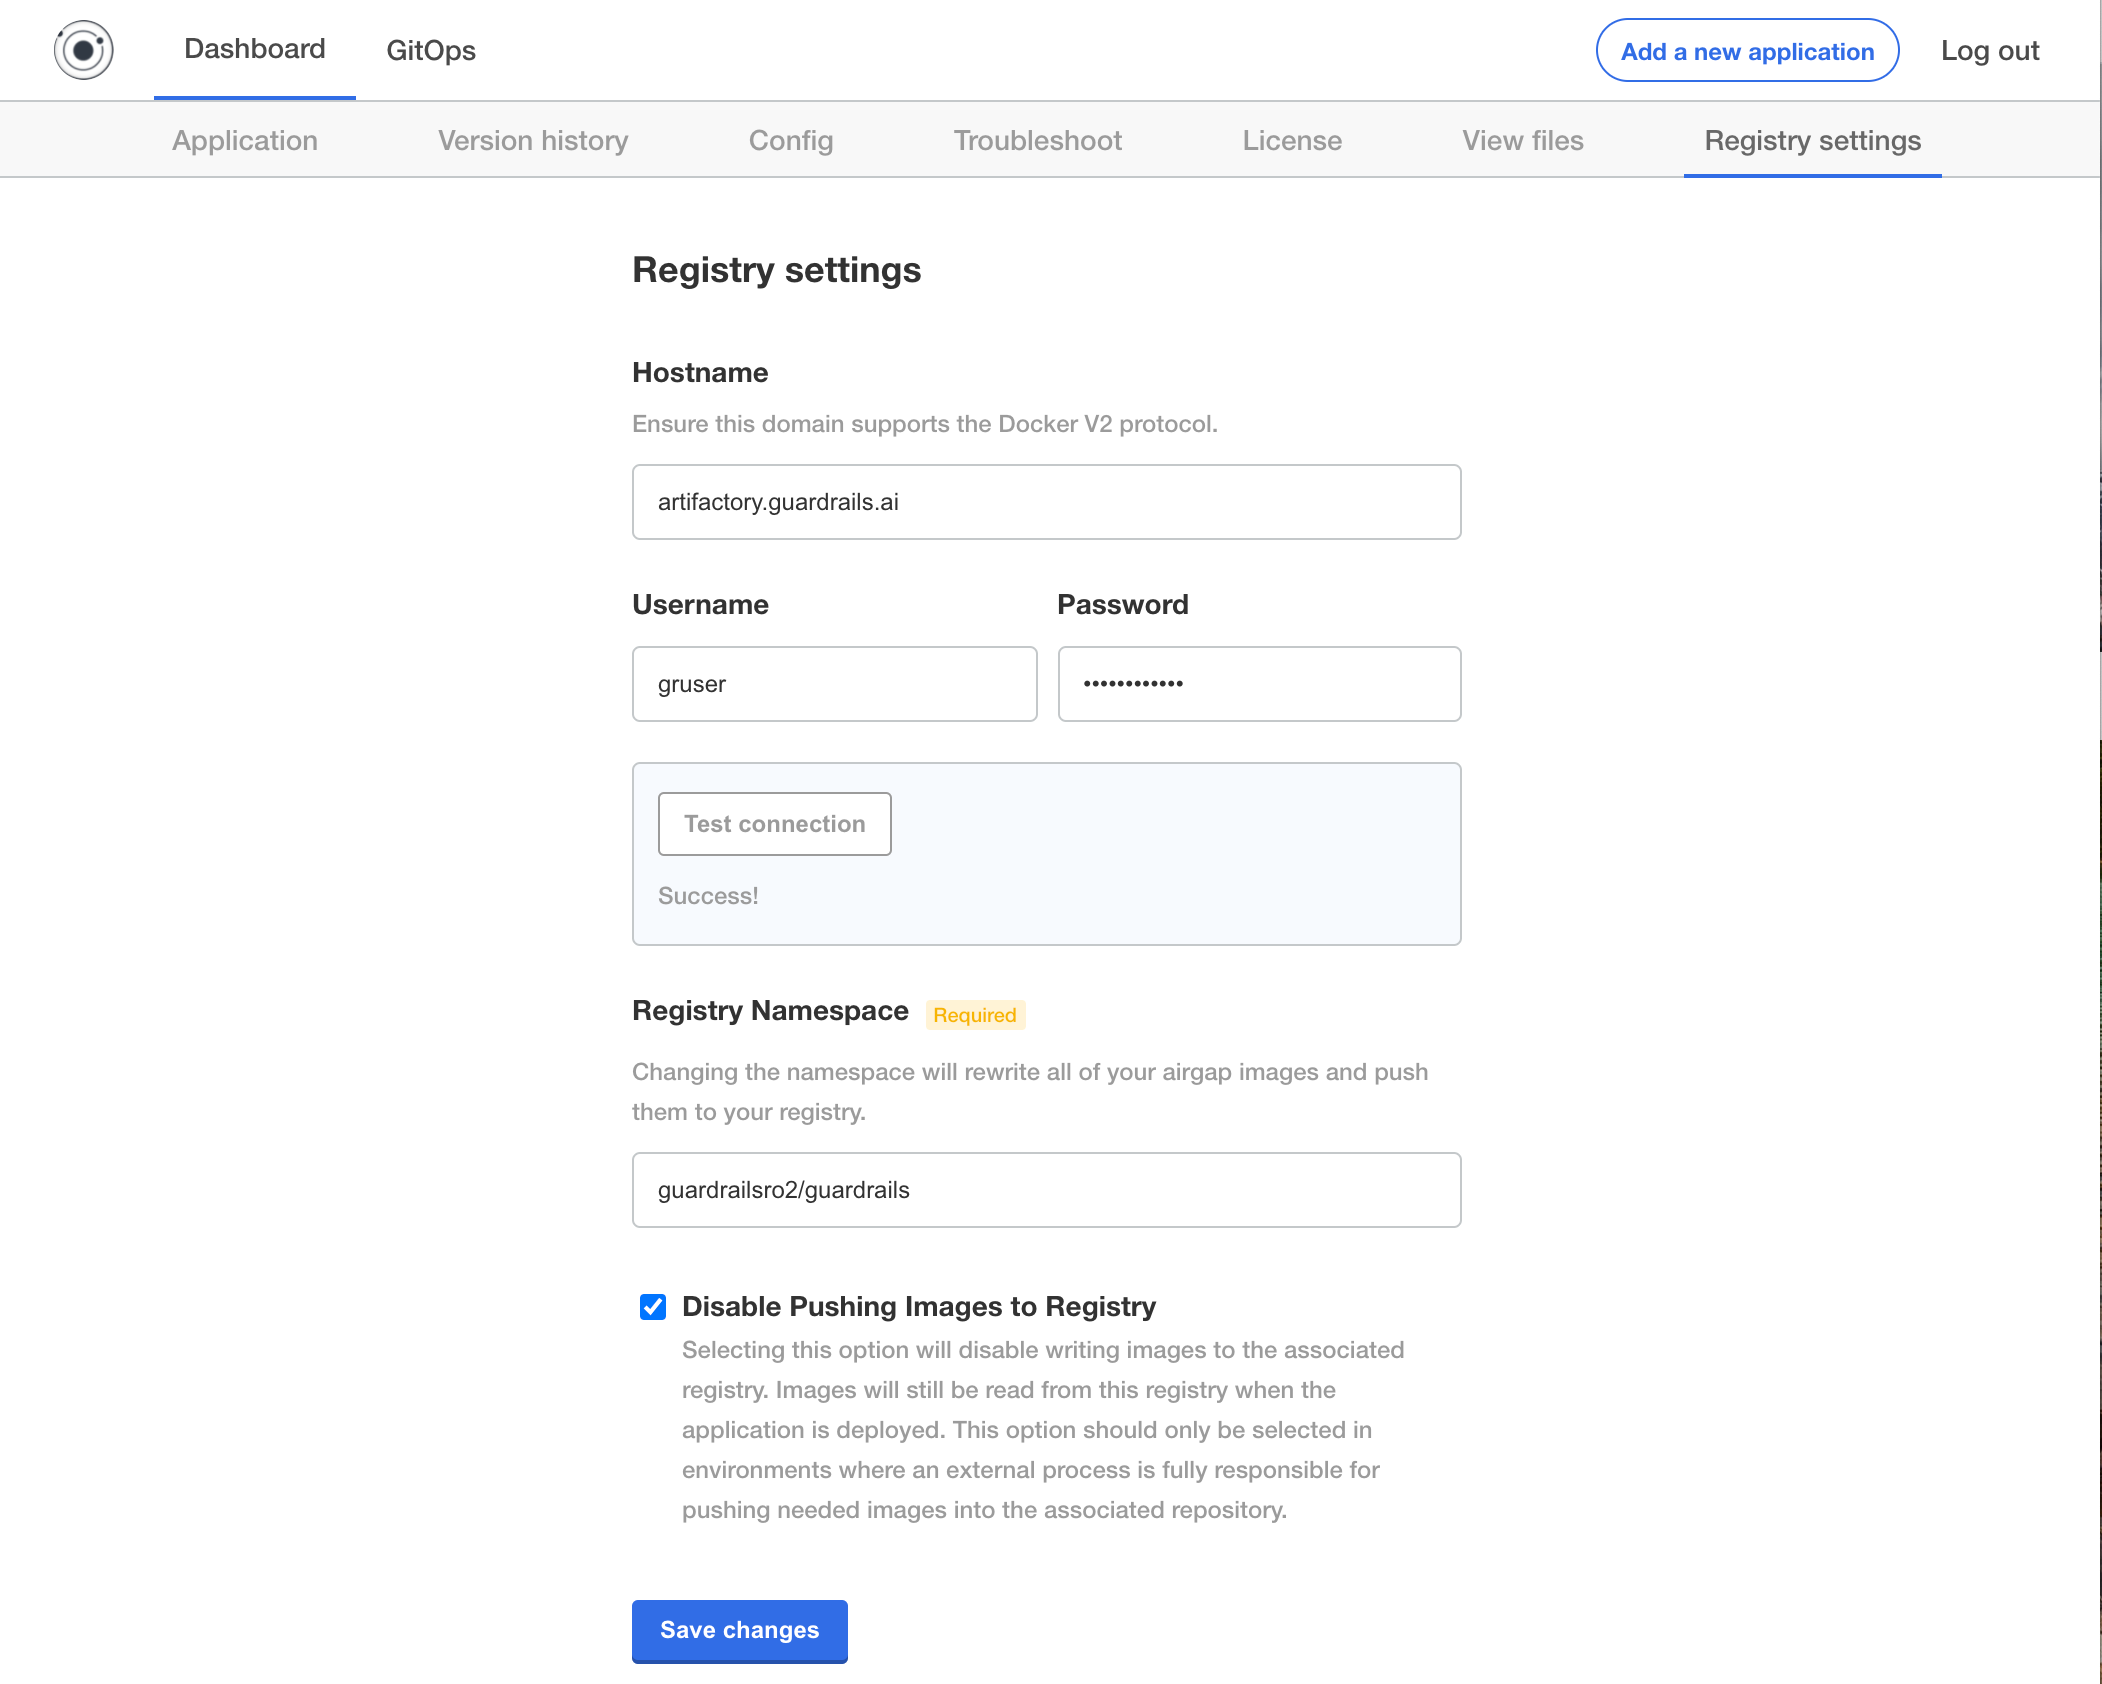
Configure Internal Container Registries (Optional)
Navigate to the "Registry Settings" tab on kots-admin, e.g. http://localhost:8800/app/guardrails-enterprise/registry-settings and complete the form:
- Hostname: Your internal container registry hostname, e.g. artifactory.example.com
- Username: Your previously created username, e.g.
guardrailsio - Password: Your previously created password
- Click
Test connectionto see if you are able to connect. - Registry Namespace: type the name of your internal repository as previously configured followed by
/guardrailsto indicate the correct namespace, e.gguardrailsio/guardrails - Select
Disable Pushing Images to Registry. Note this is dependant on the--disable-image-pushflag during installation.
This should look like shown below:
Deploy the changes:
- Once the above steps are complete click on the
Version Historytab - You will see that there is a "Registry Change" deployment. Click
Deploy
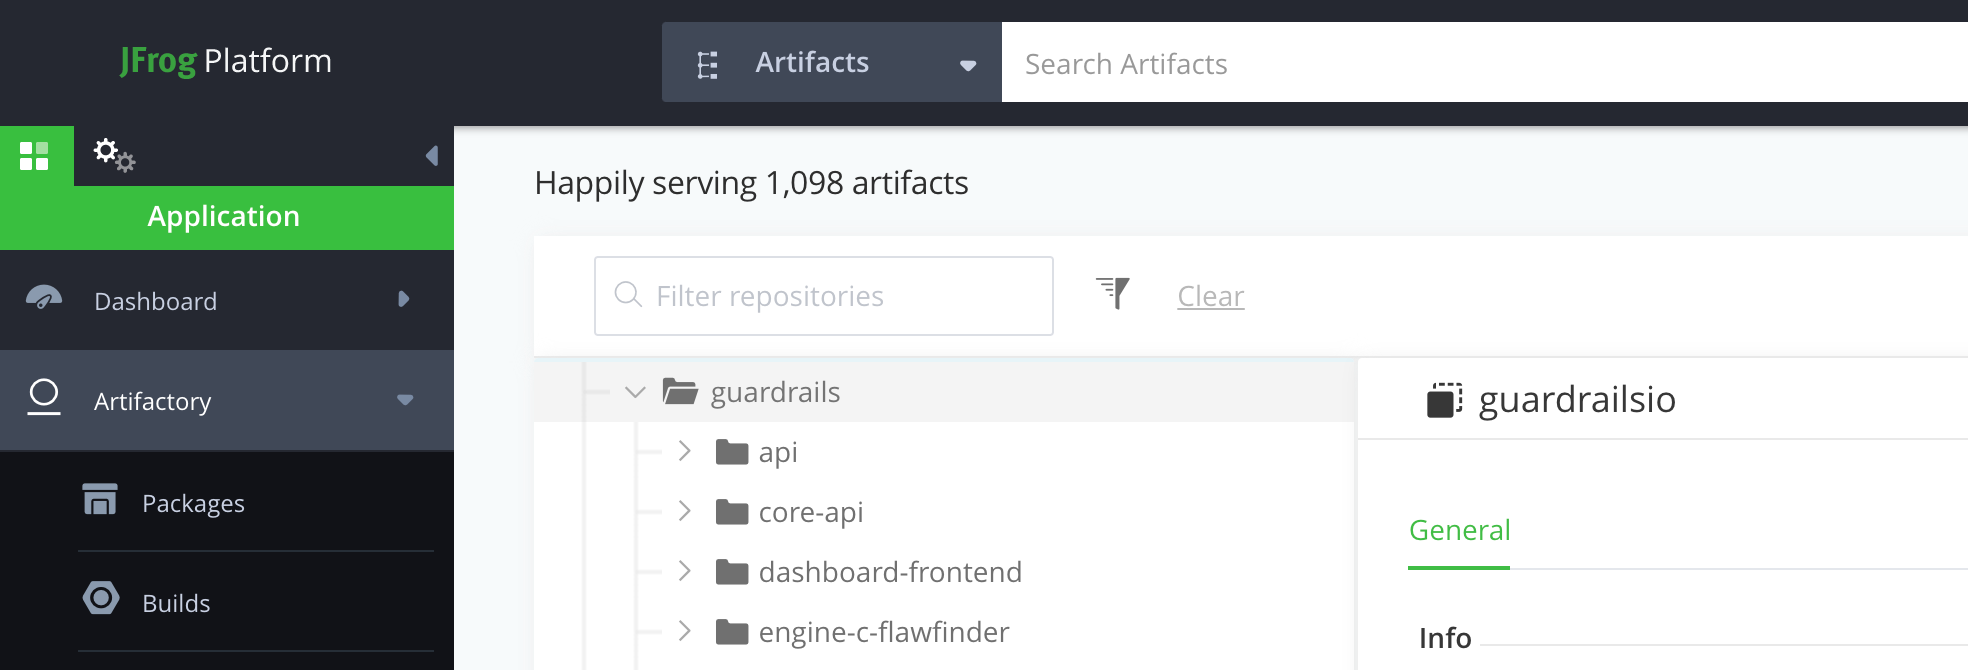
Once the deploy was successful, you will be able to see the images populating in your internal container registry. See the example for artifactory below:
Check Platform Status
Now you can verify that all services are up and running by going to the Application's page.
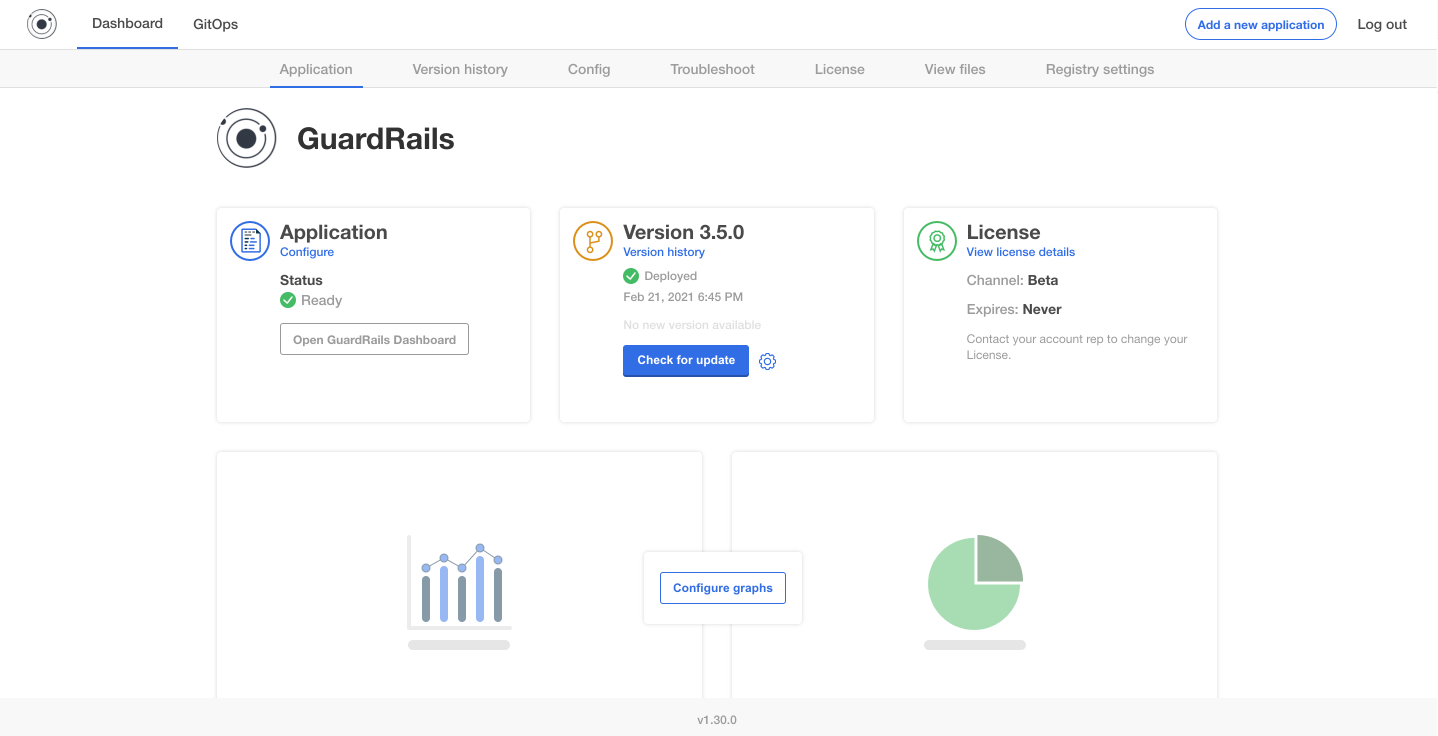
Note: You have to wait until the status is
Ready, this can take up to 10 minutes to bring up all services.
Rollout
Install GitHub Application
Skip this step if you're using GitLab or another version control platform.
Ownerpermissions are required to install the GitHub application into organizations.You will also need to reference the
<github-org-name>from the step Create the GitHub Application.
Install the previously created GuardRails GitHub App to all the organizations on your GitHub instance that you want to protect.
Go to
https://<github-domain>/organizations/<github-org-name>/settings/apps/guardrails/installationsClick
Installfor each organization that you want to install the GuardRails GitHub app in.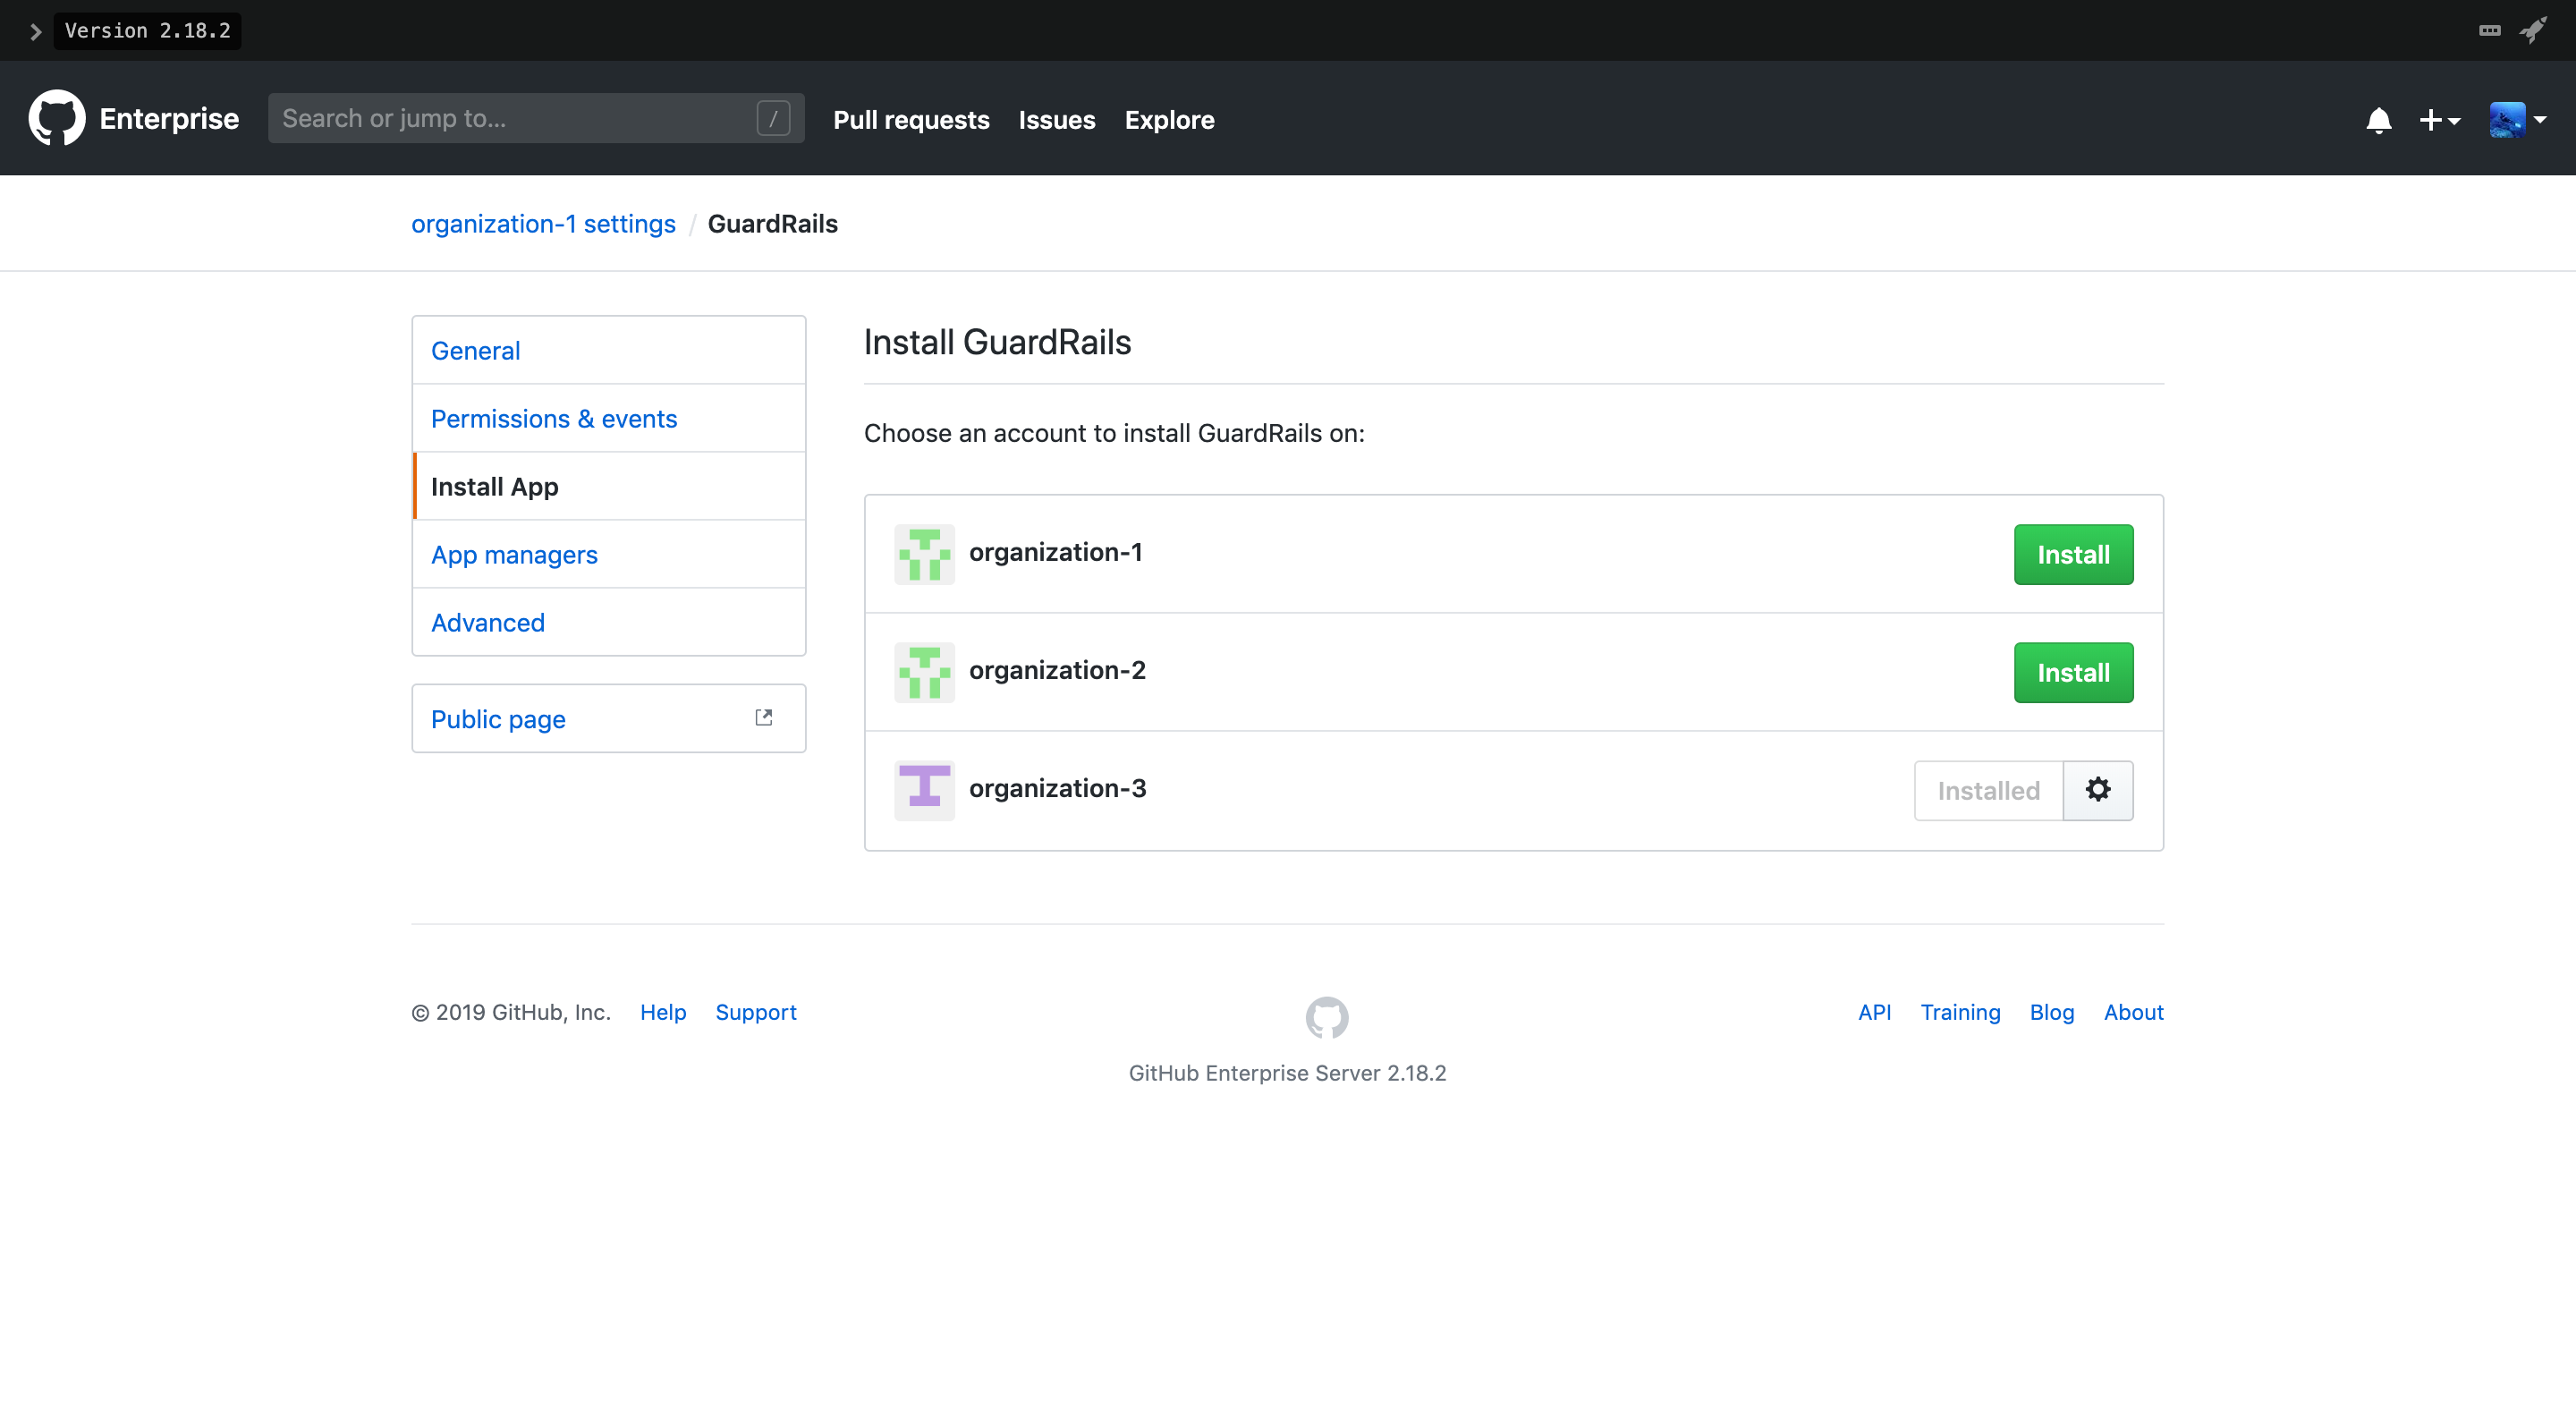
On the next page of the installation, make sure that all repositories are selected and then click
Install.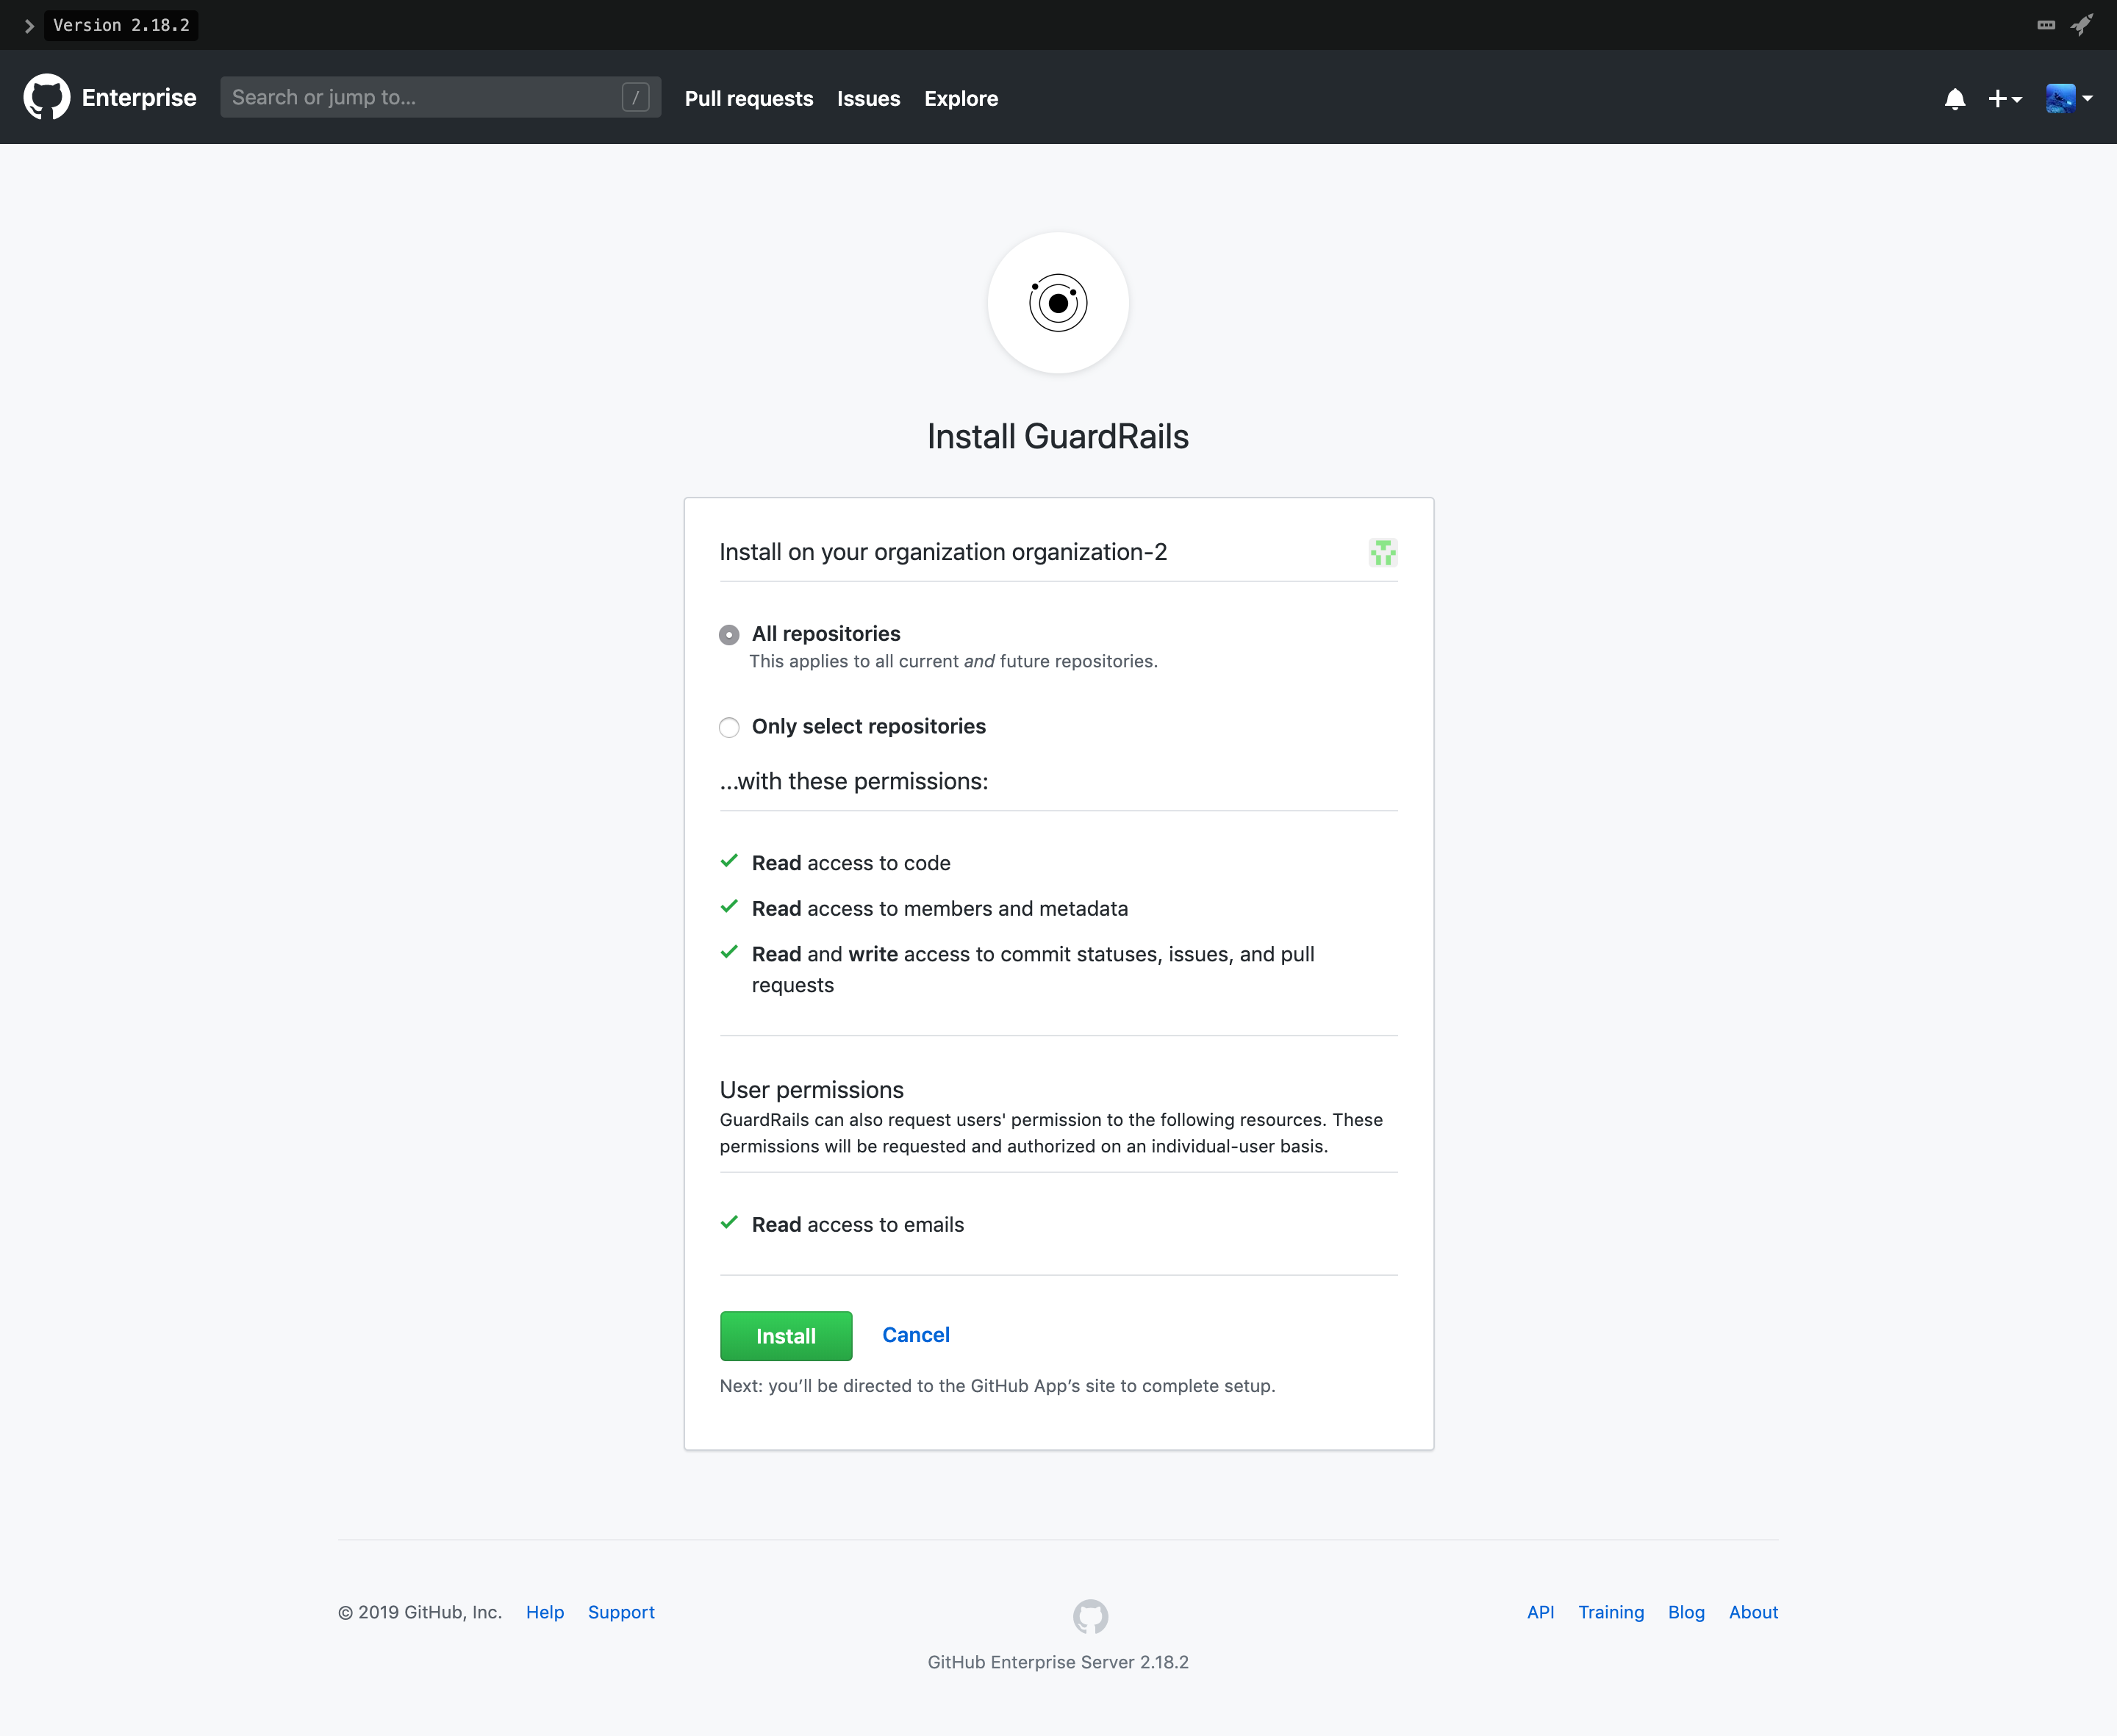
You will be redirected to the GuardRails Dashboard's login page, where you can finally Test the GuardRails deployment.
Test the GuardRails deployment
Follow the steps to verify that GuardRails is working as expected.
Login to the dashboard
https://<YOUR_HOST>and verify that the organizations that GuardRails were installed in show up.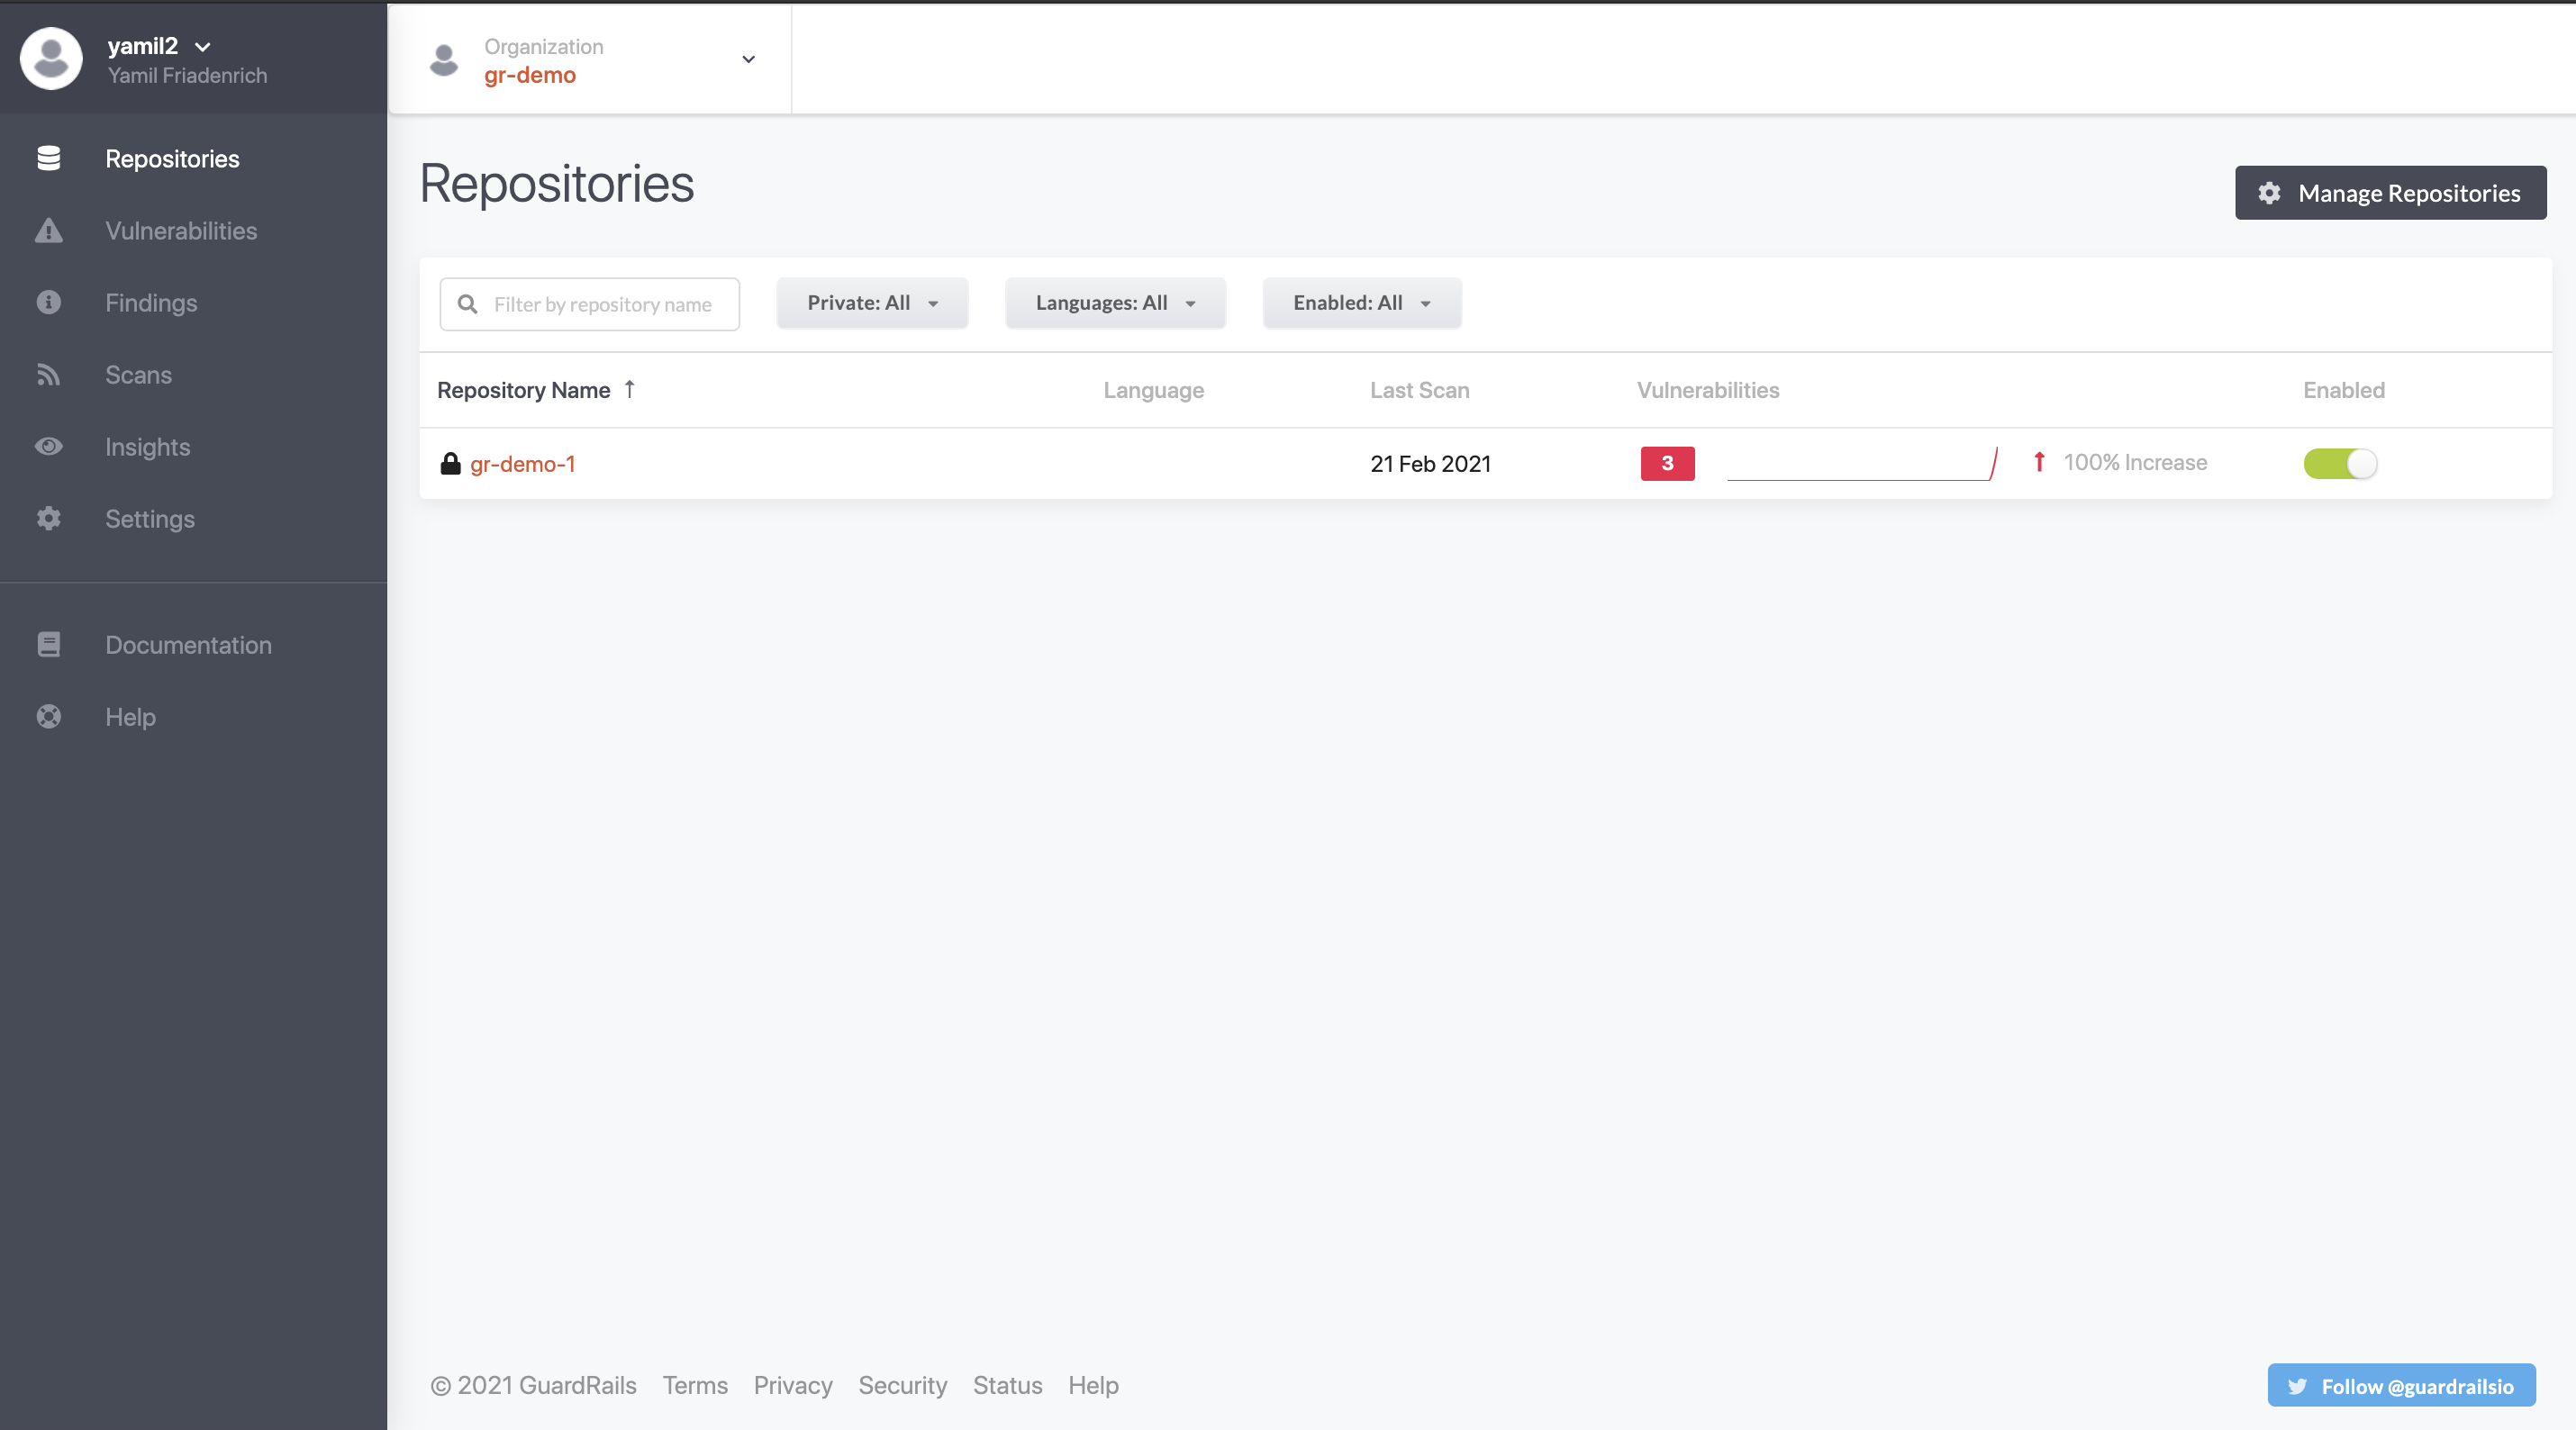
Trigger a full scan on an enabled repository by clicking the scan button next to the enable/disable toggle.
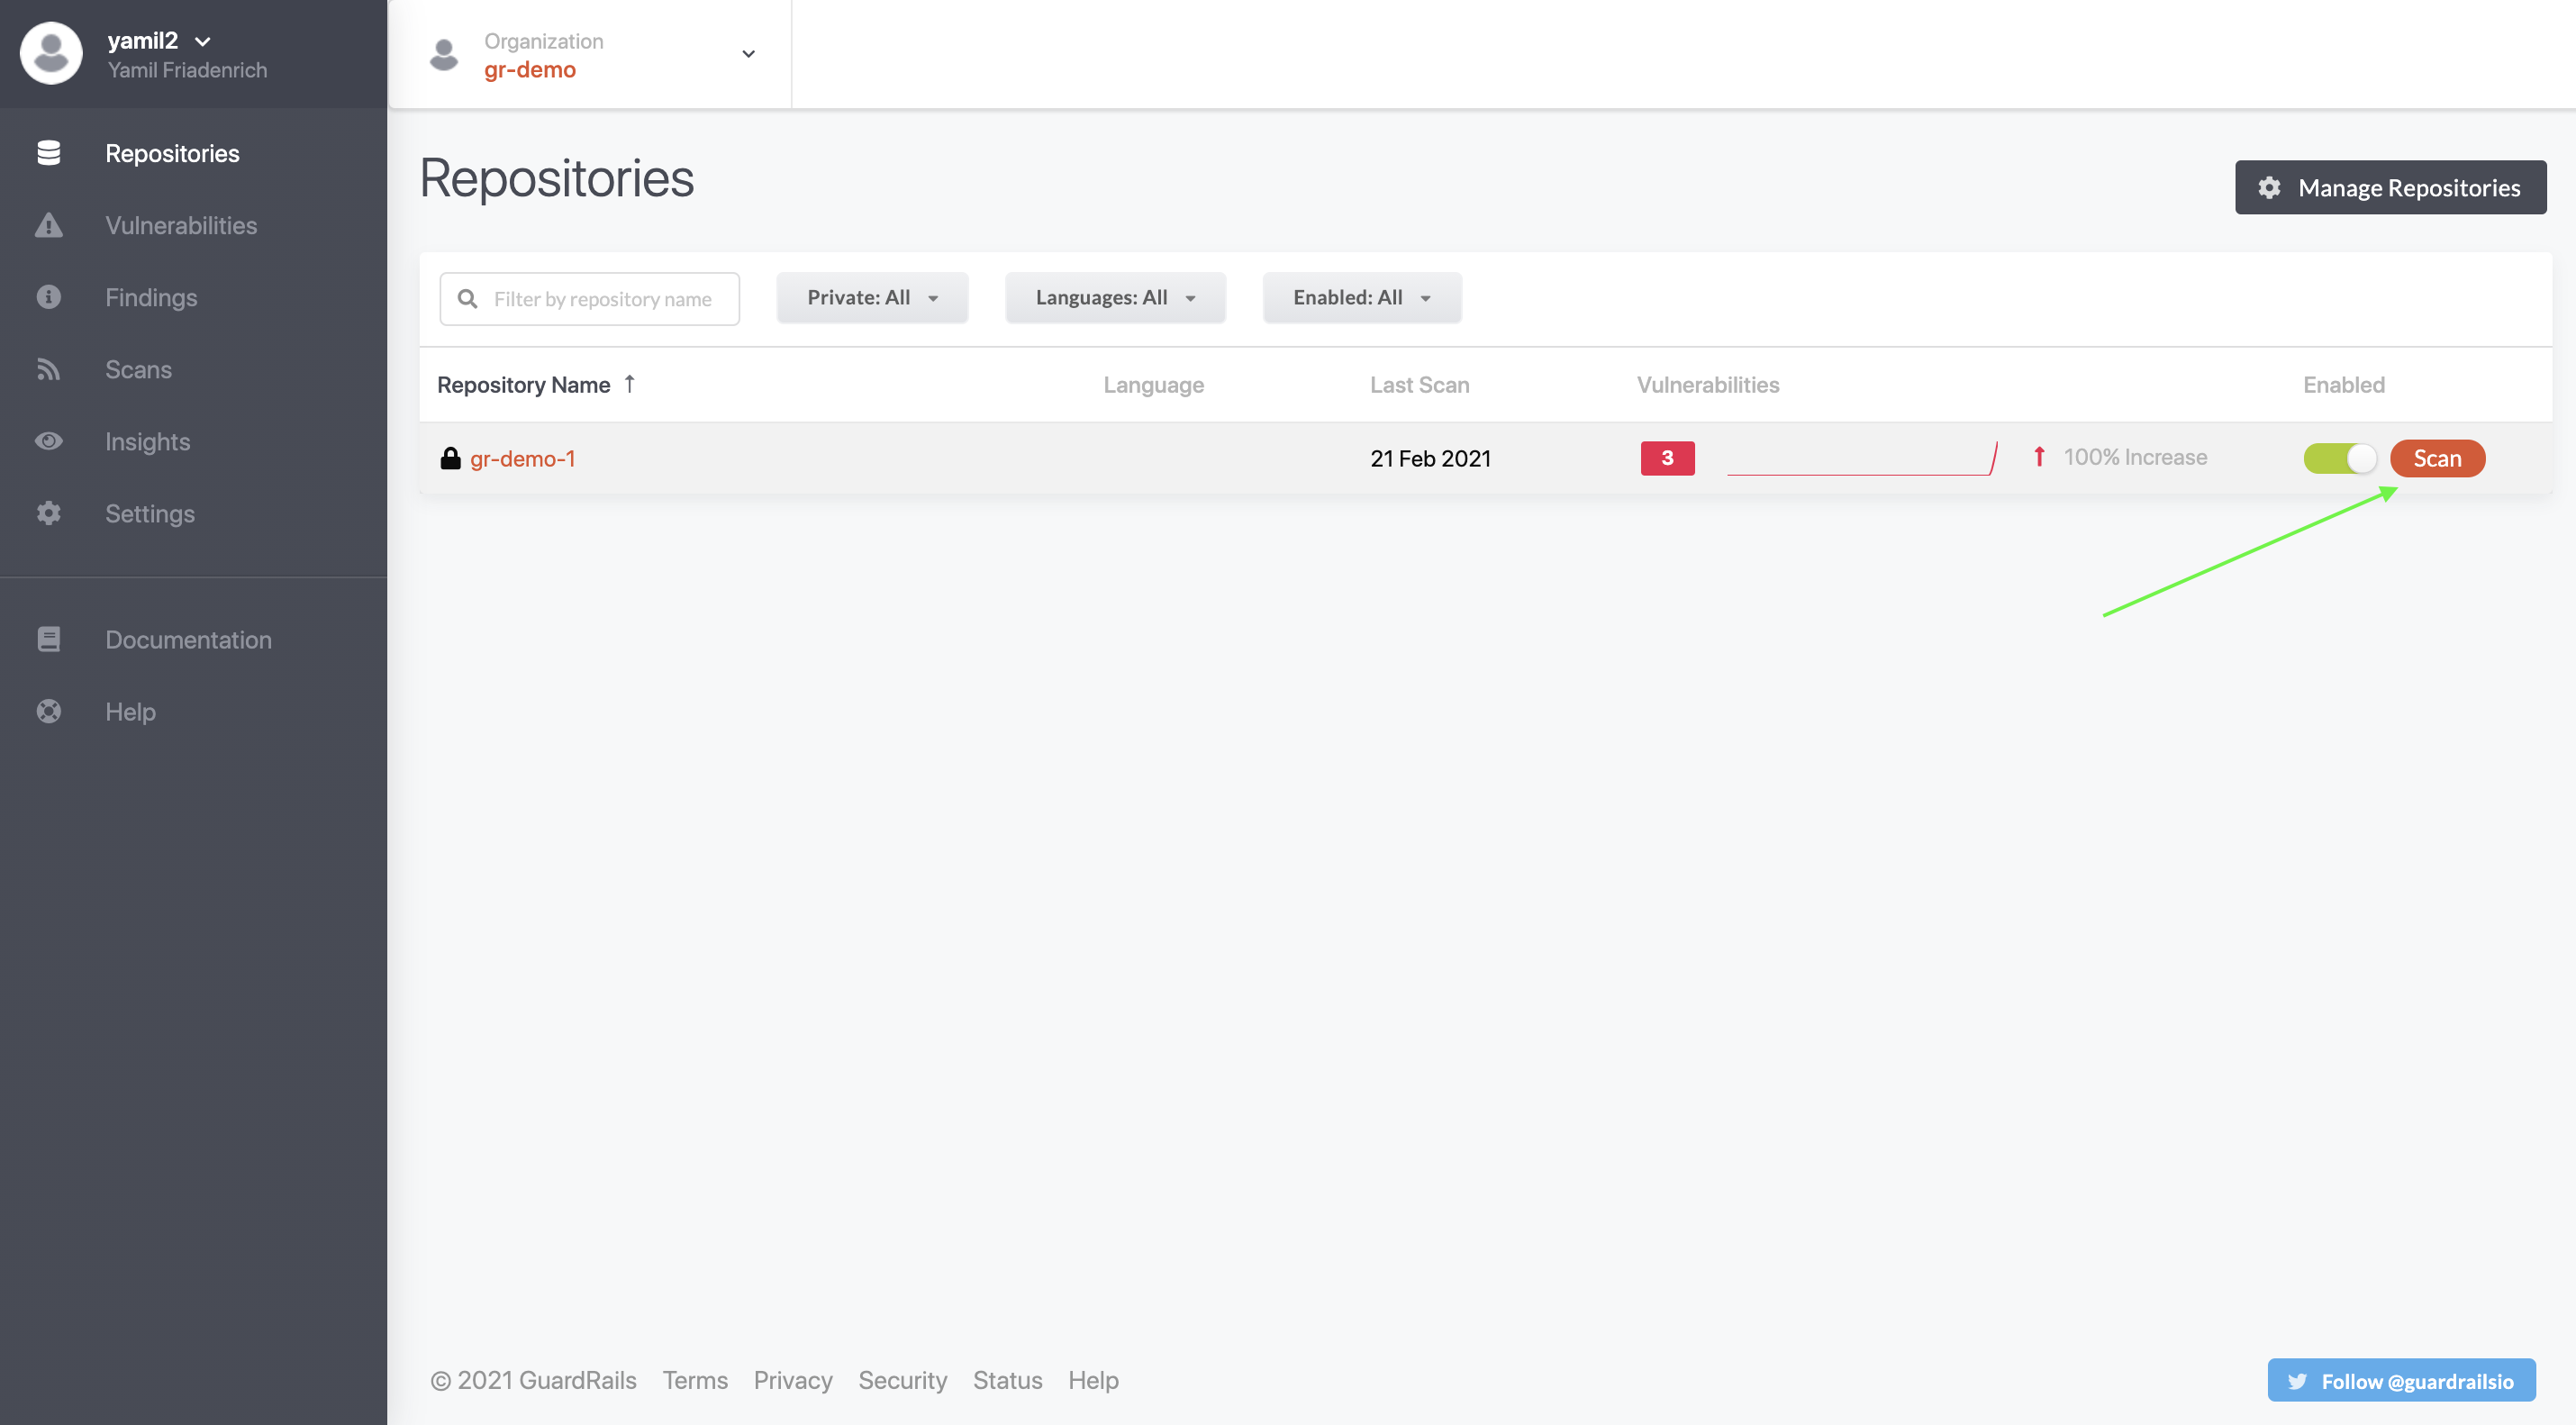
You will be redirected to a screen like this one:
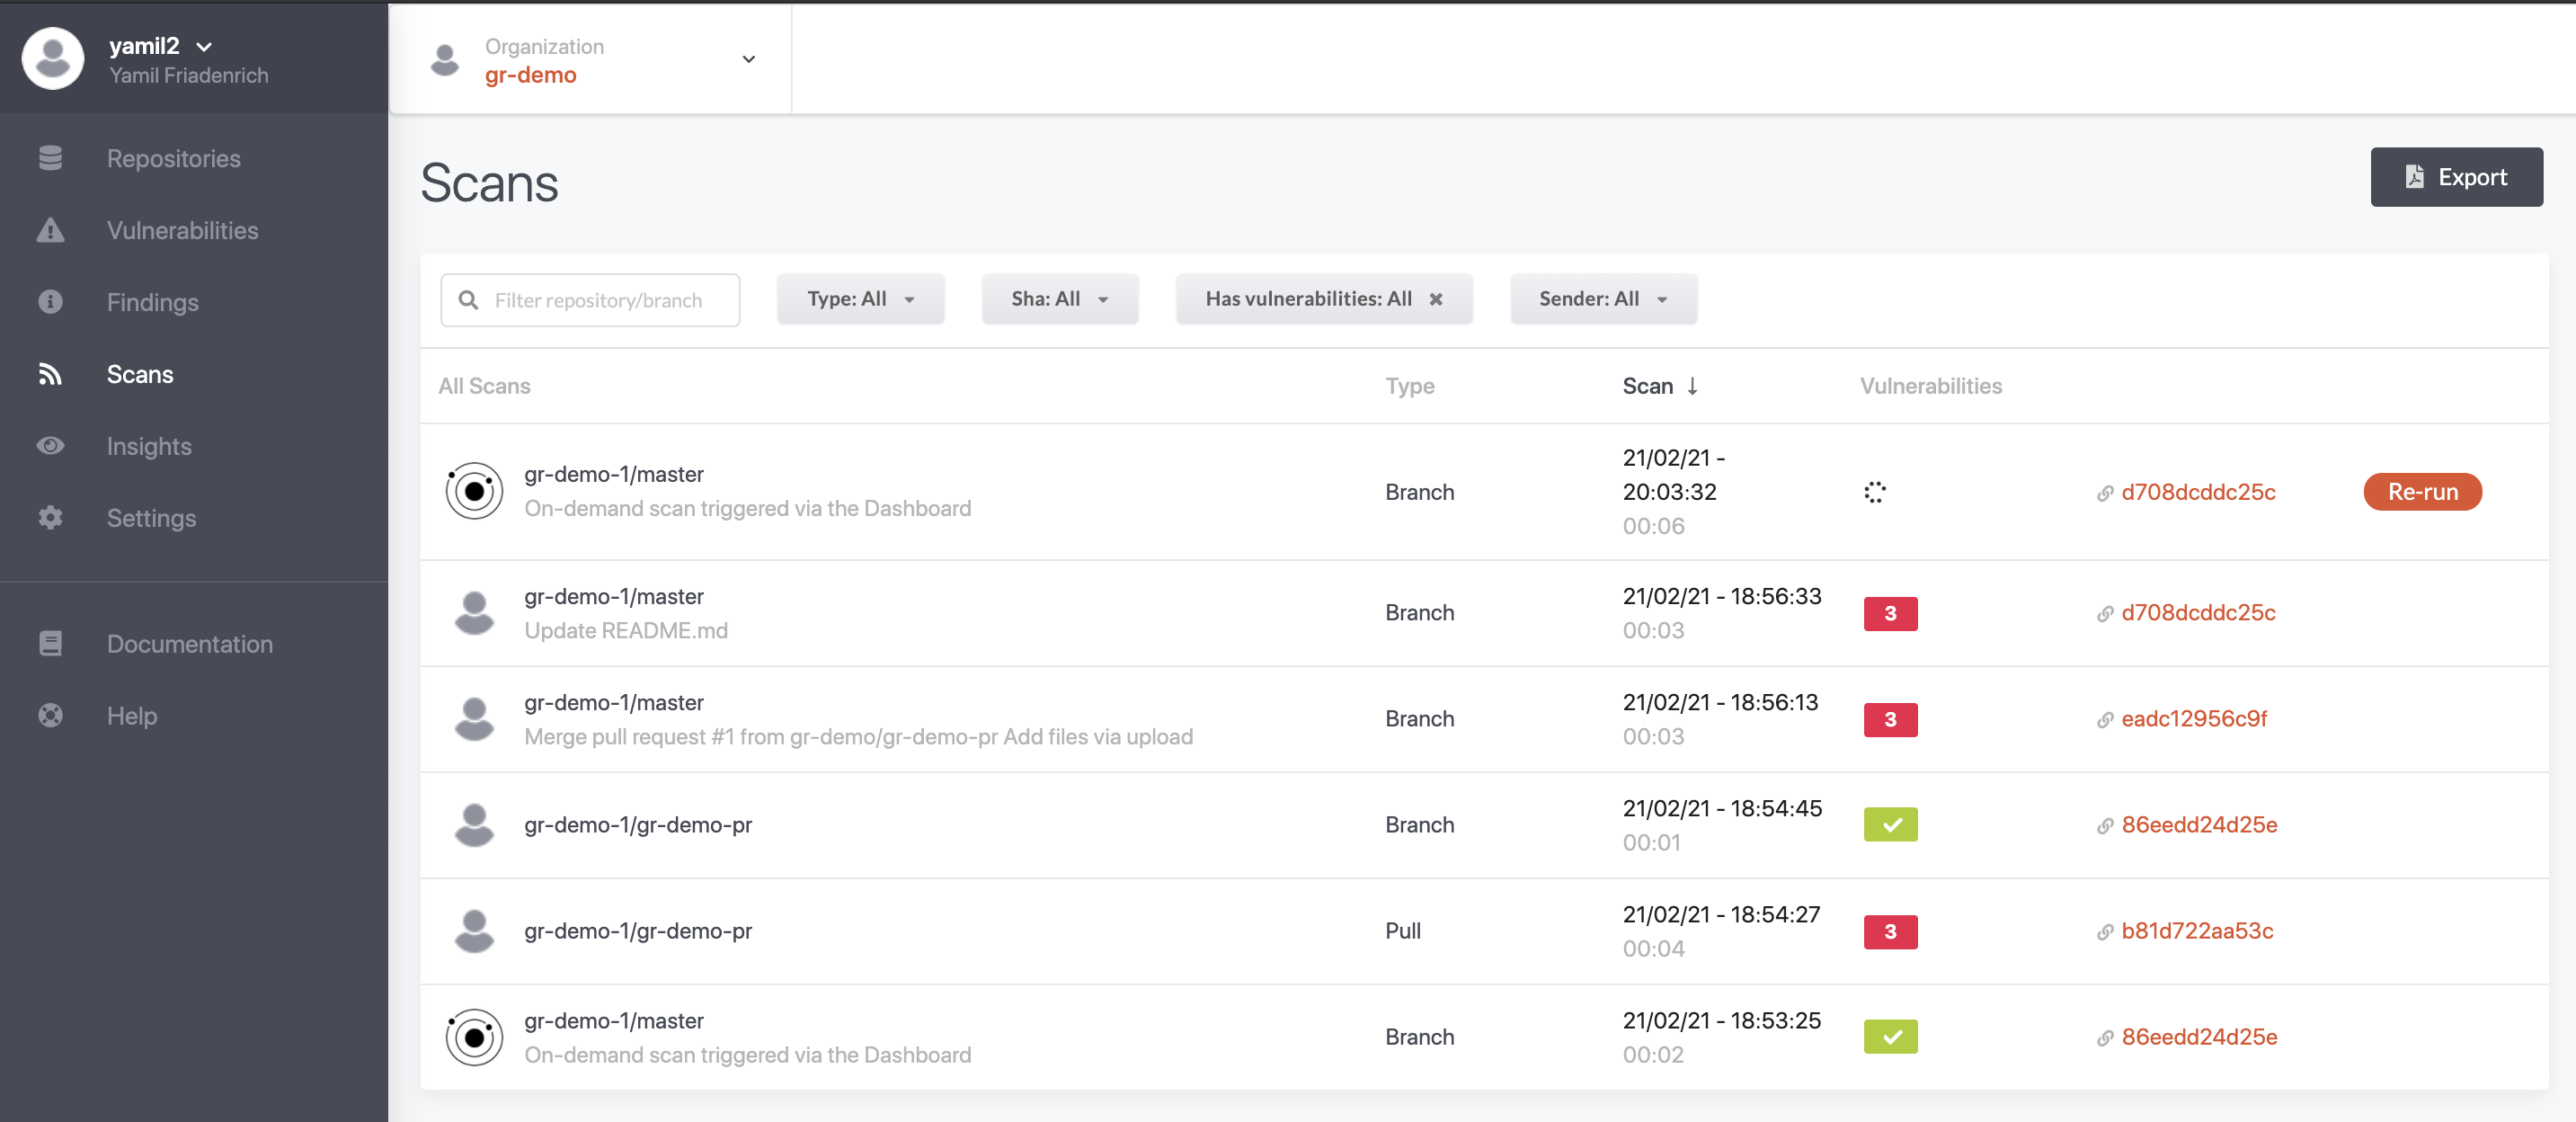
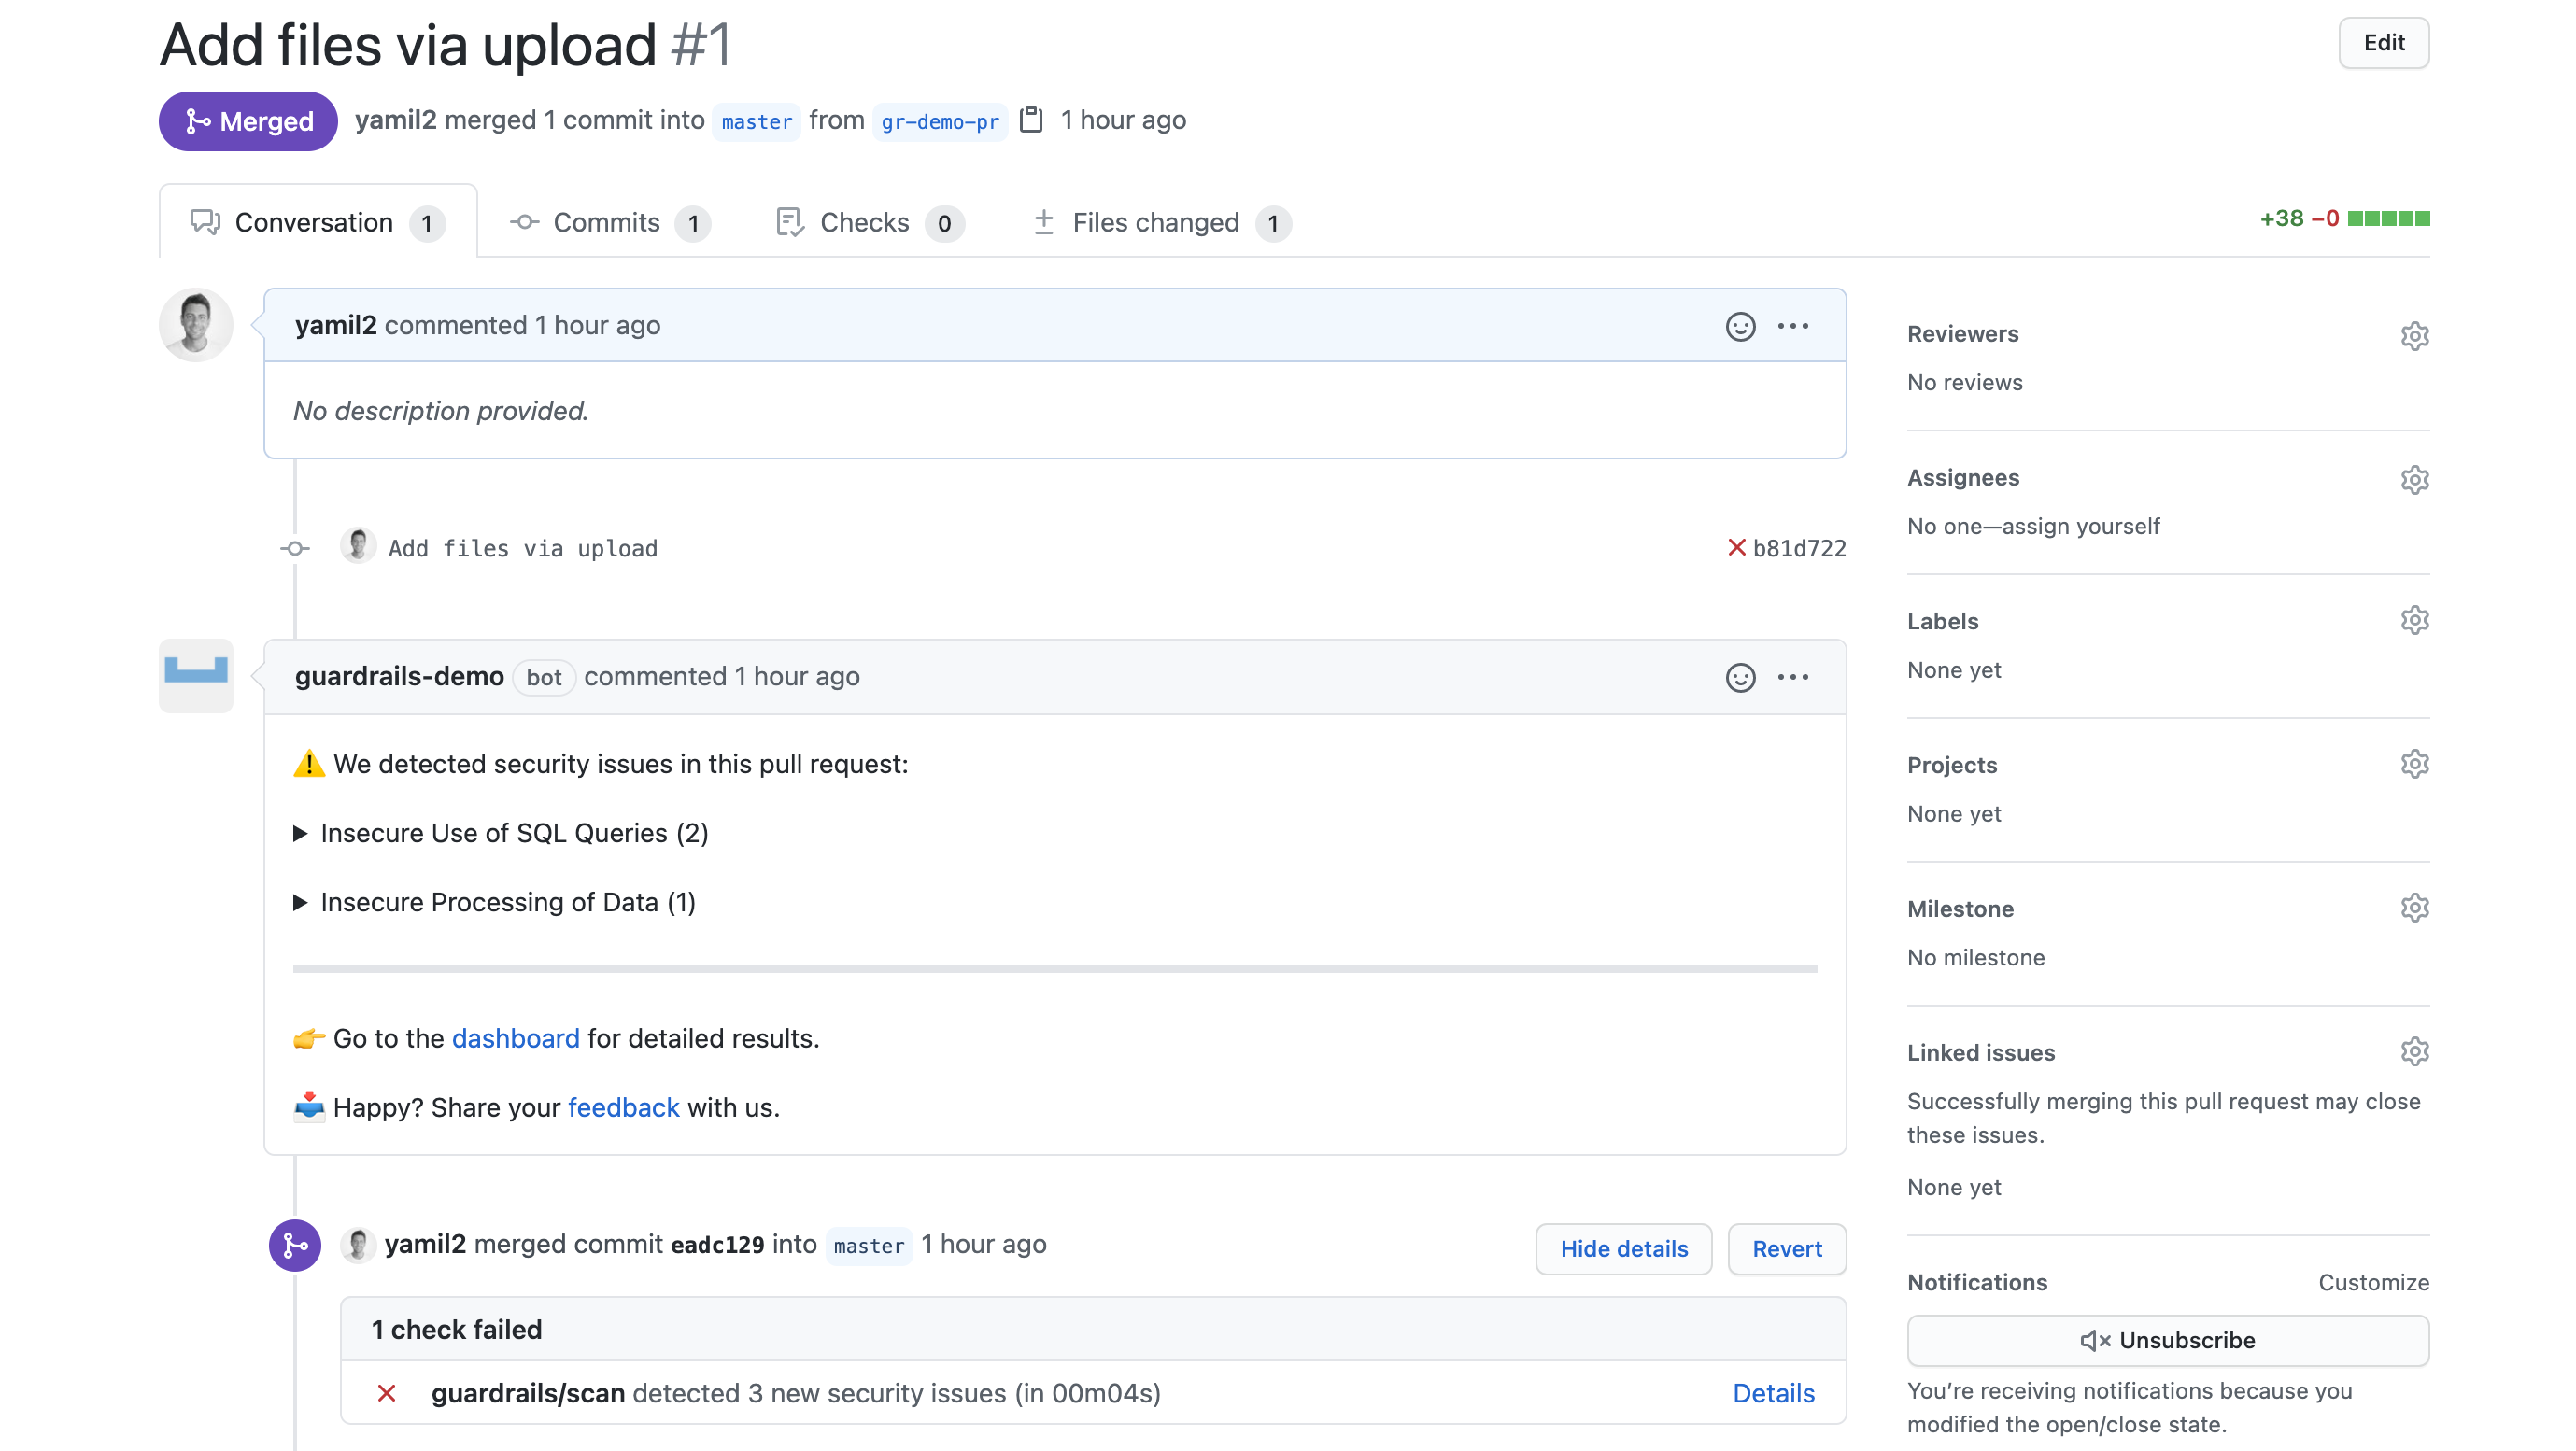
Go to a repository on GitHub and create a Pull Request. Once the PR was opened, GuardRails will automatically start the check.
You're done! Everything seems to be configured and running, now you and your team can
Move fast and be safe!.
Bitbucket Cloud App & Bitbucket OAuth Consumer
Skip this step if you're not using Bitbucket Cloud.
Go through these steps to create your Bitbucket connect app and Bitbucket oauth consumer.
After you have gone through the steps to create the Bitbucket connect app and Bitbucket oauth consumer, fill out the following details in the GuardRails management console settings for the Bitbucket integration.
- Bitbucket App Secret:
<BITBUCKET_APP_SECRET> - Bitbucket OAuth Client Id:
<BITBUCKET_OAUTH_CONSUMER_KEY> - Bitbucket OAuth Client Secret:
<BITBUCKET_OAUTH_CONSUMER_SECRET>
You should now have configured everything that is needed for Bitbucket cloud, click on Save and Apply Changes which will start your GuardRails deployment.
Upgrading
In order to upgrade GuardRails, you can follow the steps outlined here:
Segment
Toggle our Segment integration to enable the Onboarding flow for new users, along with other great features like the ability to provide instant feedback so we can improve the platform from your input. Furthermore, this also gives us more insights to better understand your end users in order to resolve your pain-points as well as to deliver the best user experience.
This feature requires the following hosts to be whitelisted (all of them use the 443 port):