GitLab Configuration
Overview
This page contains all the information needed to create a GuardRails GitLab user and application on your GitLab Enterprise server. This is needed to allow GuardRails to seamlessly integrate into the development workflow and makes onboarding all repositories in your organization easy and quick.
Only required for GitLab deployments.
IMPORTANT: For this Guide we will assume that <YOUR_HOST> will be either the configured DNS (i.e.: guardrails.your-company.com) or the provissioned server IP. Both will work. So, whenever you see a <YOUR_HOST> remember this.
Create a GitLab User
The goal of this step is to create a privileged GitLab GuardRails user that will allow for a seamless integration of the security scanning across all repositories. We will also need the details to allow for a single-sign on authentication using your GitLab on-premise instance. Because of this step, GuardRails is tightly integrated into the workflow and provides a pleasant developer experience.
Create a GitLab user for GuardRails in your GitLab instance by following the instructions below:
Login to
<gitlab-domain>as an administrative userGo to
<gitlab-domain>/admin/users/newFill out the user details like below:
- Account:
- Name:
GuardRails - Username:
guardrails - Email:
[email protected], this has to be filled out, but a valid email address is not required.
- Name:
- Access:
- Projects limit: 100000
- Can create group:
checked - Access level:
Admin - External:
unchecked
- Profile:
- Avatar: To add the GuardRails logo, you can download it from here and then upload it here.
- Website url:
https://www.guardrails.io
Here's an example of how this would look like:

- Account:
Click on
Create User.
Create a PAT for the new user
PAT = Personal Access Token
On the screen shown after the user has been created, click on the
Impersonatebutton of the top right corner as you see in the following example: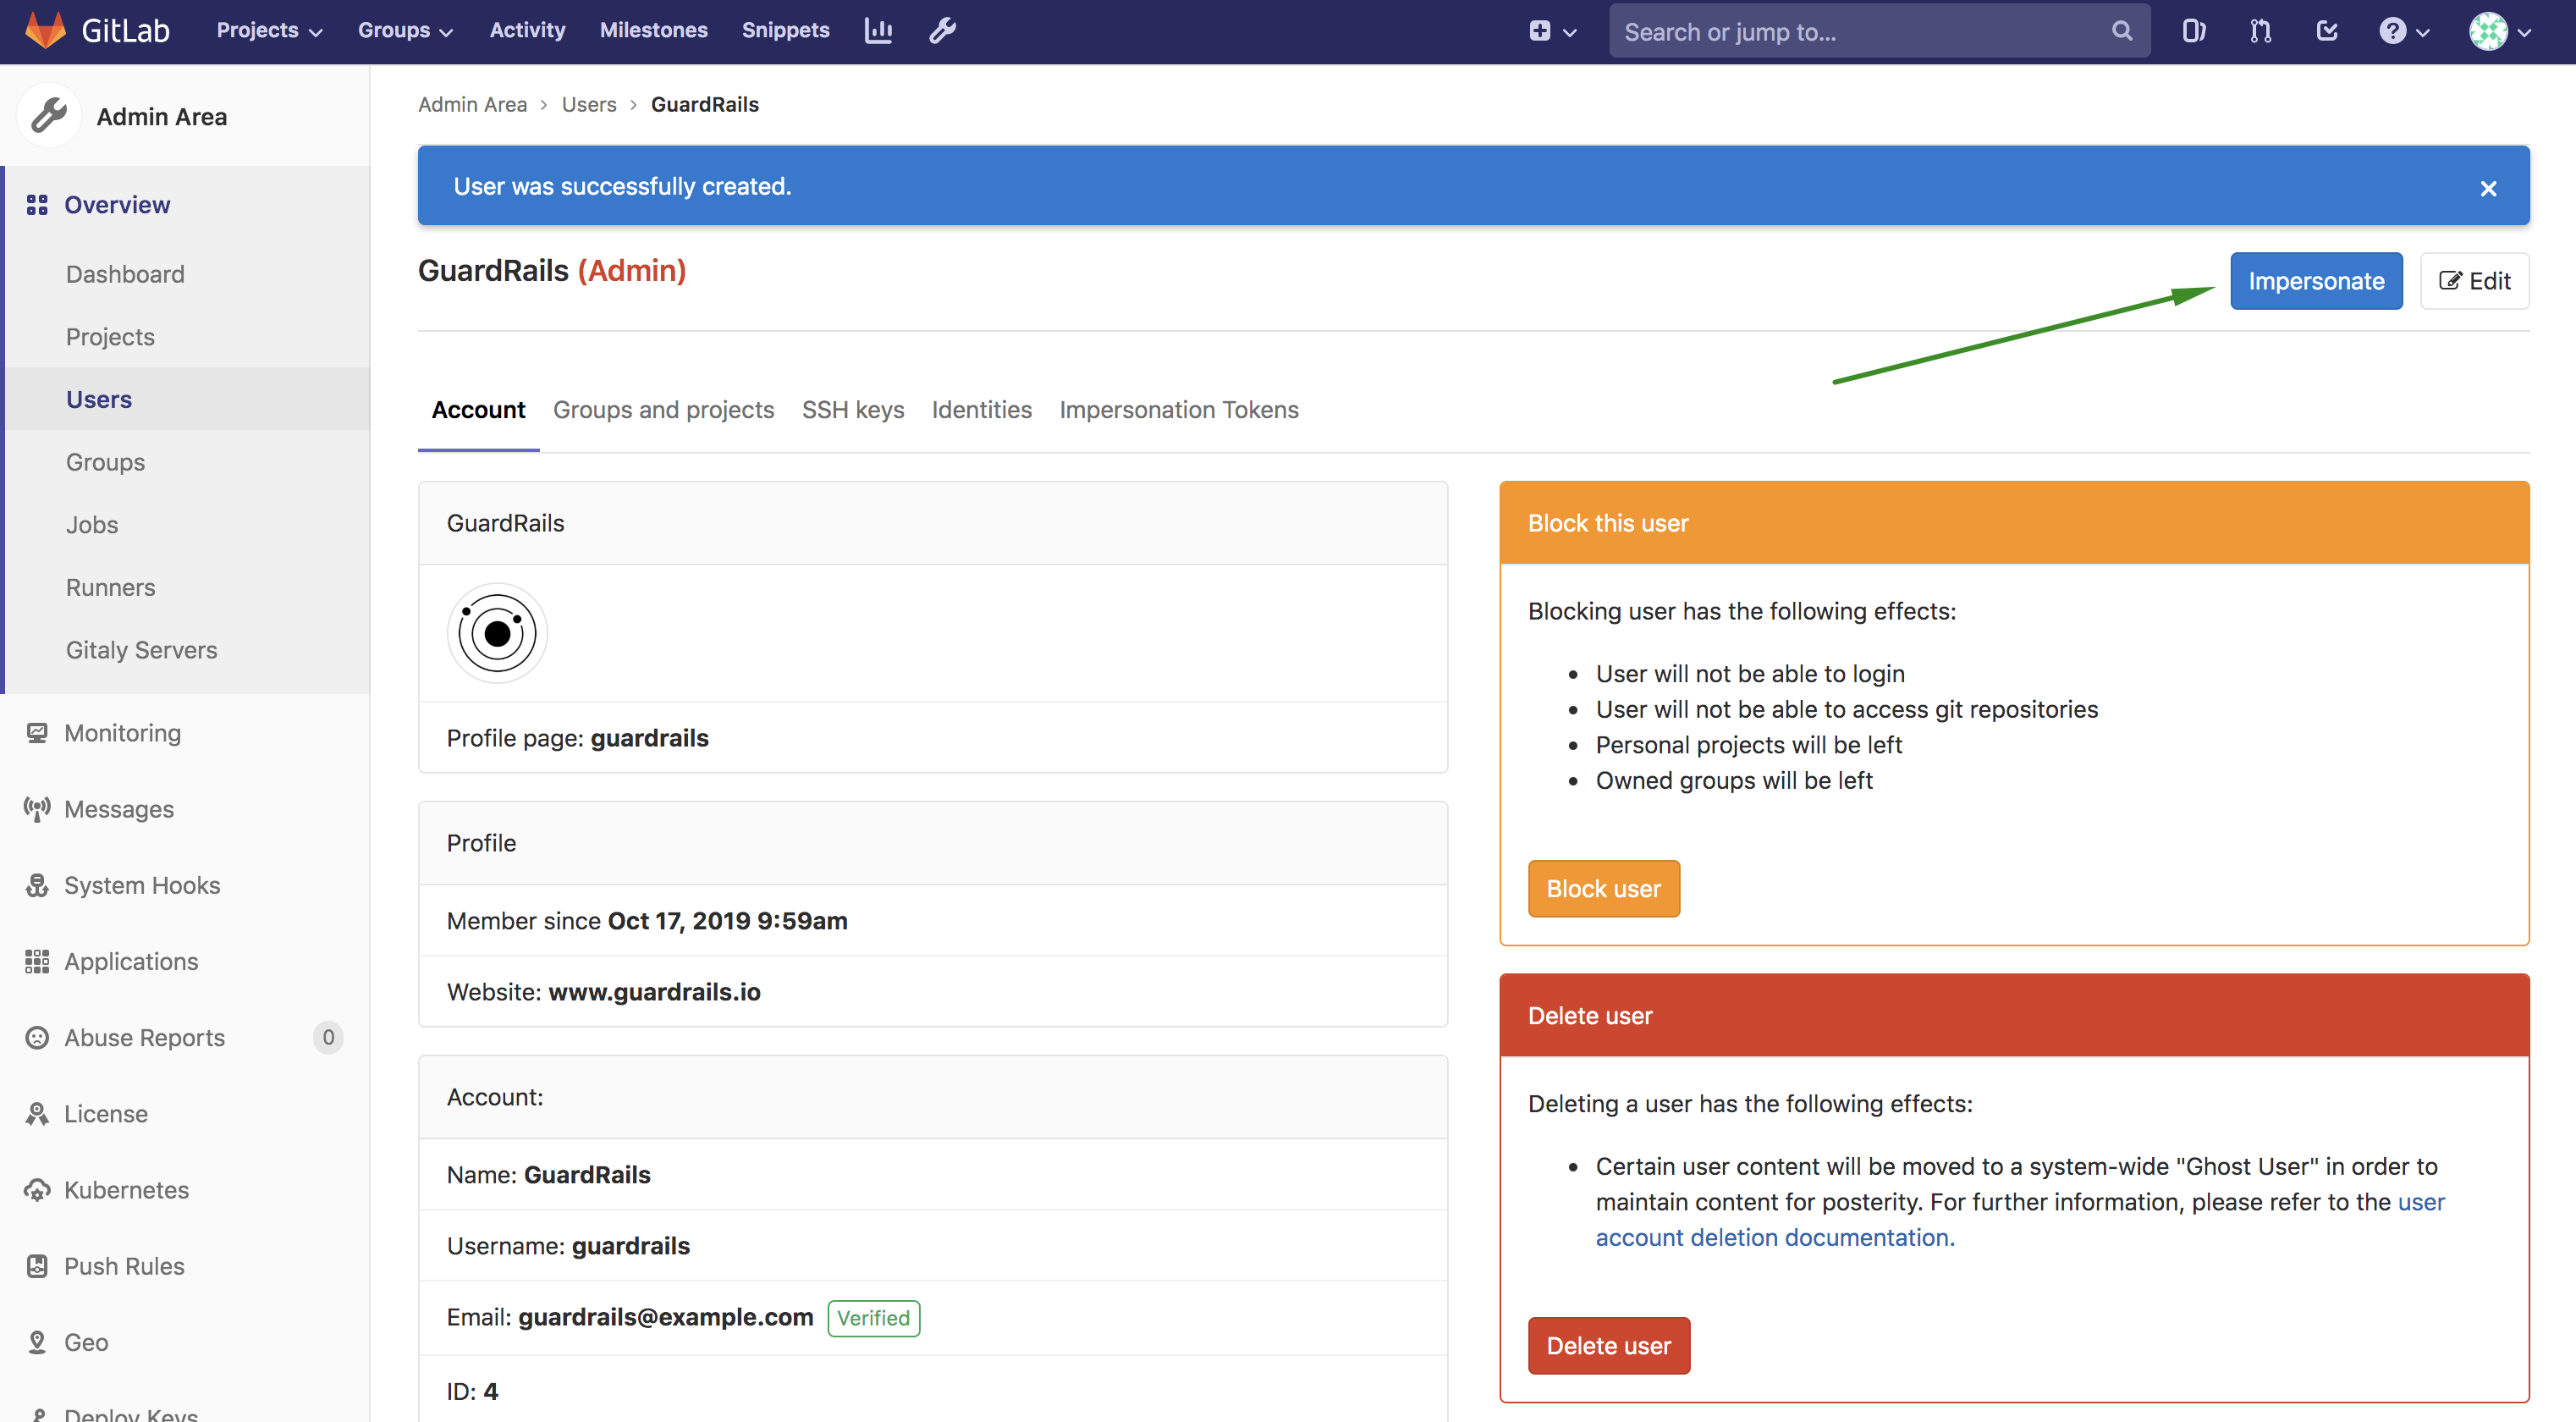
Then, click on the user's image of the top right corner menu, this will open a dropdown where you should click on
Settingsas you see in the following example:
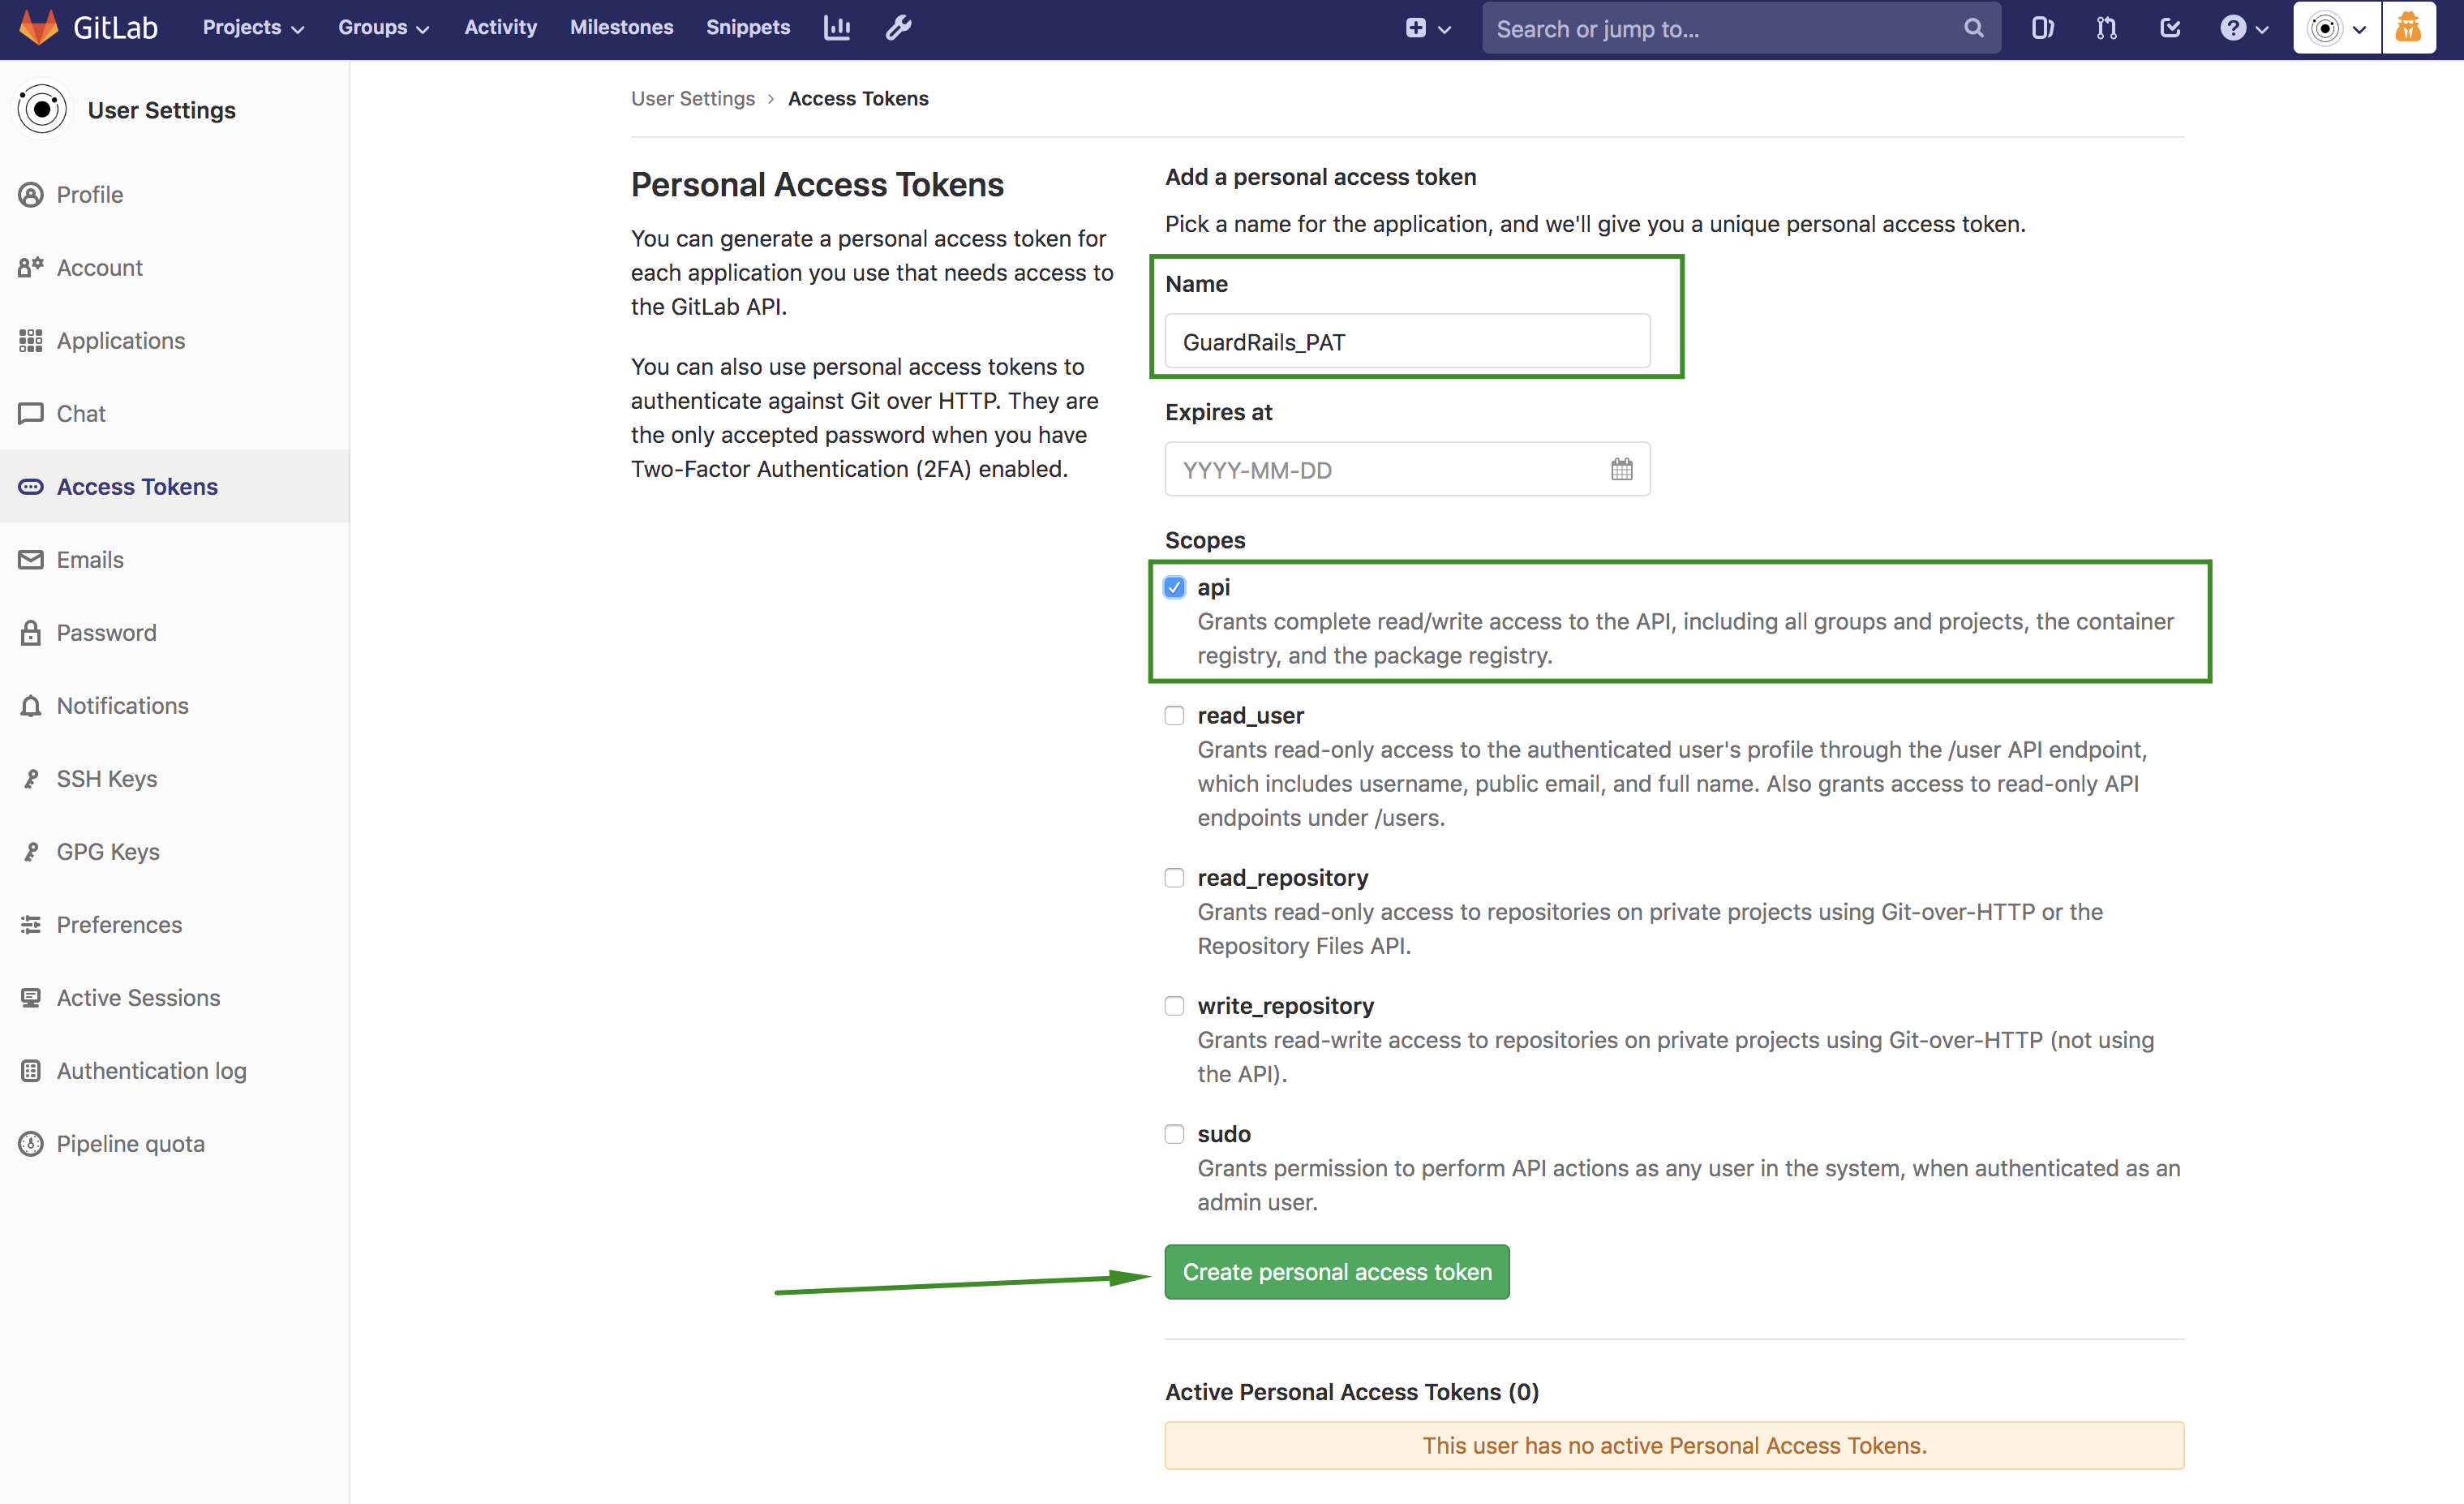
Once on the settings page, click on
Access Tokensin the left sidebar and the fill up the Personal Access Token form like below:- Name:
GuardRails_PAT - Expires at:
leave blank - Scopes:
api
It should look like this:
- Name:
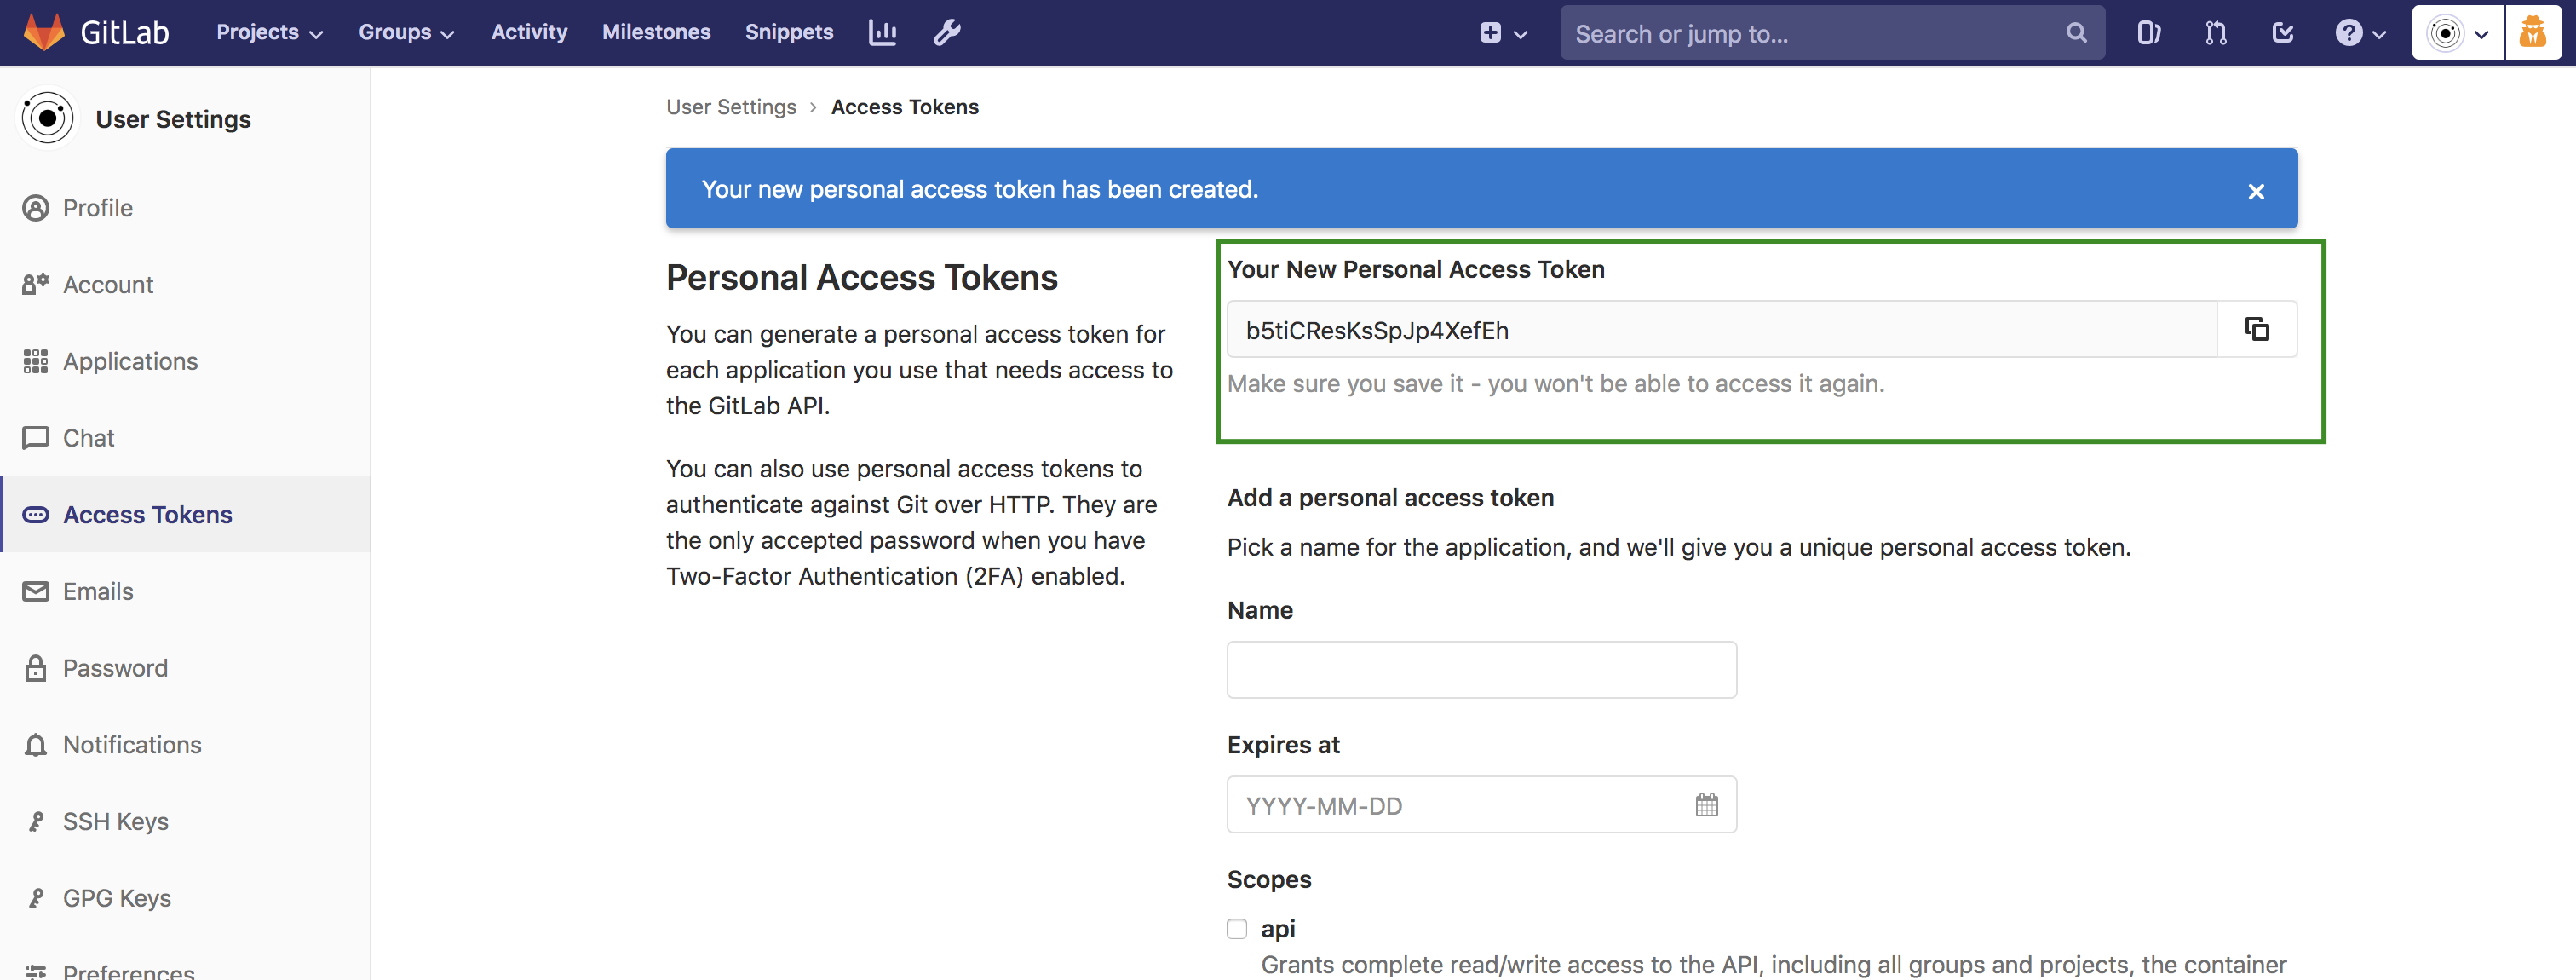
Finally click on
Create personal access token:On the next page, you will see the unique Personal Access token, which you need to save for later use.
You can
stop impersonatingthe user by clicking top right corner icon: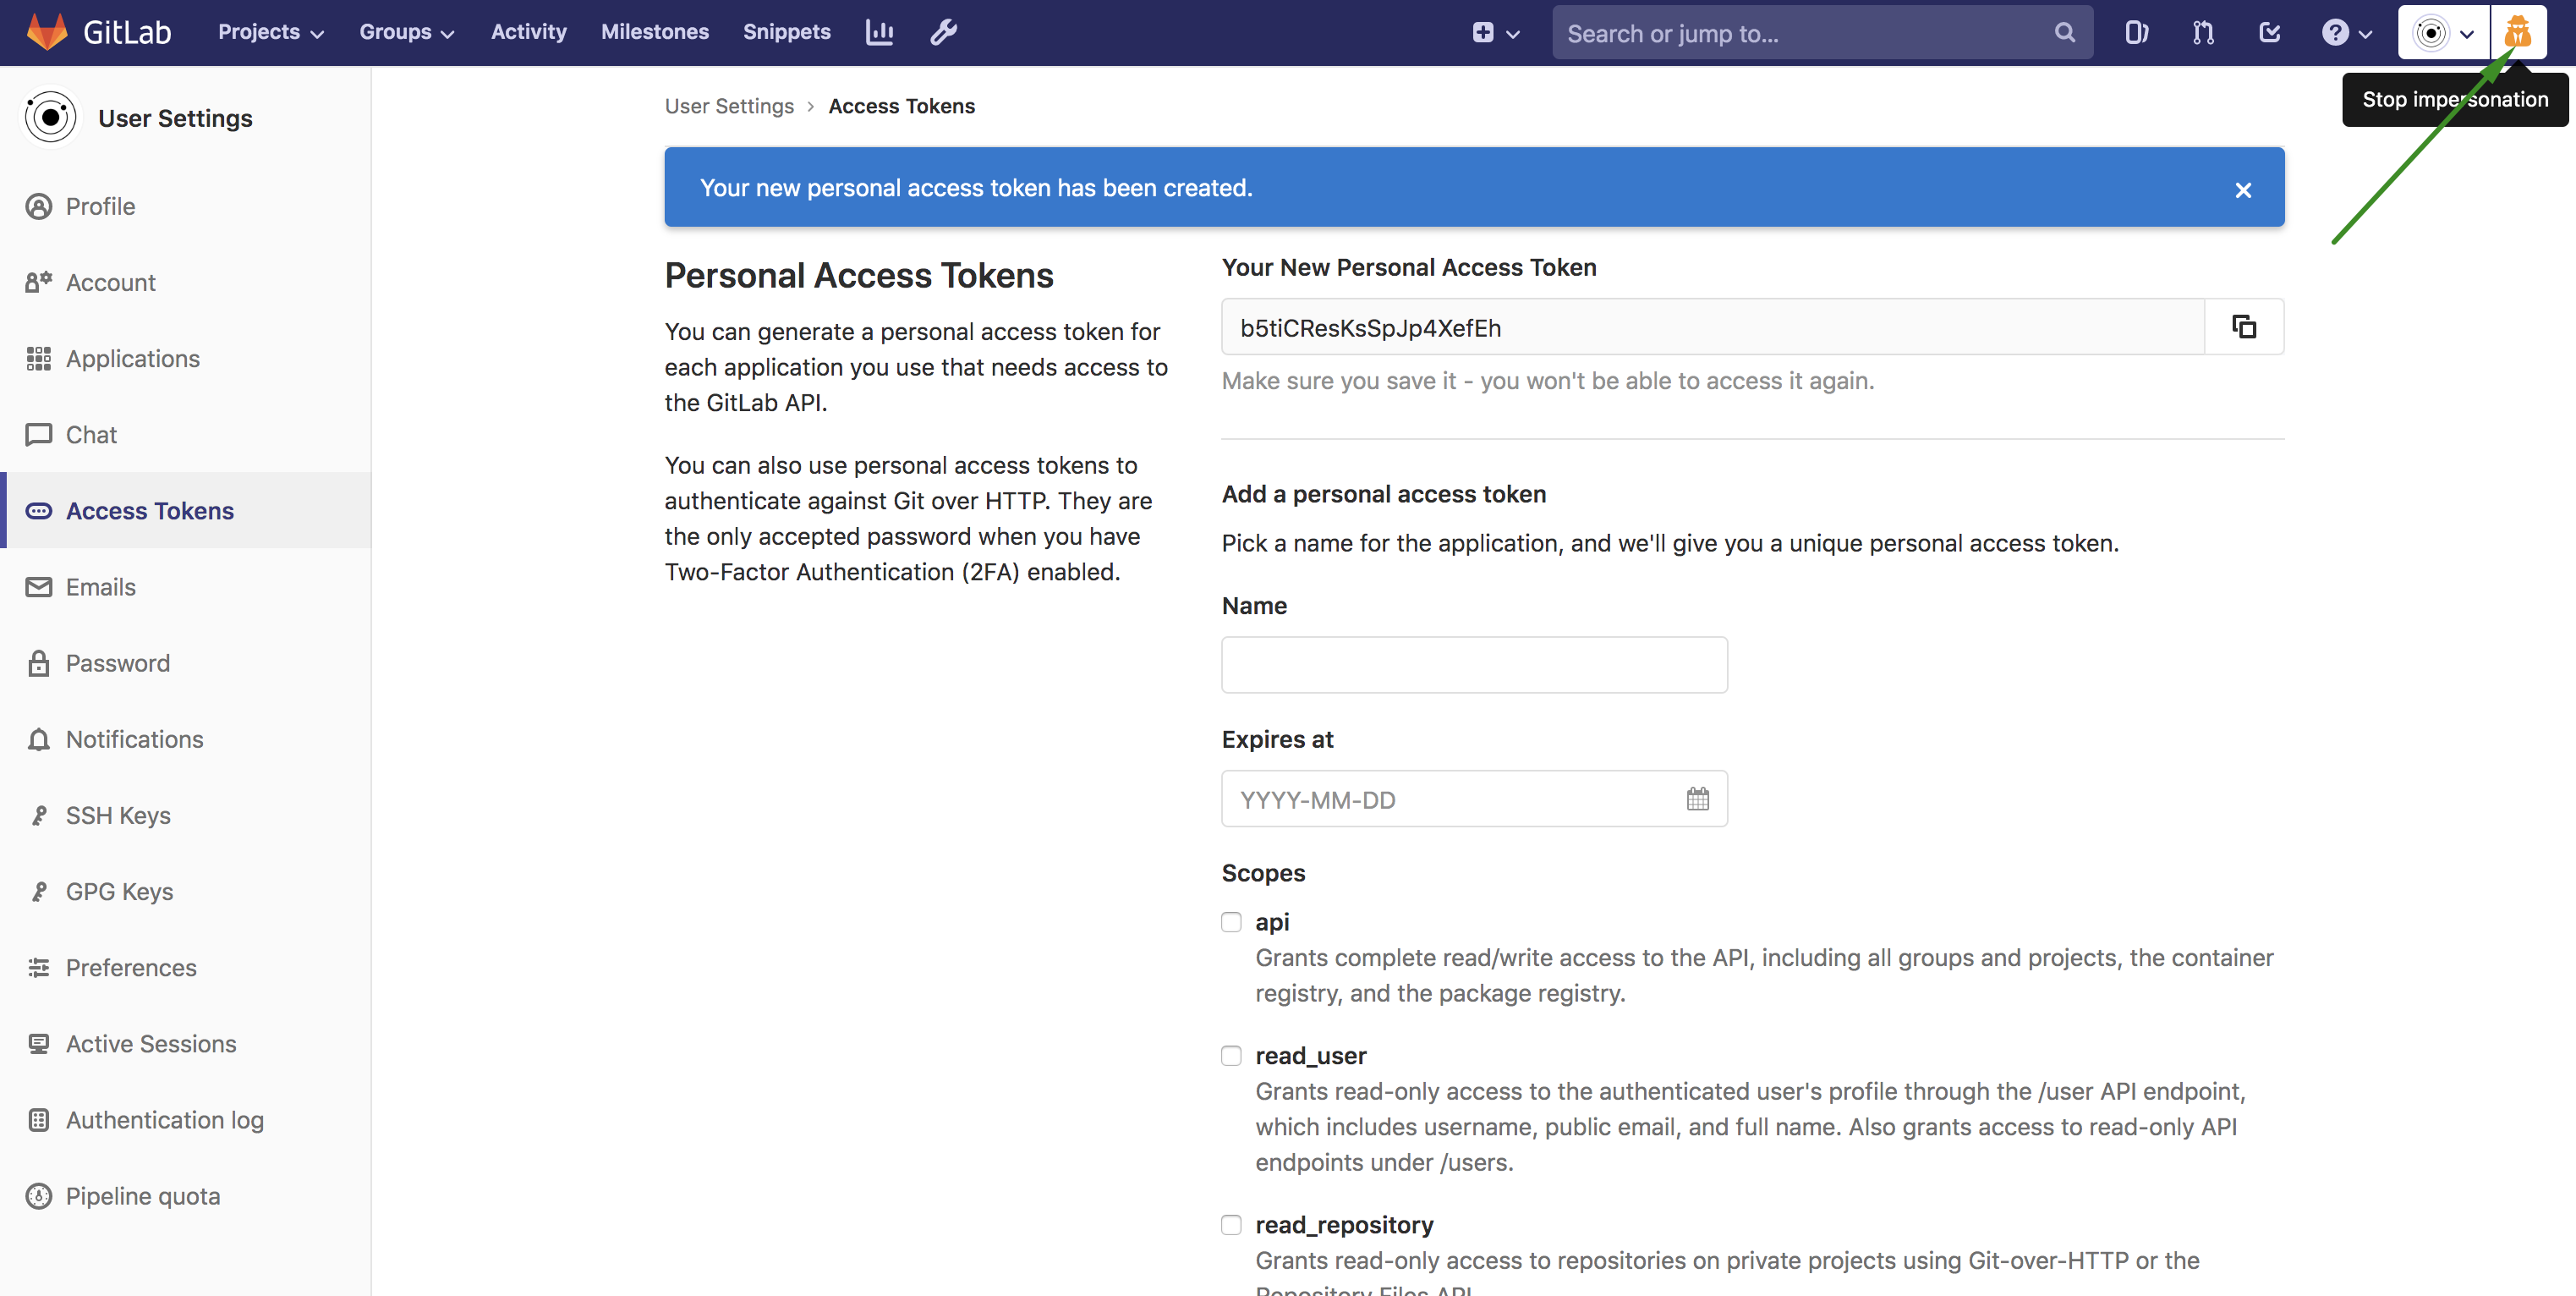
Create the GuardRails Application
The goal of this step is to create a GitLab application that we are going to use to connect to GuardRails to allow for a seamless integration of the security scanning across all repositories. GuardRails is tightly integrated into the workflow and provides a pleasant developer experience.
Create a GitLab Application for GuardRails in your GitLab instance by following the instructions below:
Login to
<gitlab-domain>as an administrative userGo to
<gitlab-domain>/admin/applications/newComplete the fields to create a new Application:
- Name:
gitlab-guardrails-oauth - Redirect URI:
https://<YOUR_API_HOST>/authorize/gitlab/callback - Trusted:
checked - Scopes:
api,read_user,openid,profile,email
Here's an example of of how this would look like:
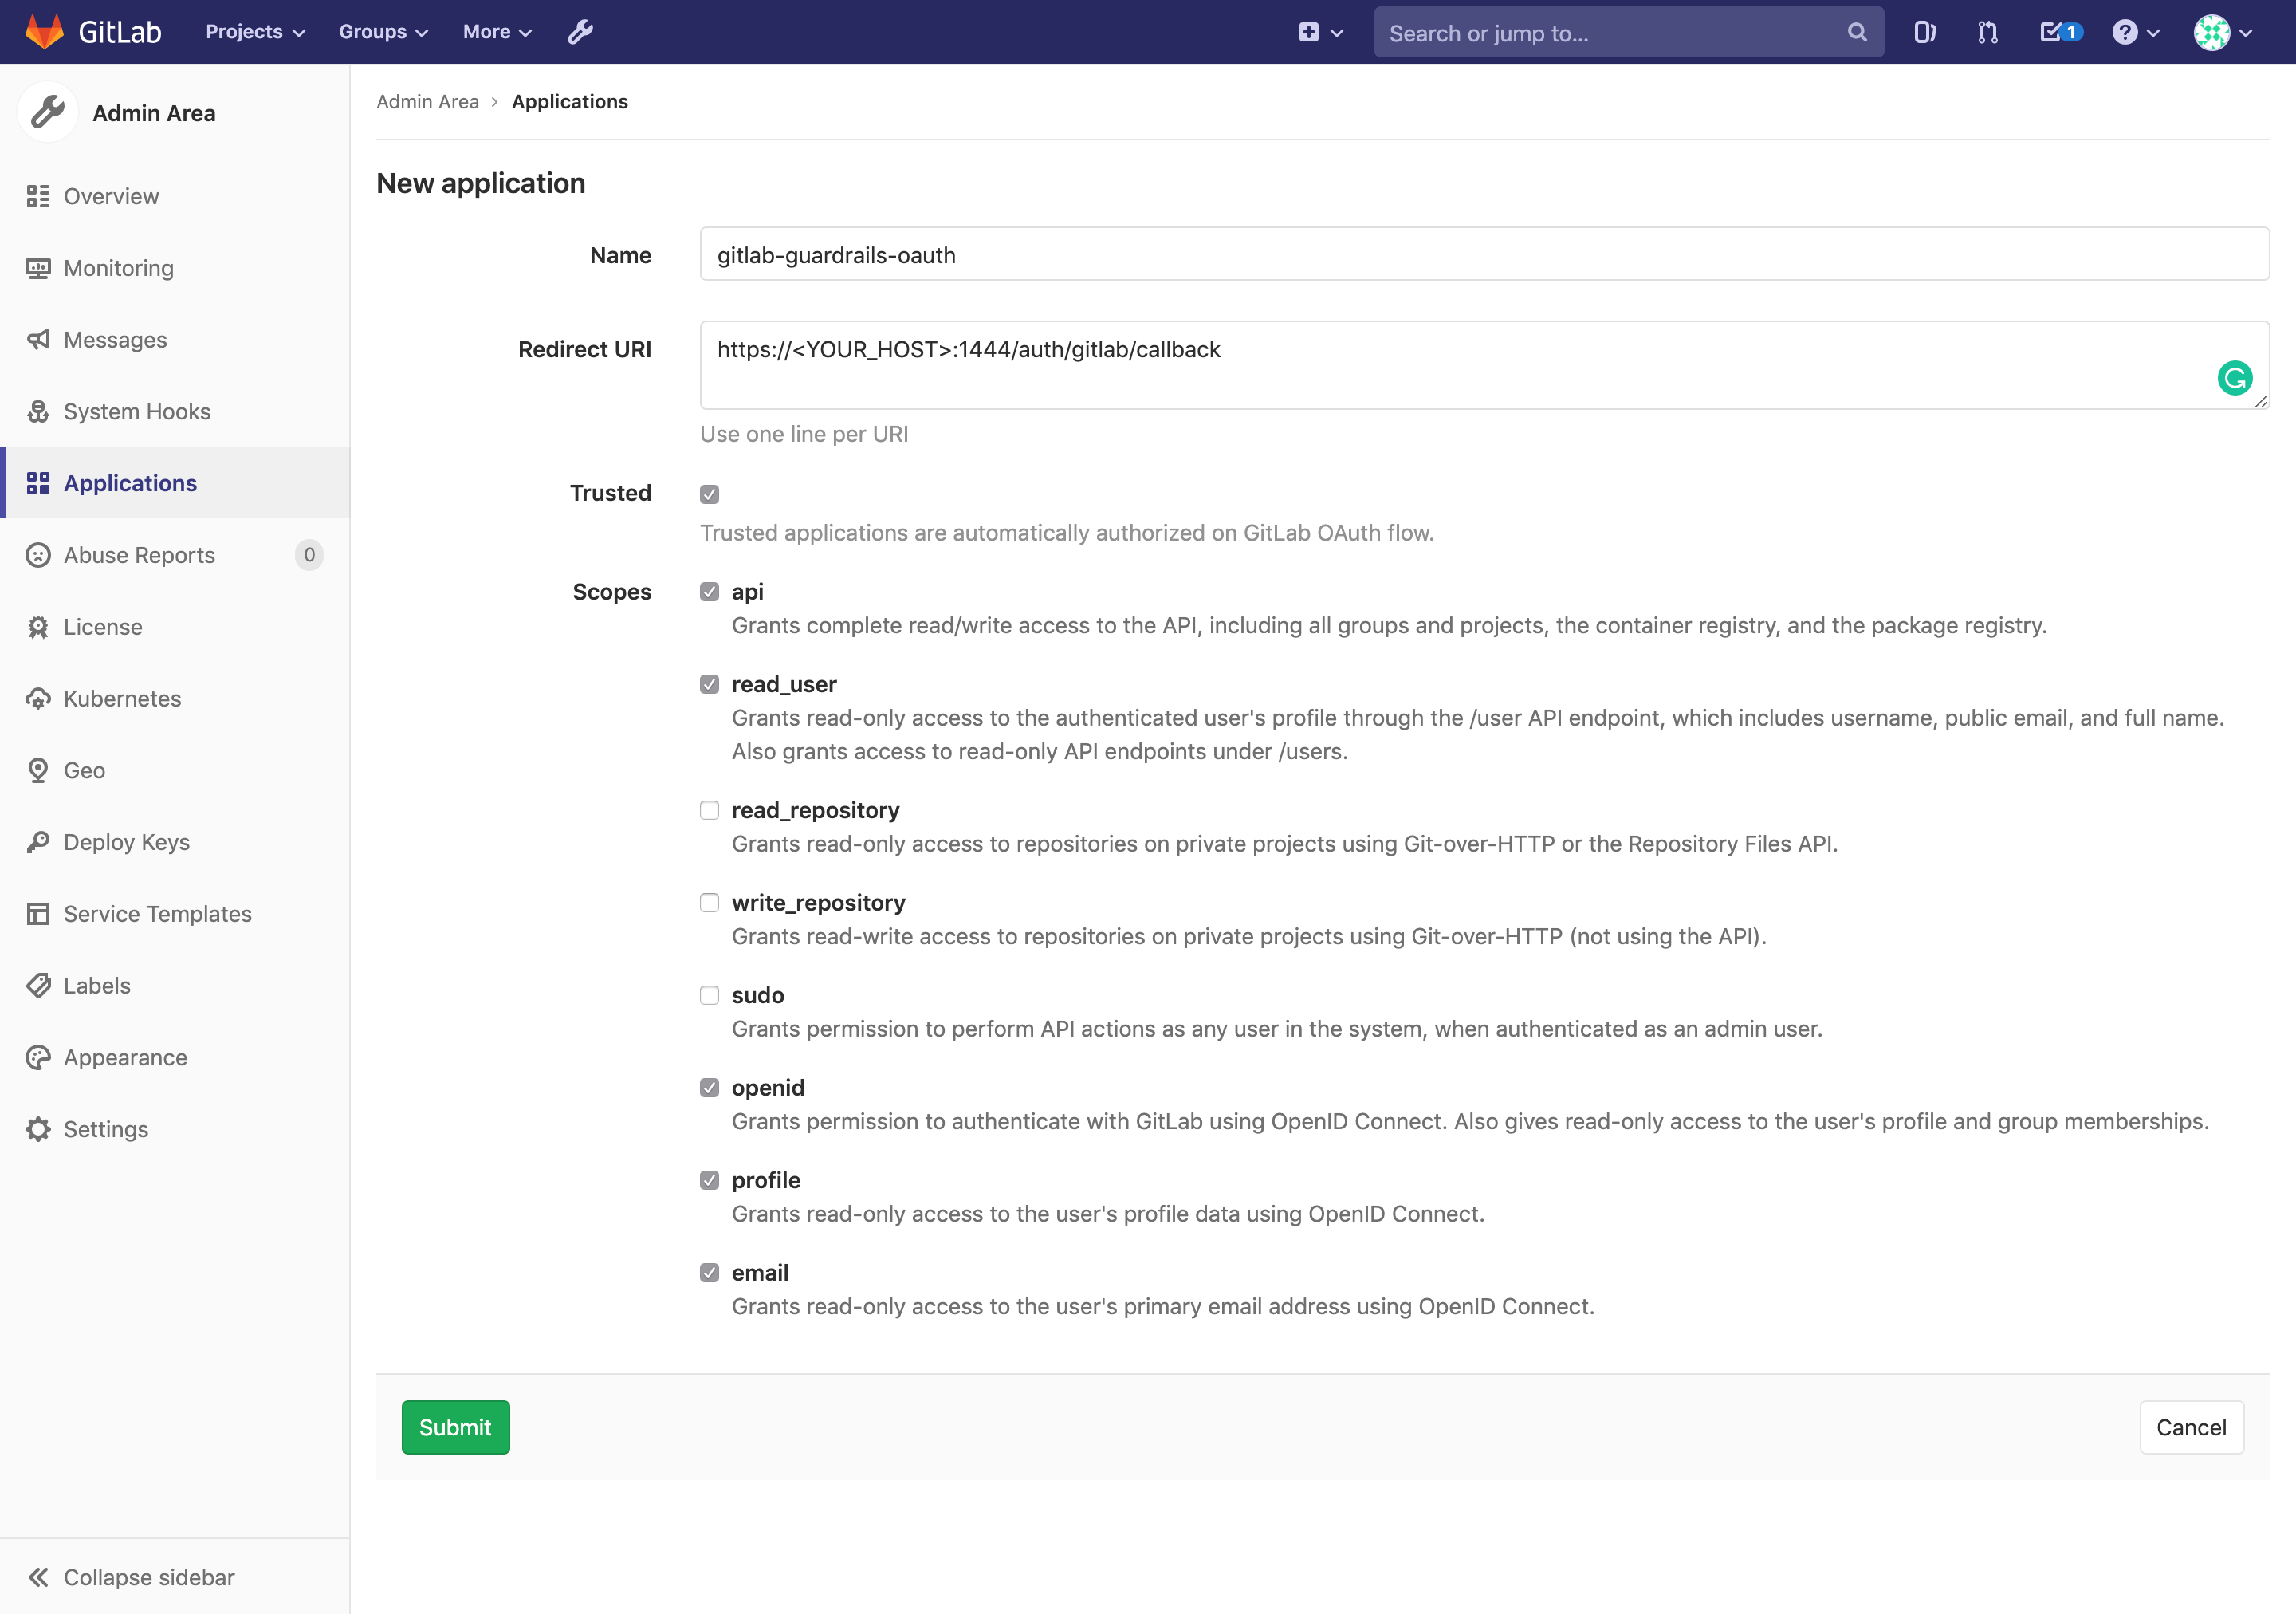
- Name:
Click on
Submit
After you create the application, you will see a screen like this one:
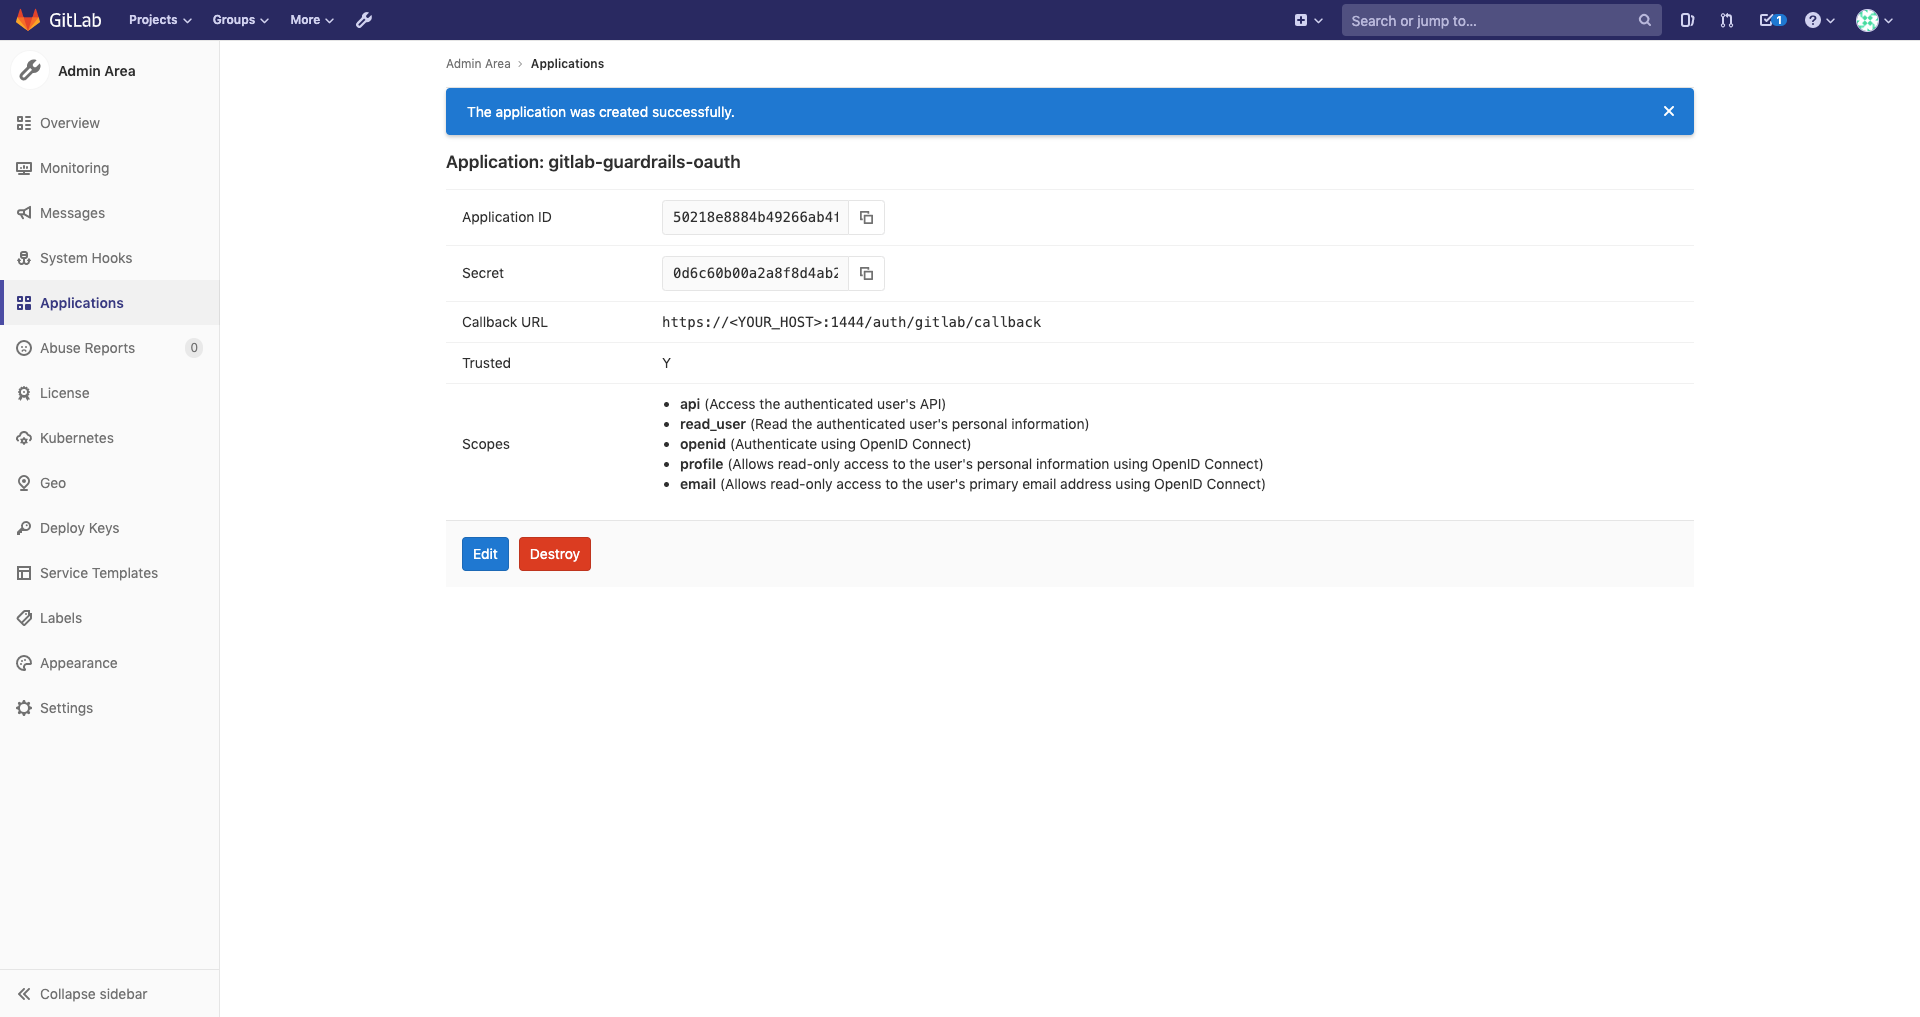
Here you will see the Application ID and Secret which you need save for later use.
If you followed and completed the steps of this guide, you should have collected the following data in order to continue:
- GitLab GuardRails User Personal Access Token (PAT)
- GitLab GuardRails Application ID
- GitLab GuardRails Application Secret
Make sure you have this before you proceed to Setup & Deploy
Configure Pre-Receive Hooks
You can configure pre-receive hooks for GitLab on-premise versions by following the instructions here.